PART I: MXConnect Overview
? Purpose
Welcome to the MxConnect Overview. This guide aims to provide a streamlined understanding of MxConnect, a pivotal platform enabling seamless financial transactions and data management. It is essential for team members involved in the operation, maintenance, and enhancement of our financial technologies.
✅ Step-by-Step Procedure
- Platform Access: Log into MxConnect using secure credentials via authorized devices.
- Data Integration: Connect with existing financial systems to ensure data flow and synchronization.
- Transaction Monitoring: Review and oversee active transactions to maintain accuracy and compliance.
- Issue Identification: Detect discrepancies or errors quickly for immediate resolution.
- Report Generation: Prepare and analyze financial reports to support decision-making.
- System Updates: Implement regular updates to enhance functionality and security.
? Additional Guidelines
- Follow all security protocols strictly to protect sensitive data.
- Regularly participate in training sessions on platform advancements.
- Collaborate with IT support for technical issues beyond basic troubleshooting.
- Maintain communication with stakeholders for feedback and improvement ideas.
PART II: How to search merchants via DBA or MID
Step 1
Visit https://mxconnect.com/#/login
Step 2: Sign into MxConnect
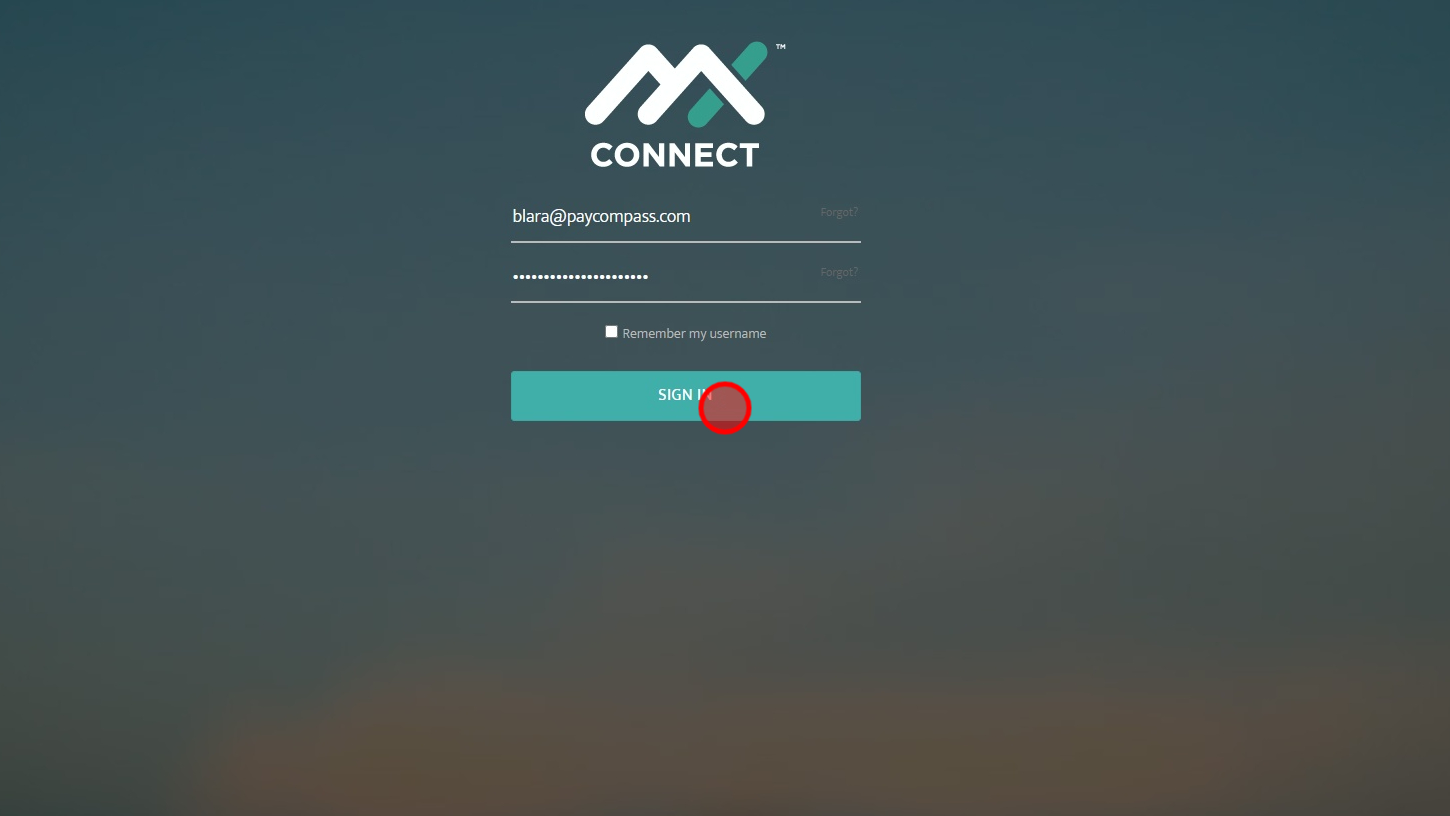
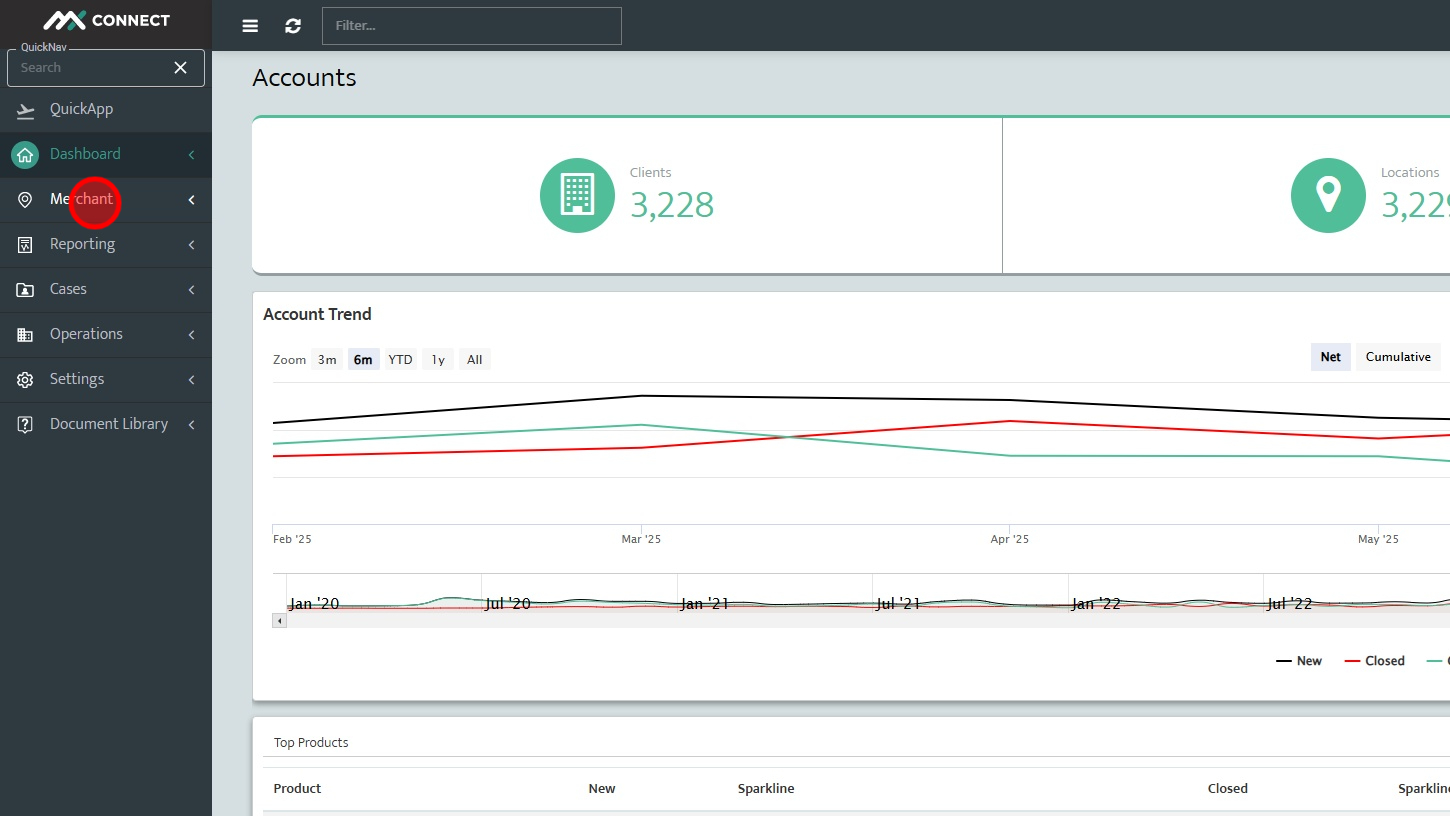
Step 3: Click "Merchant"
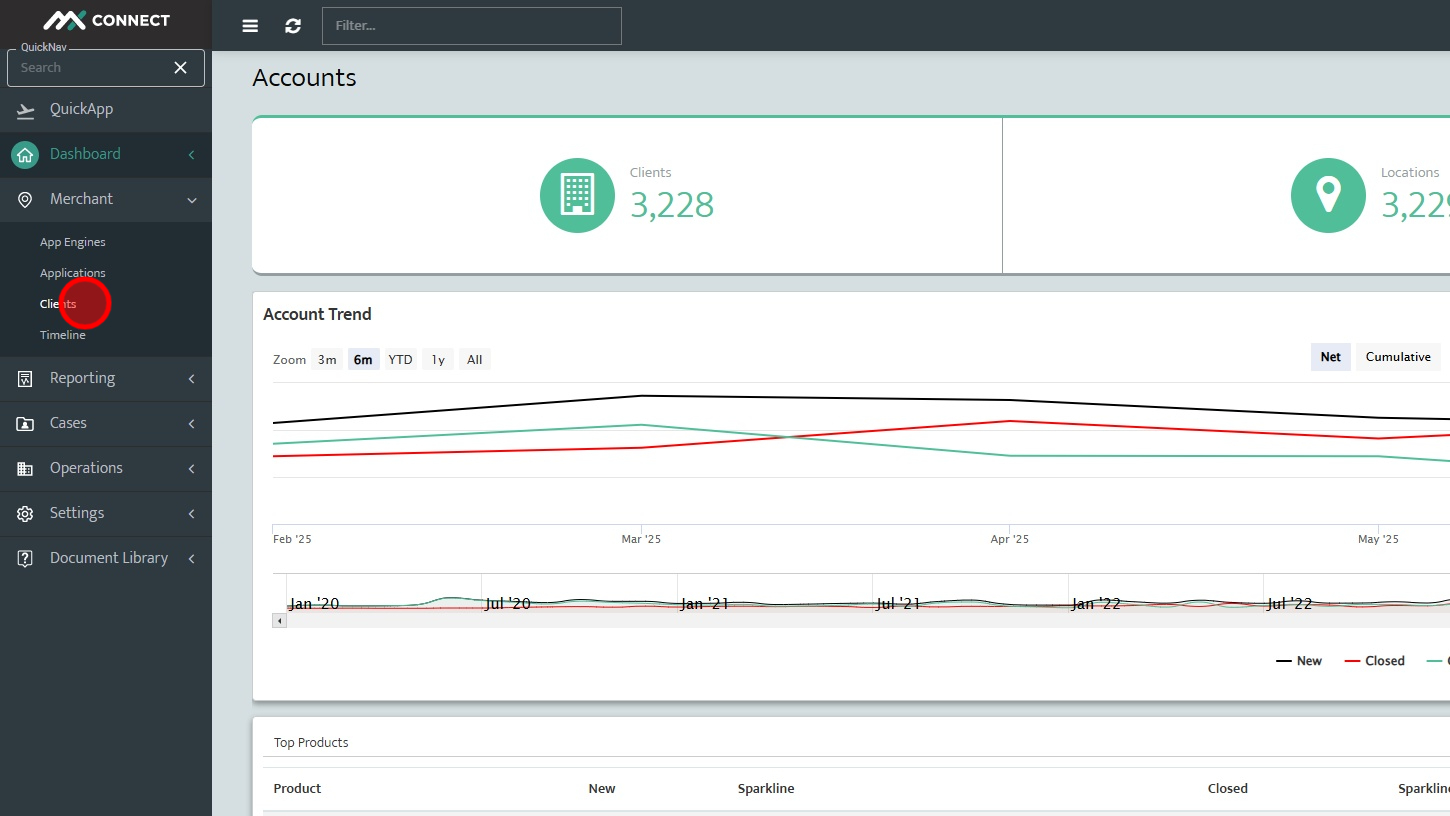
Step 4: Click "Clients"
Step 5: Click the "Search" bar
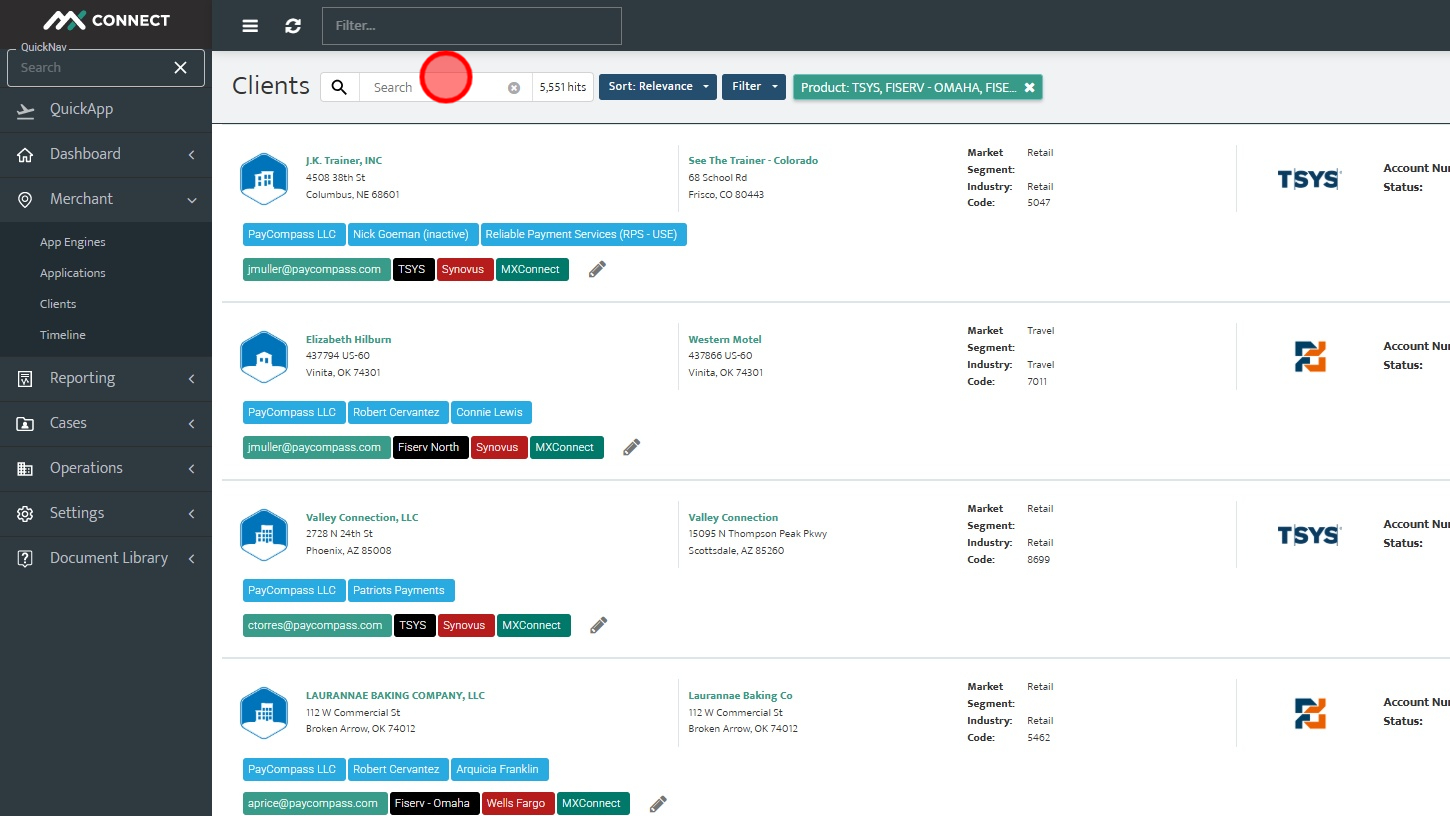
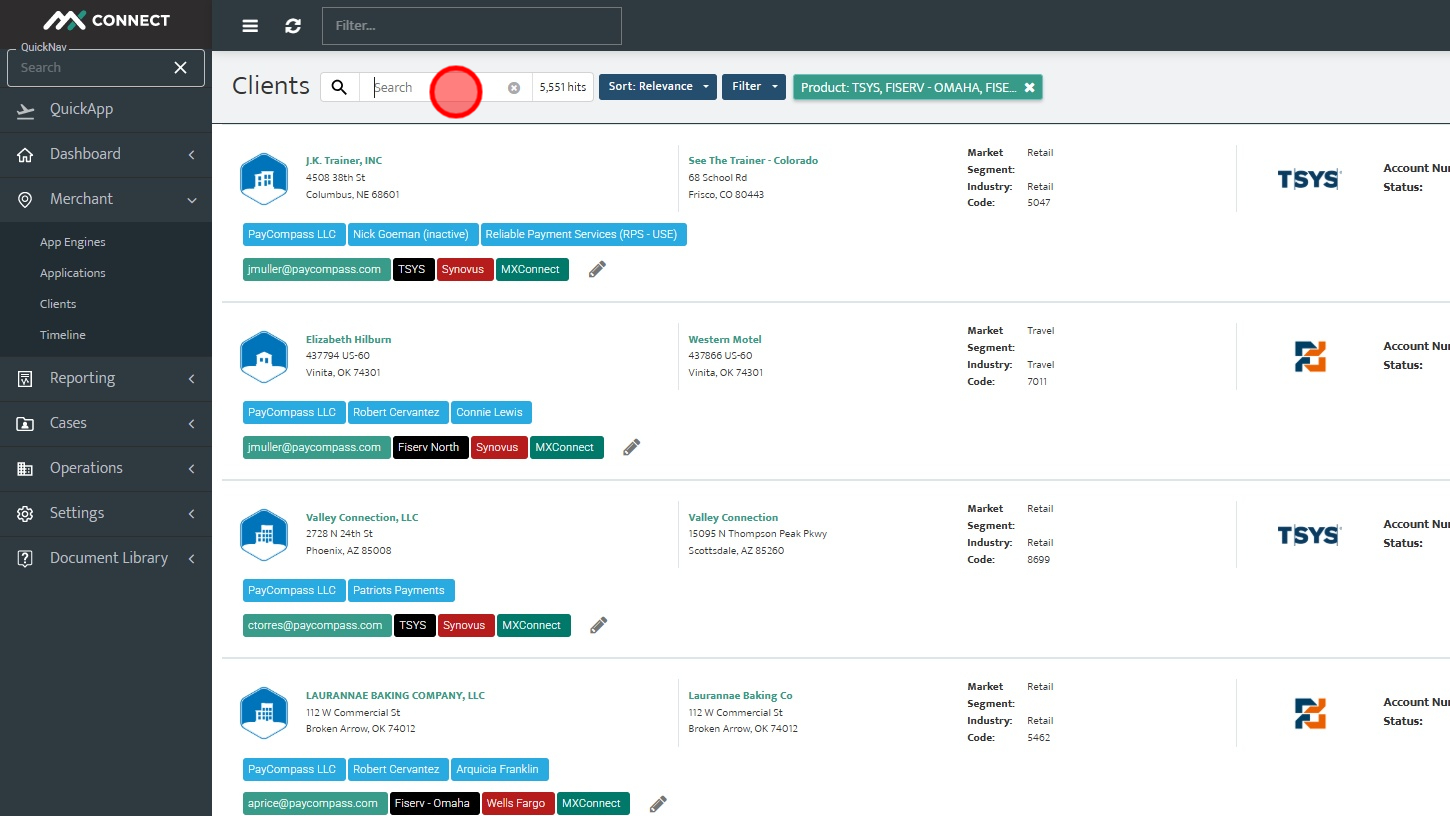
Step 6: Enter the DBA into the search bar. This will pull up accounts with matching information.
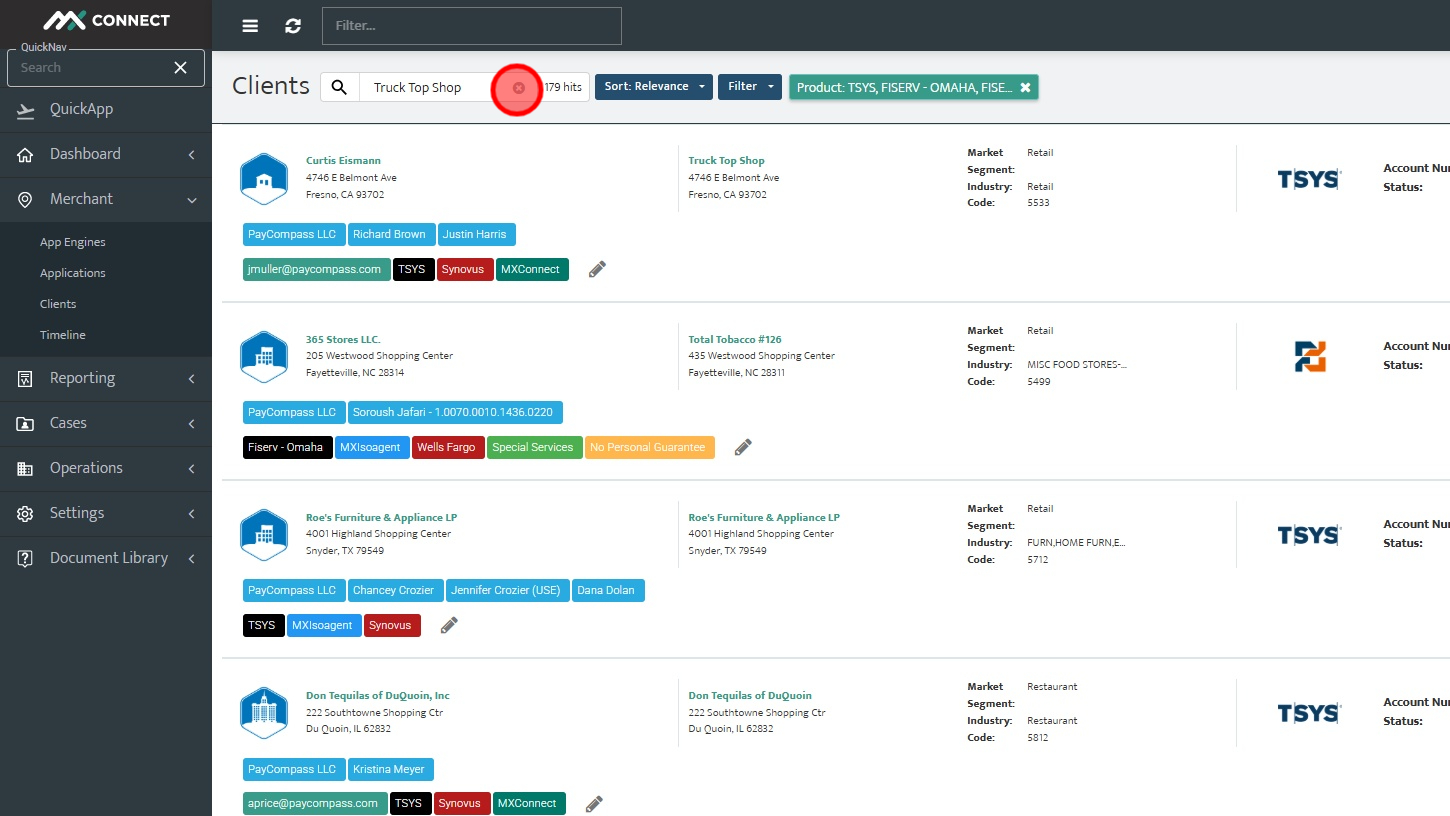
Step 7: You can also search by MID. This is typically more accurate as this will only show the account with the matching MID.
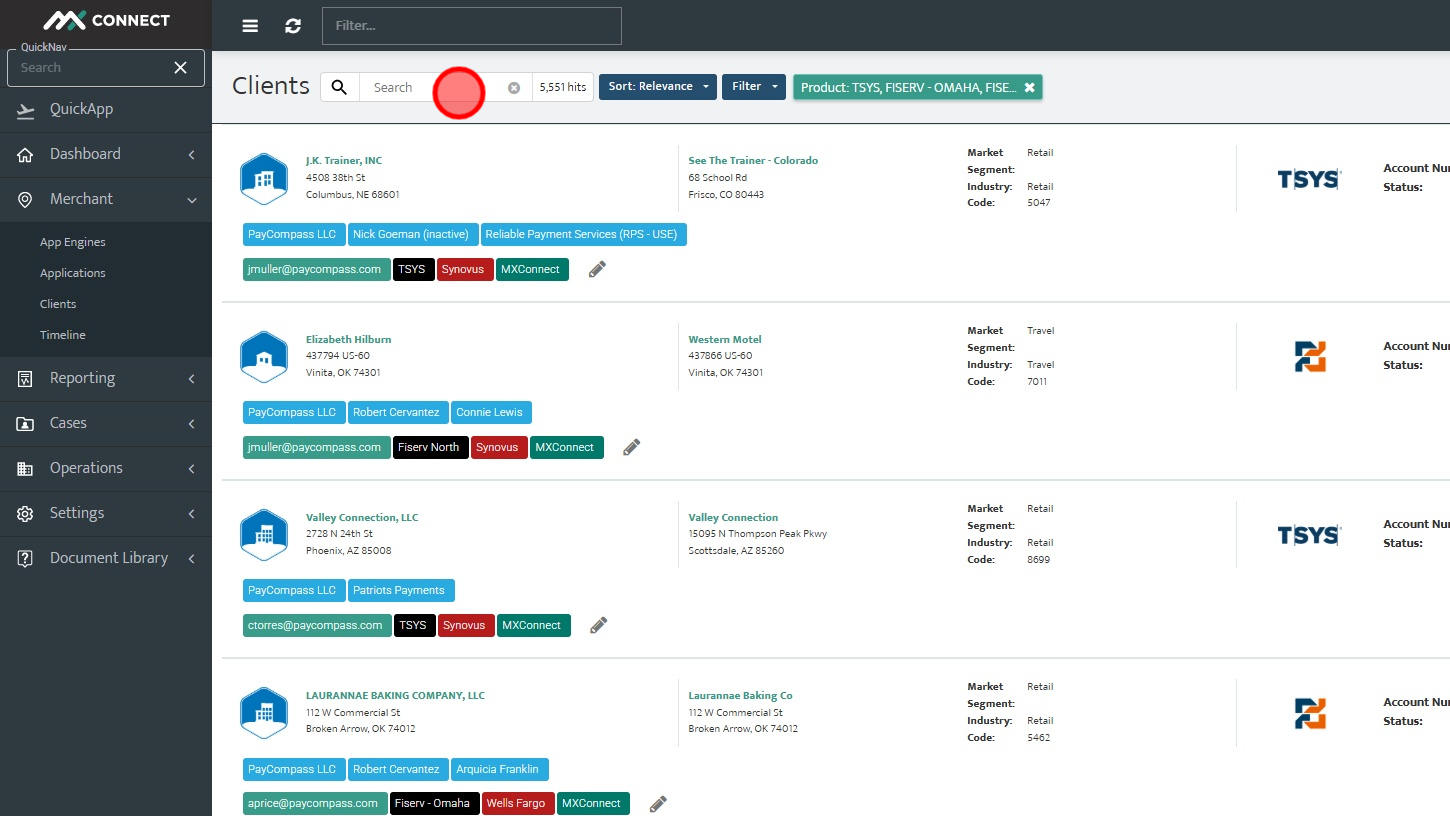
Step 8: Enter the MID into the search bar and hit enter. This should show the account with the matching MID. If it looks like the search is not working, you may need to hit the magnifying glass then hit apply.
PART III: How to filter approved/closed MIDs
Step 1: Visit https://mxconnect.com/#/login
Step 2: Sign into MxConnect.
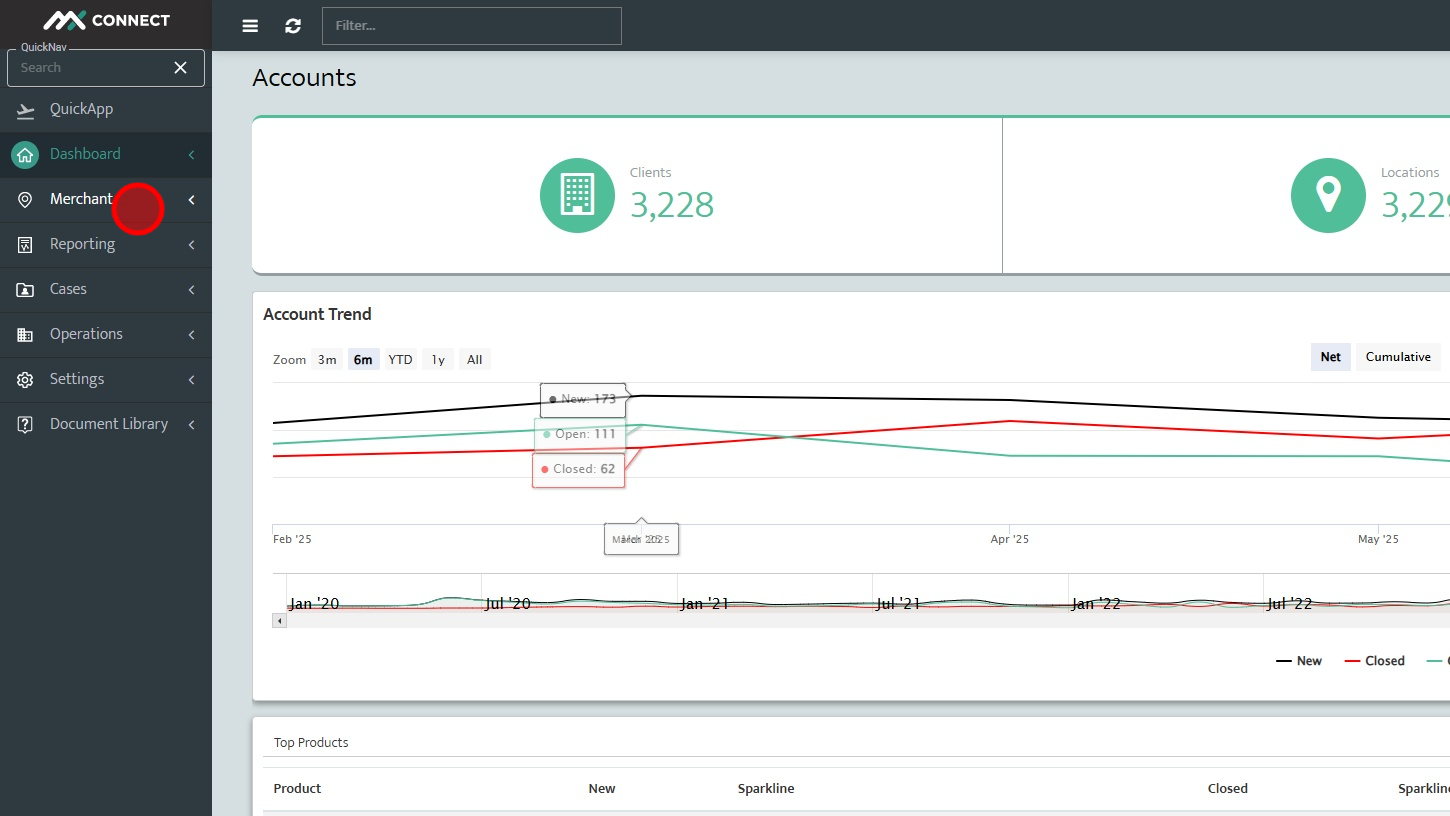
Step 3: Click "Merchant"
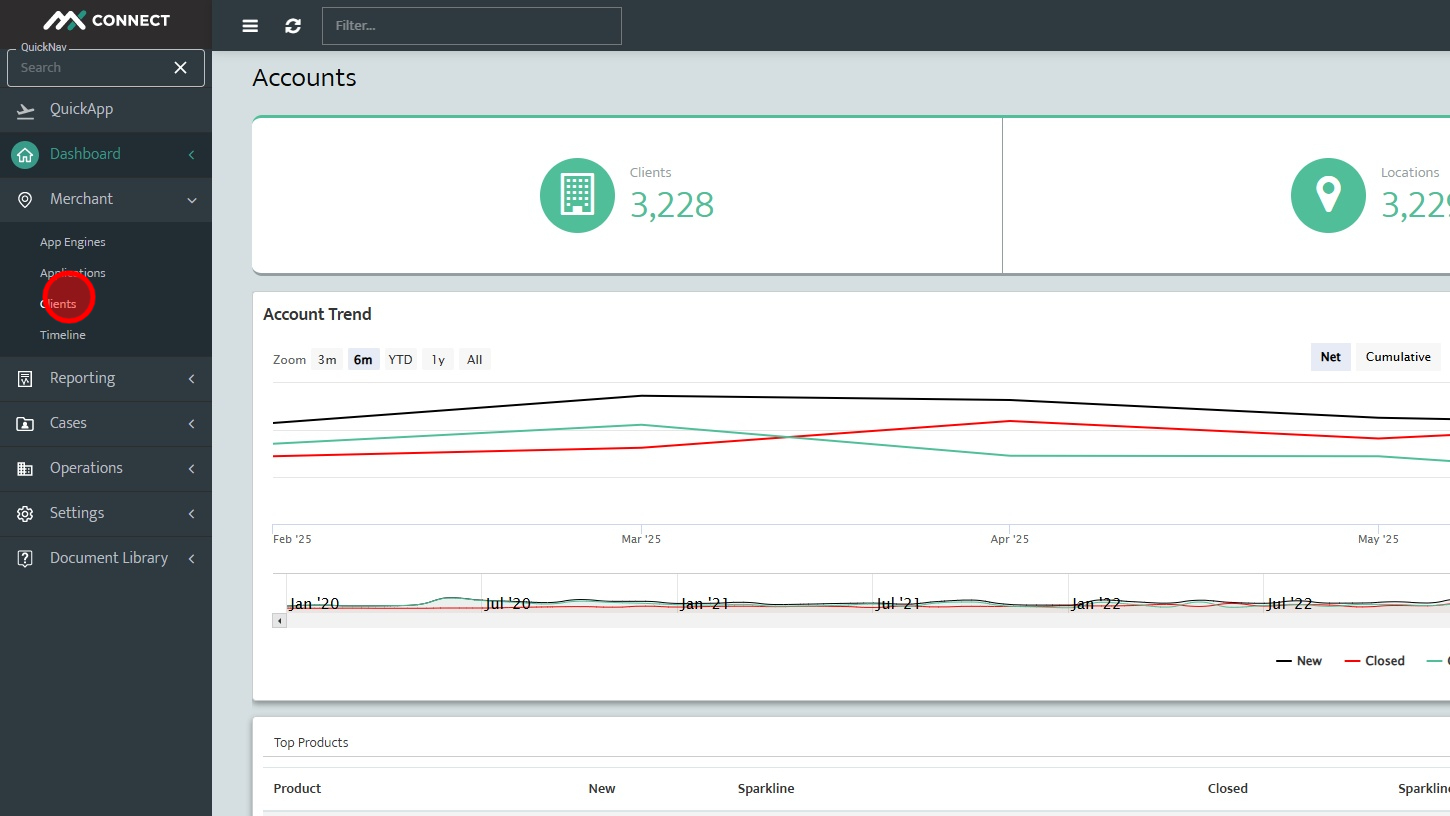
Step 4: Click "Clients"
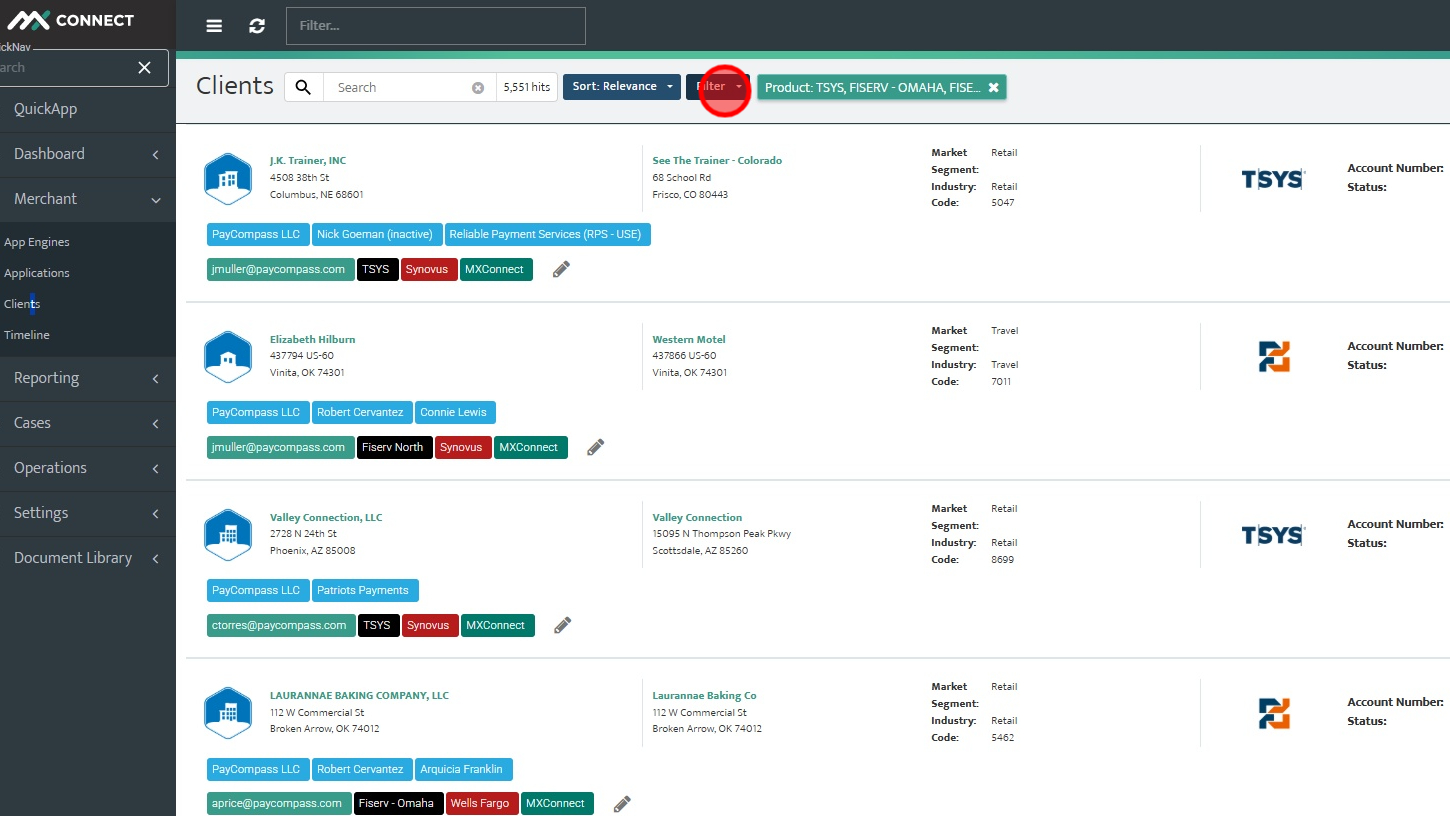
Step 5: Click "Filter"
Step 6: Click "Status"
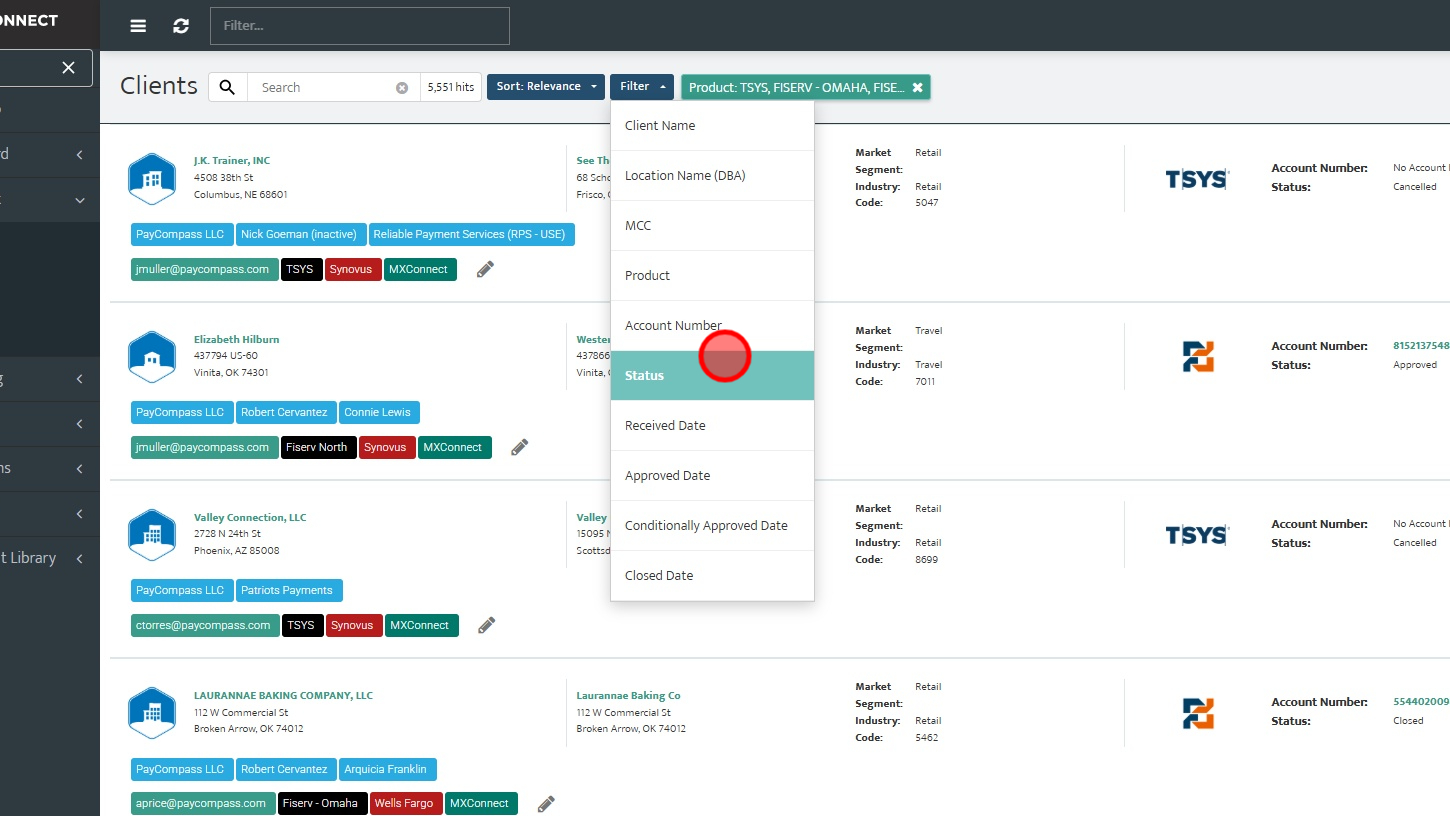
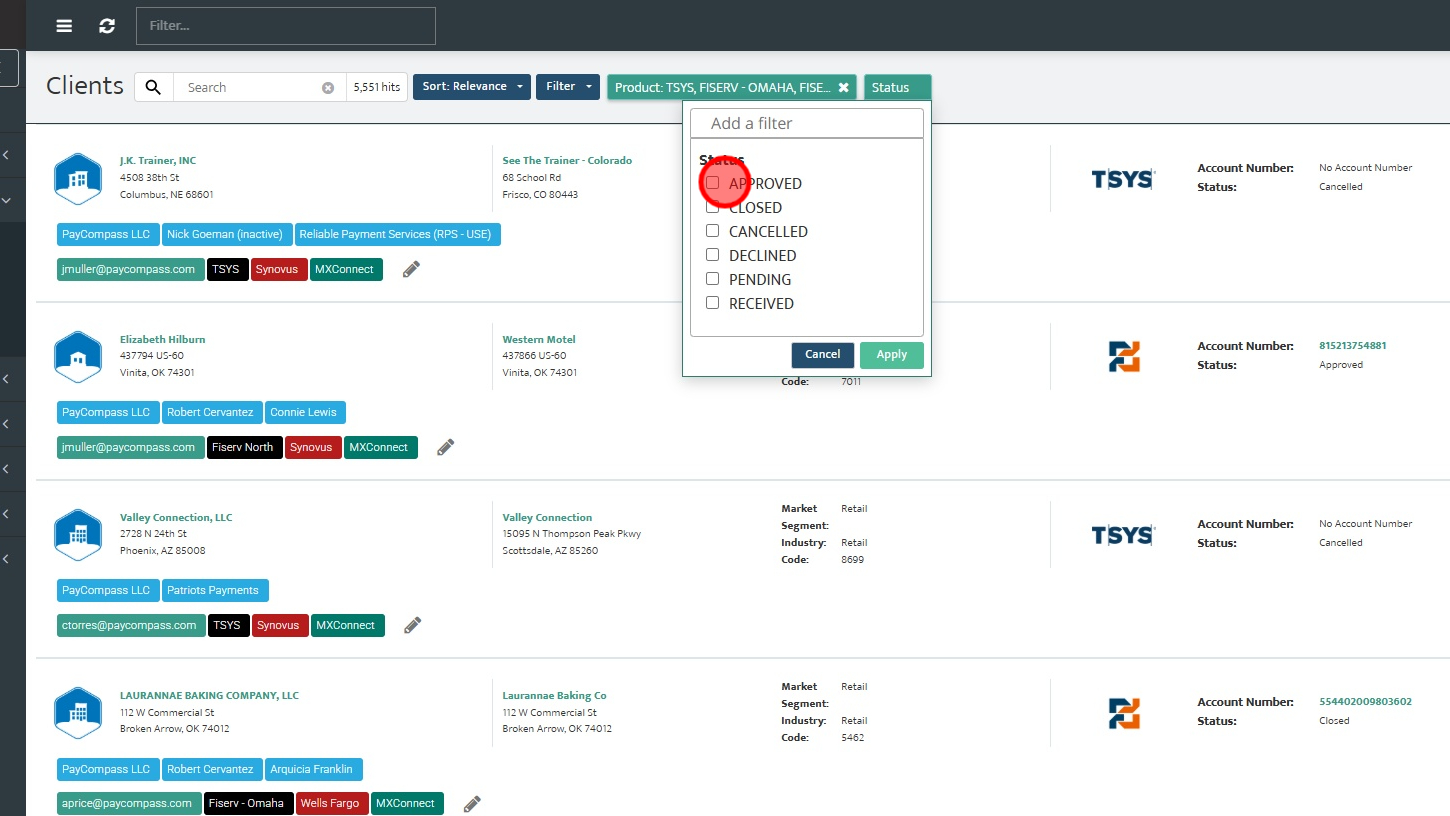
Step 7: Click "APPROVED". This will make the filter show APPROVED accounts.
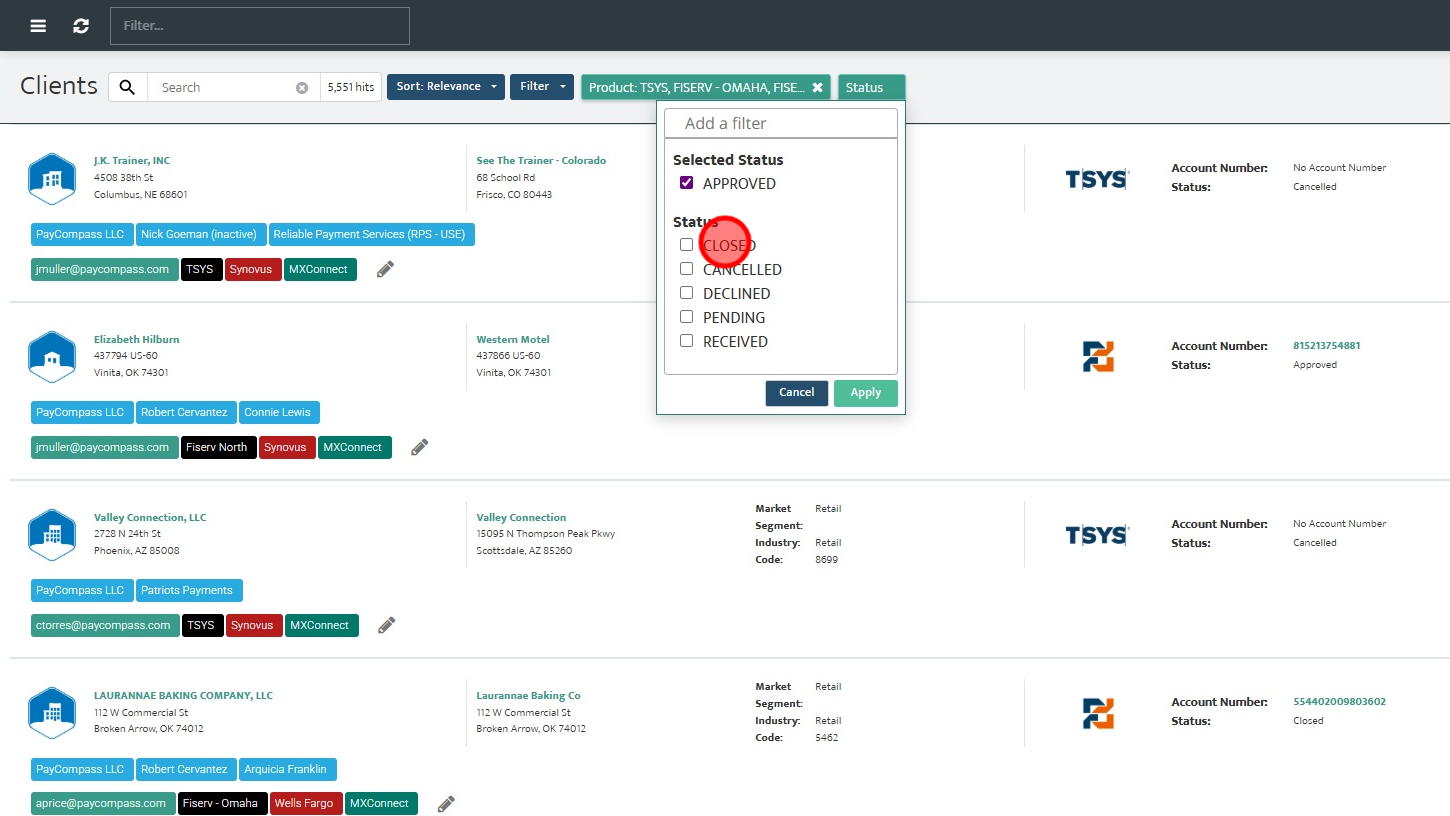
Step 8: Click "CLOSED". This will make the filter show CLOSED accounts.
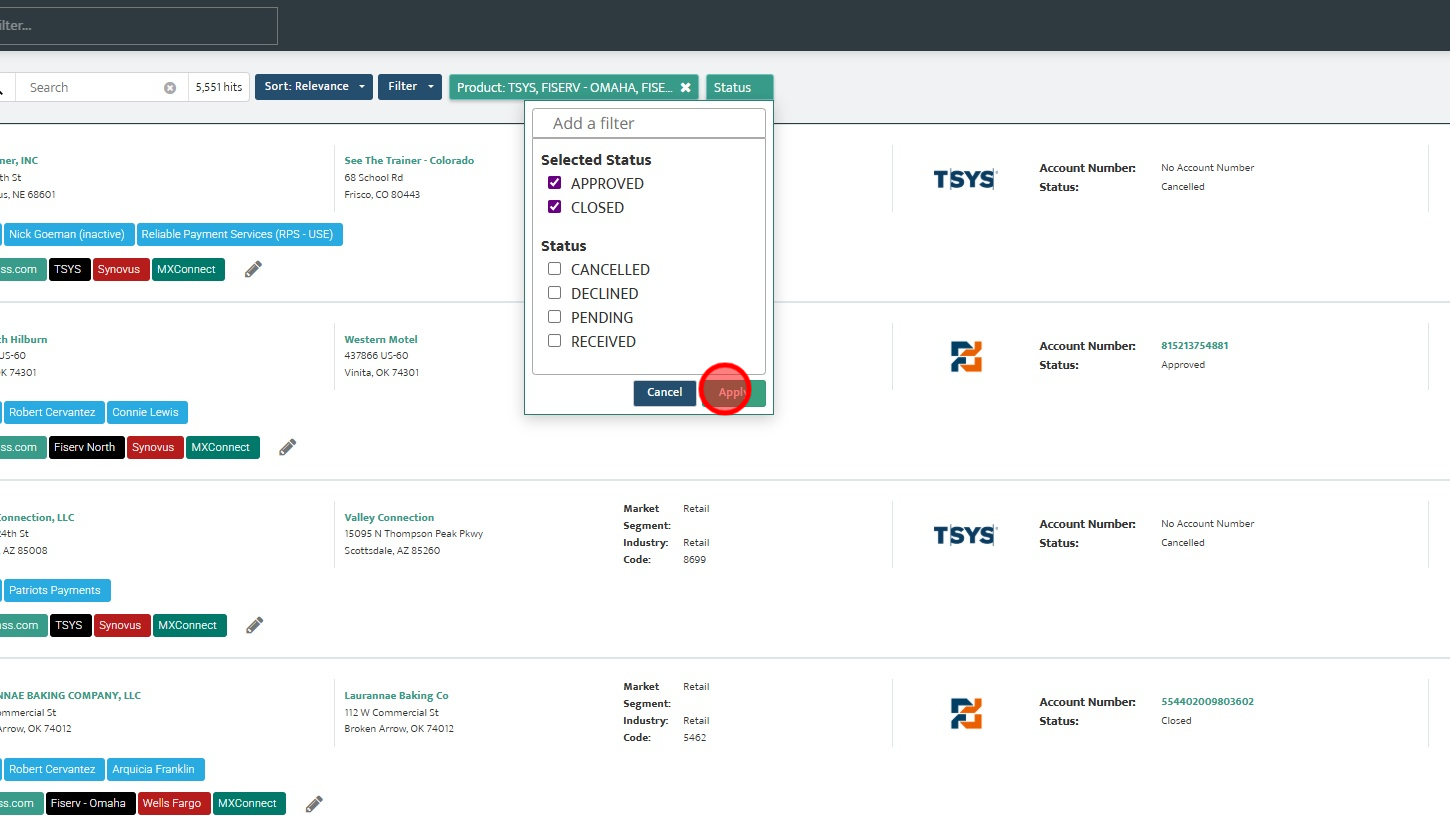
Step 9: Click "Apply". In the example, APPROVED and CLOSED are selected so both APPROVED and CLOSED accounts would be shown. Typically we will only look at CLOSED and APPROVED accounts, the other options are statuses that relate to the account pre-approval.
PART IV: How to View Reporting
Step 1: Visit https://mxconnect.com/#/login
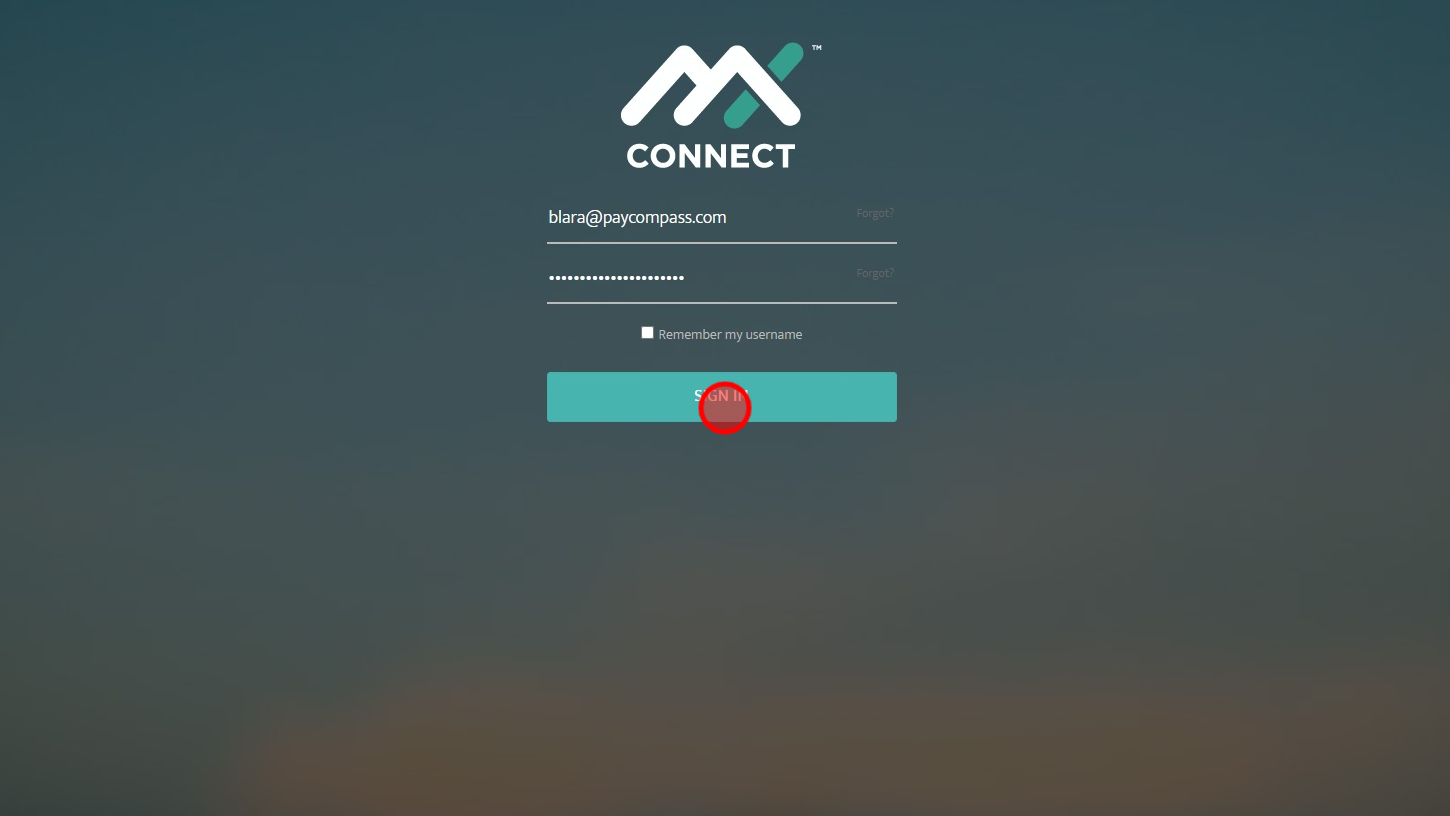
Step 2: Sign into MX COnnect
Step 3: Click "Merchant"
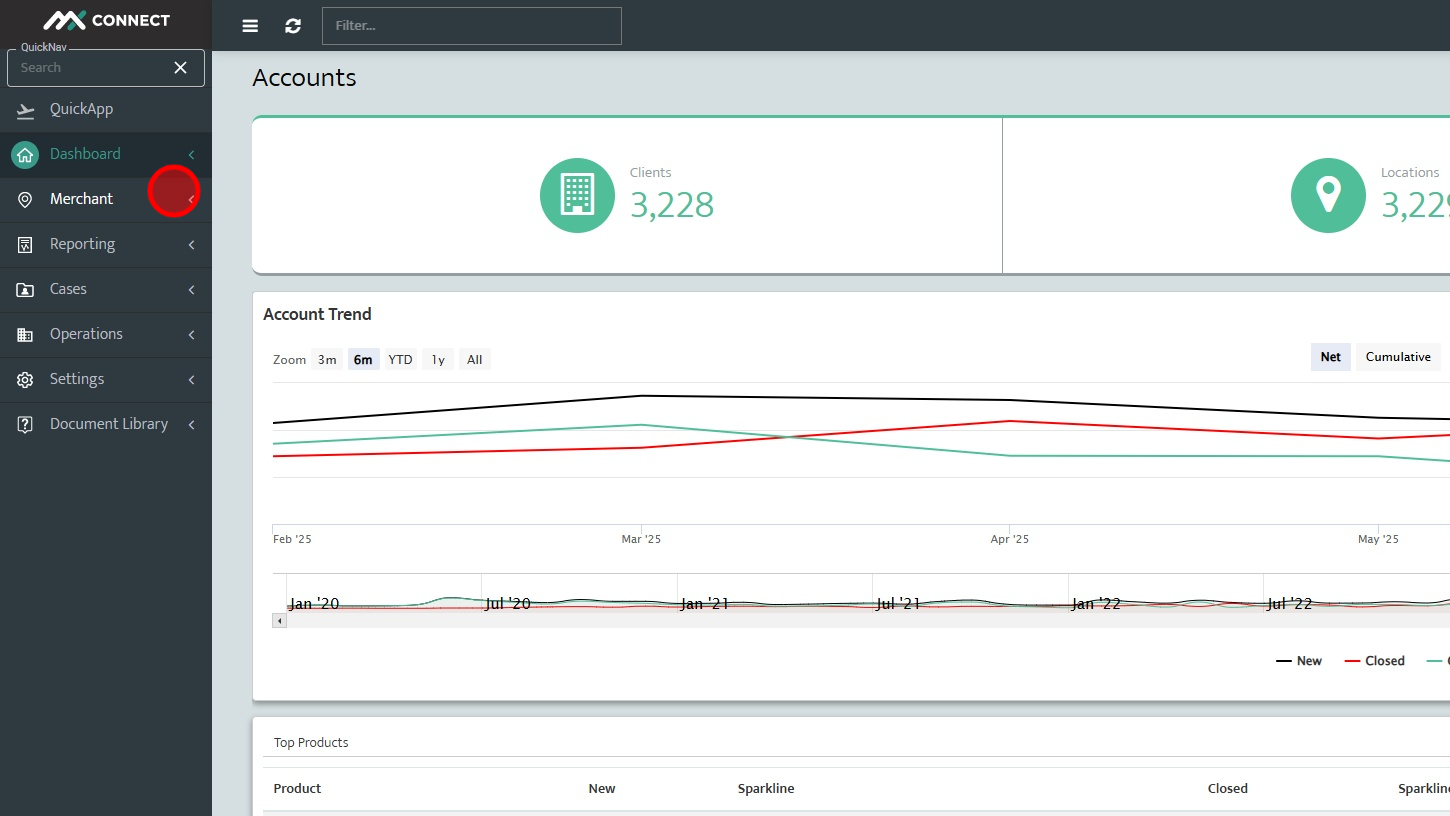
Step 4: Click "Clients"
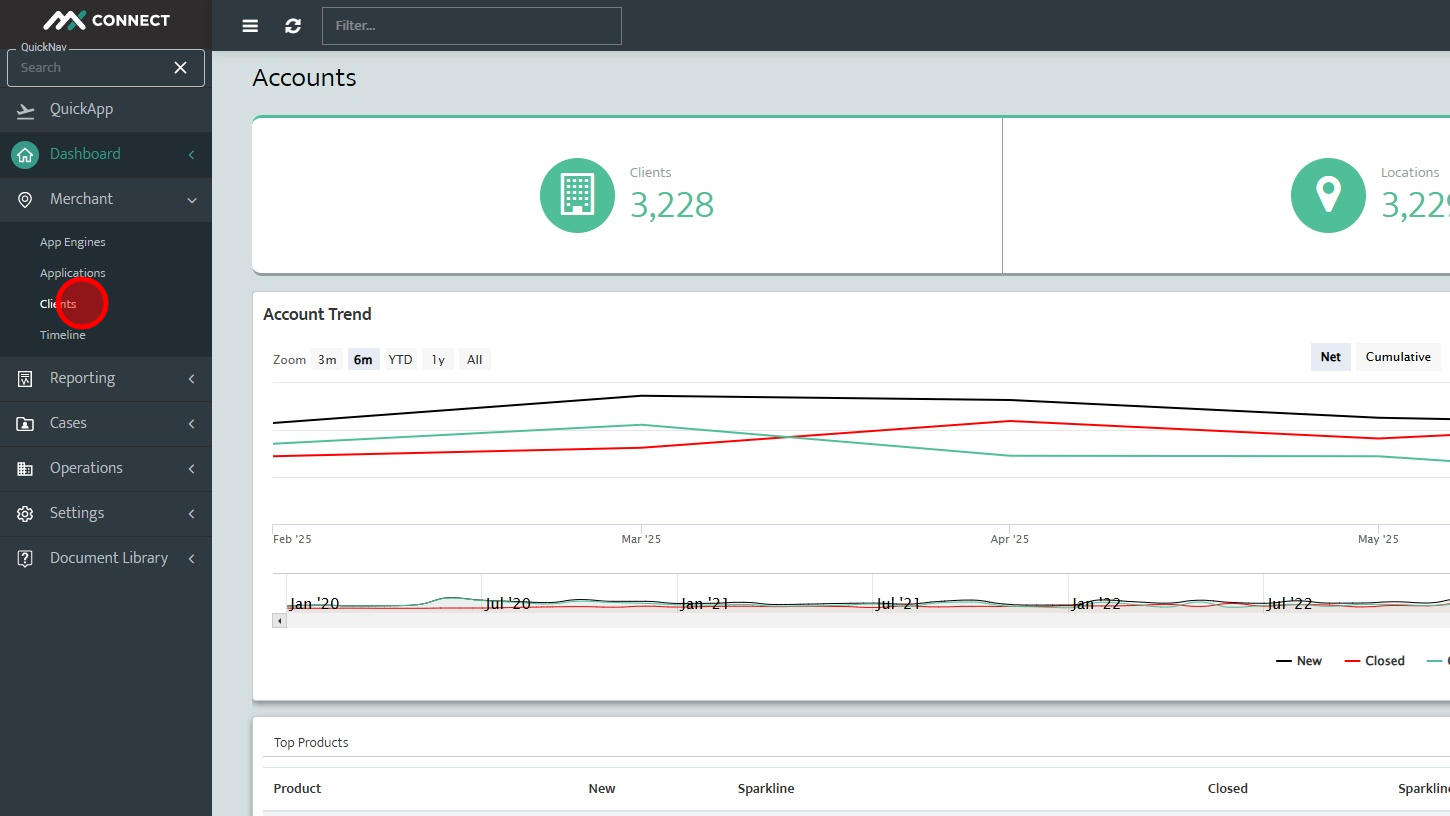
Step 5: Search for the account you are looking for using the DBA or MID
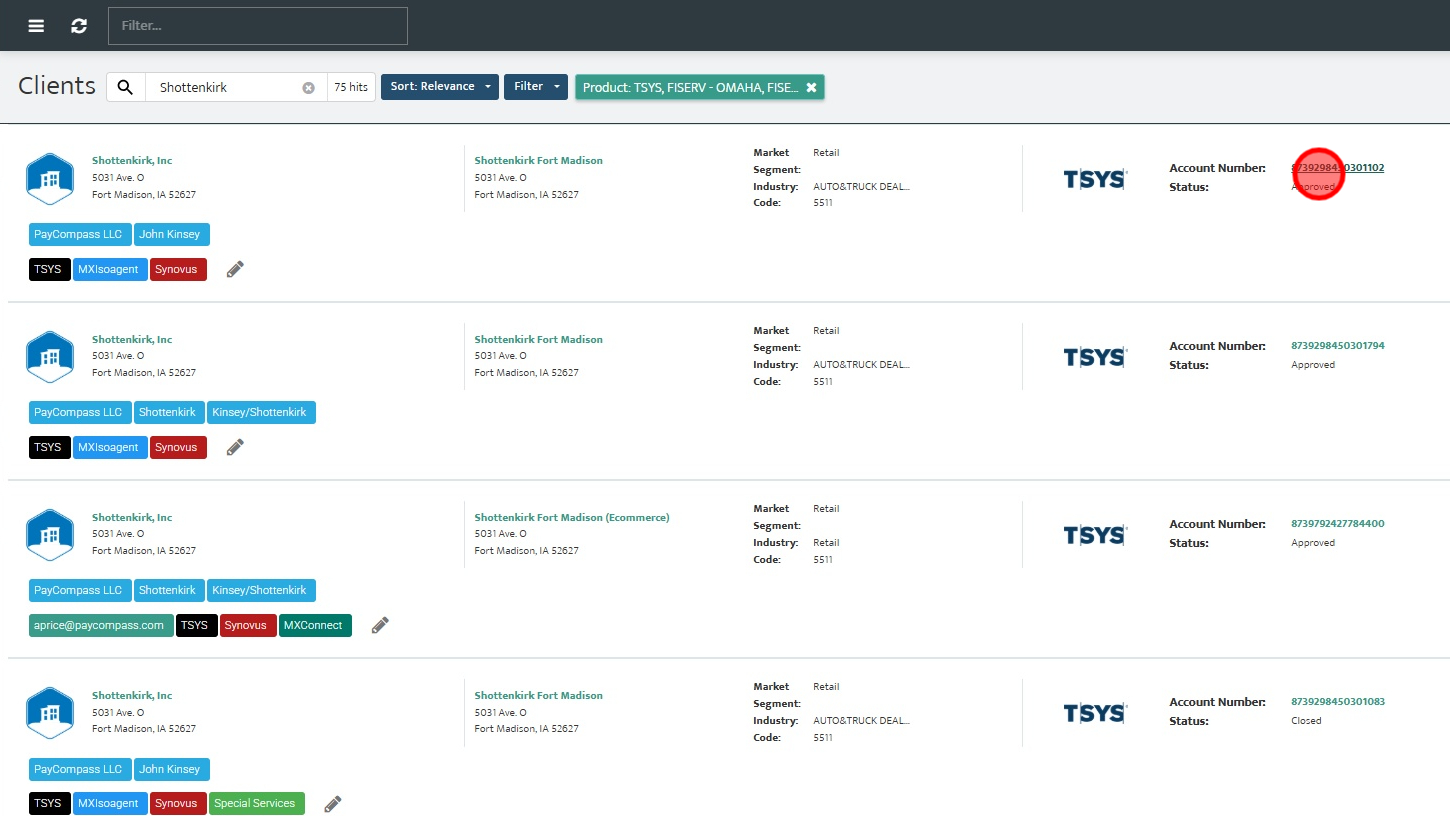
Step 6: Click on the Account Number of the account you are looking for.
Step 7: Click into the TSYS or FD tab to view processing bank tab.
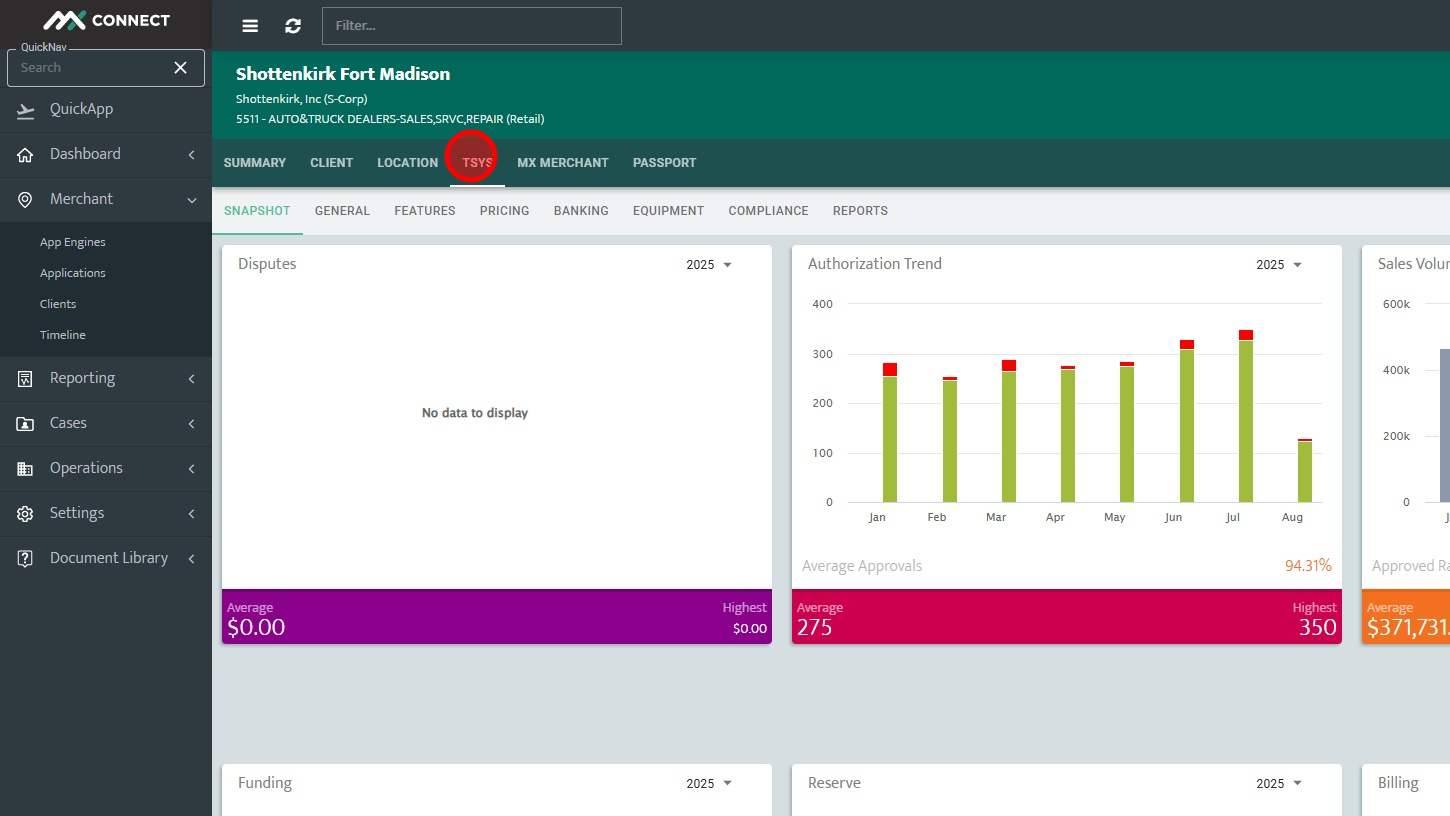
Step 8: Click "Reports"
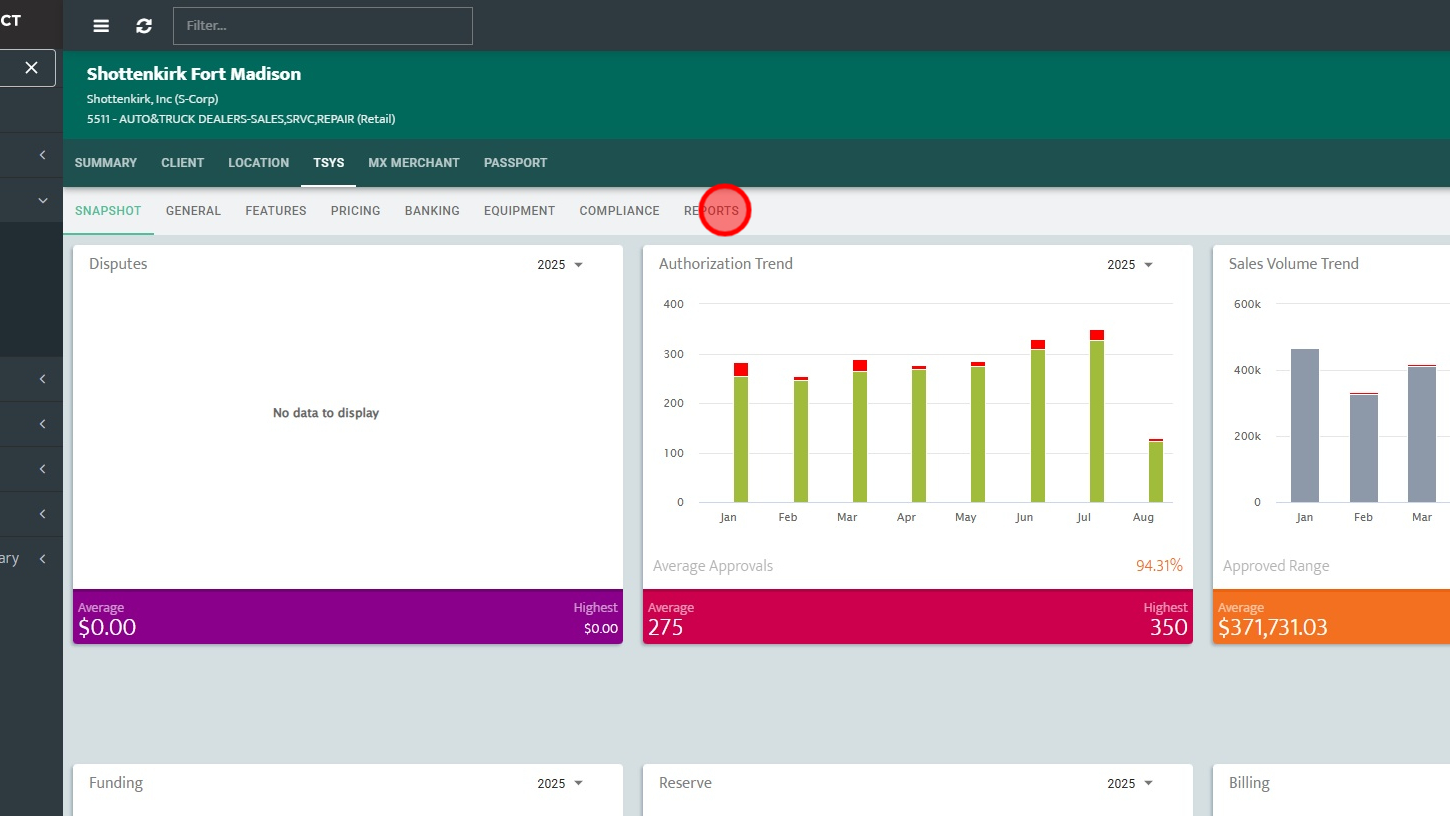
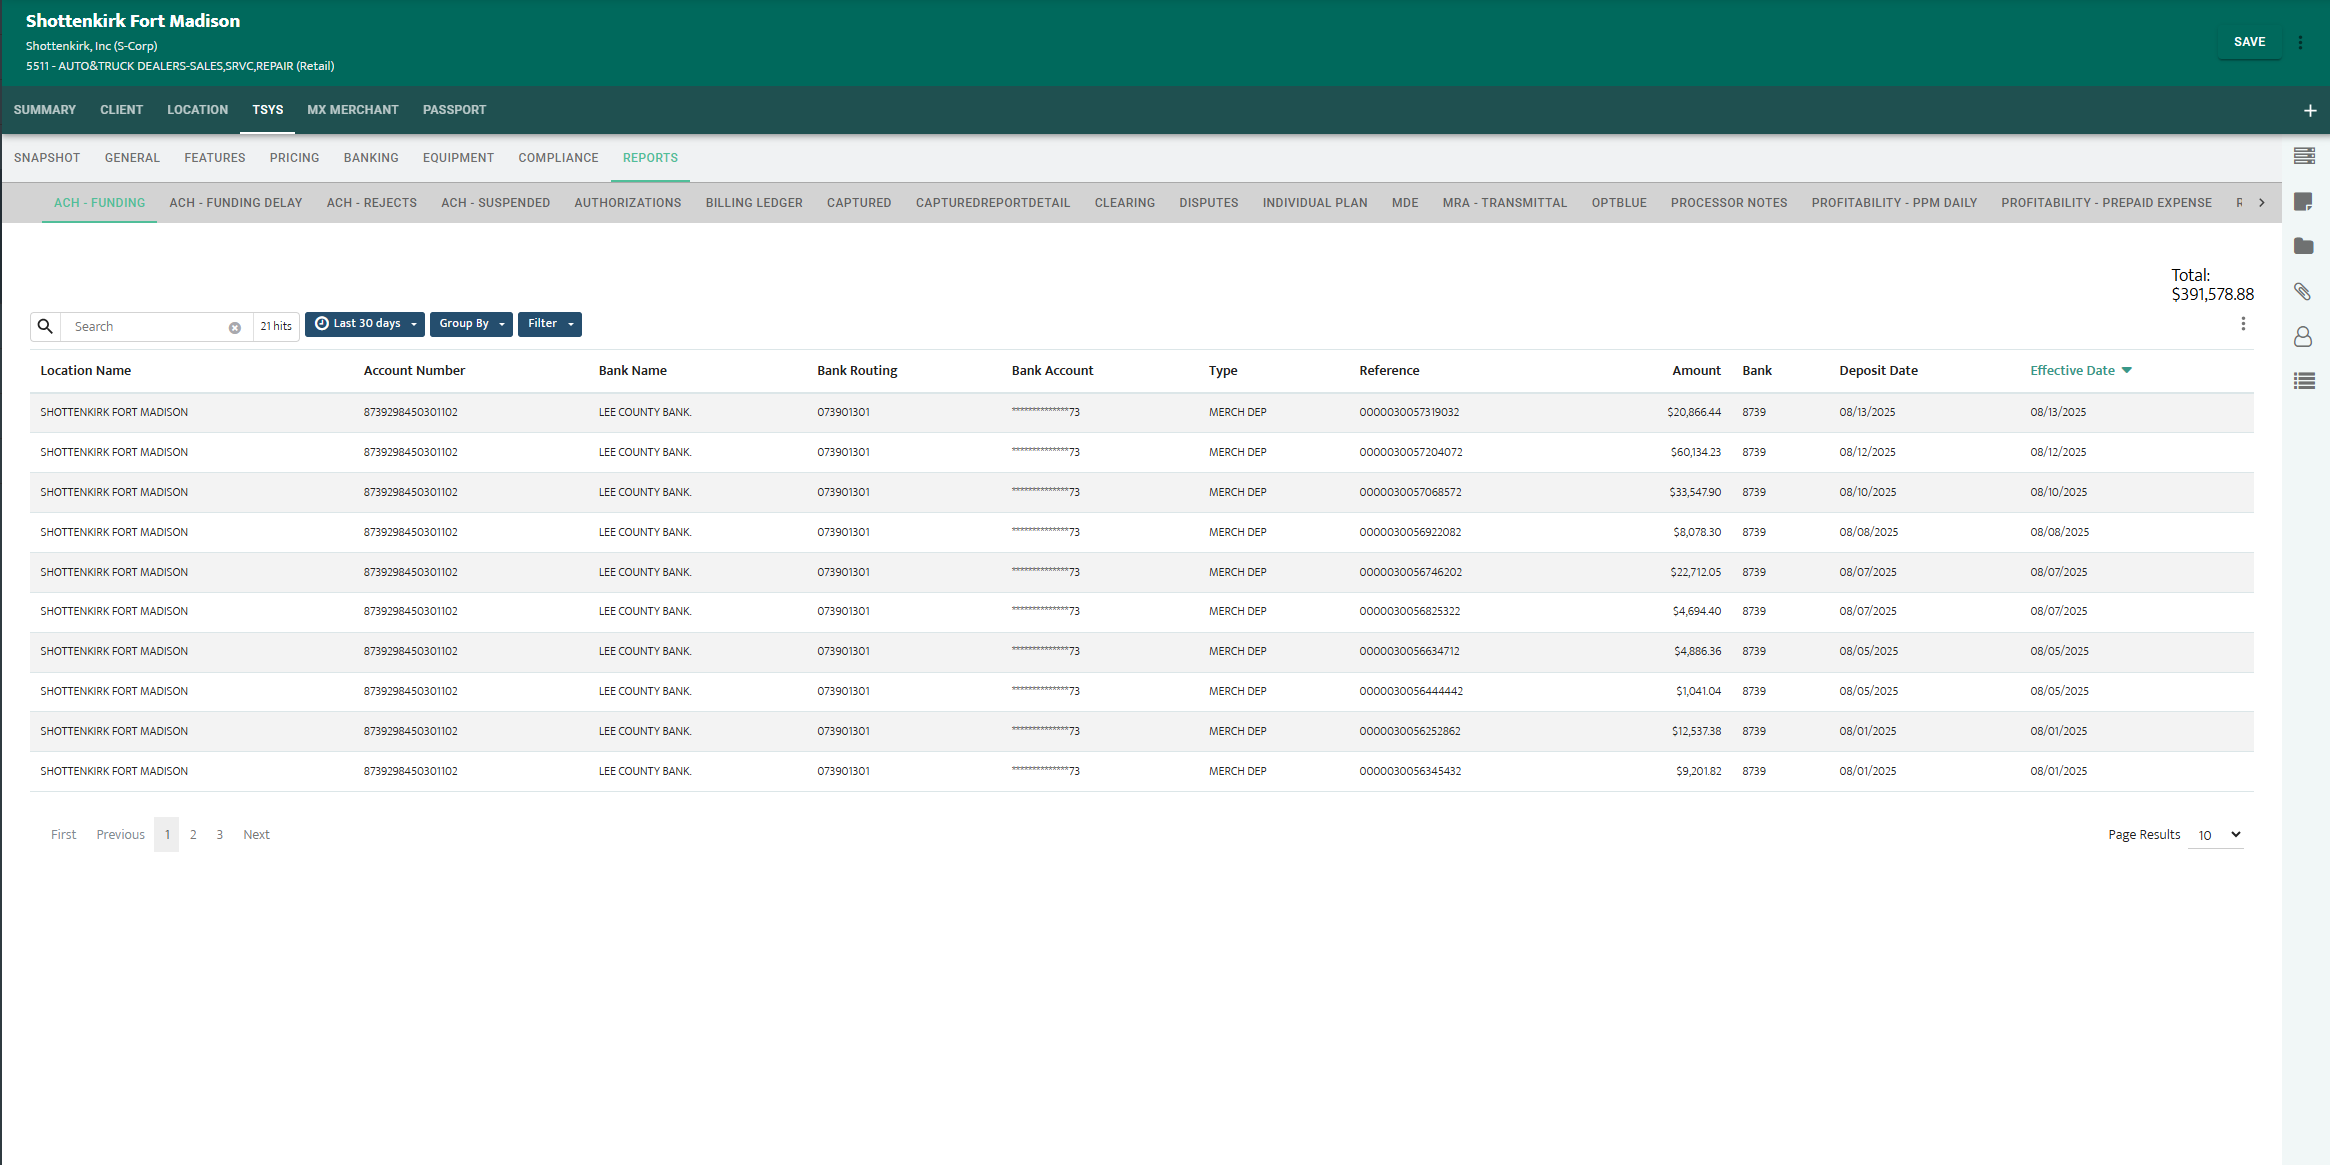
Step 9: This will show the reporting for the account. The most common tabs we will look at are ACH Funding, Authorizations, Captured, Clearing, Settlements, and Statements.
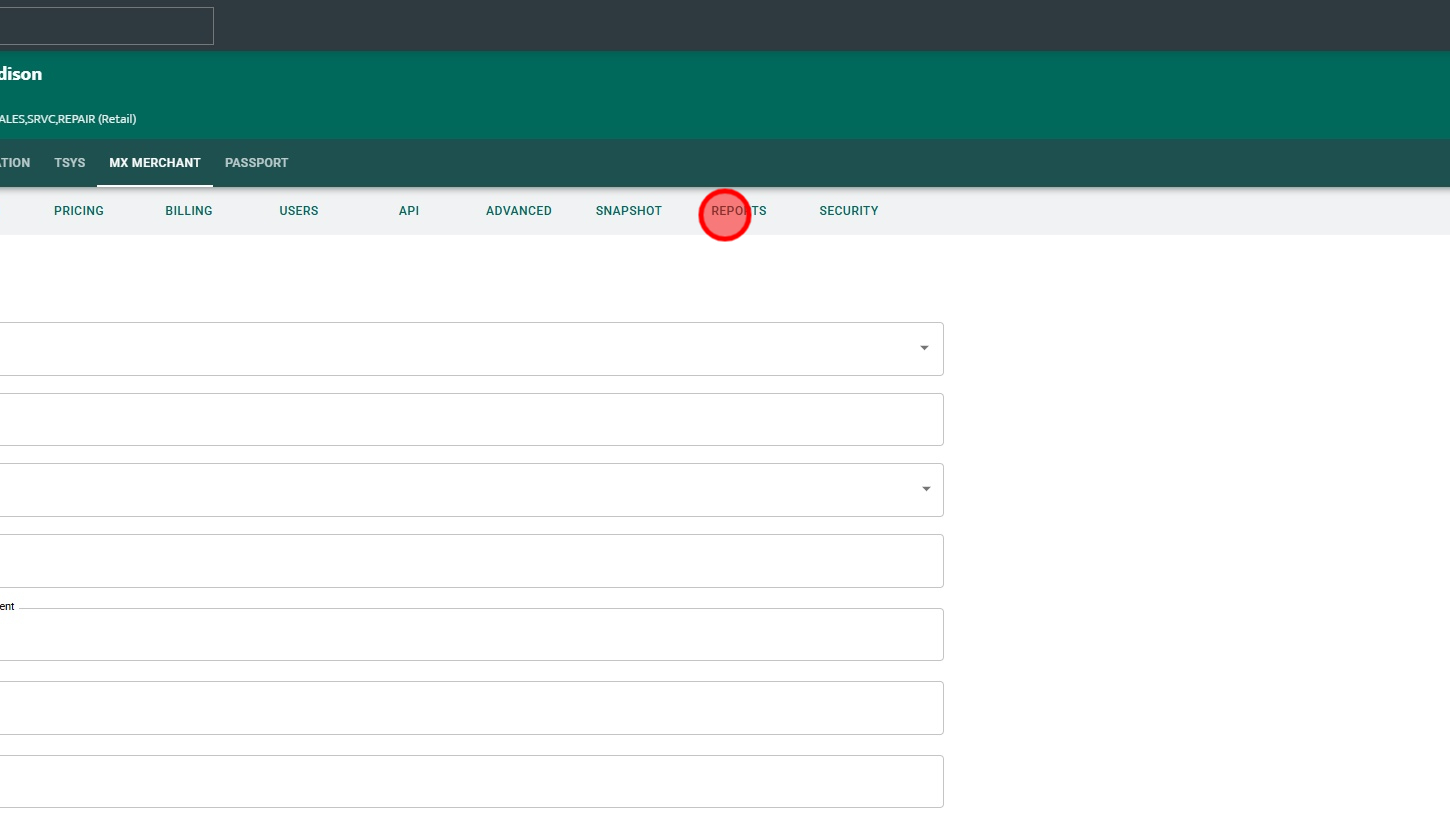
Step 10: If the merchant is processing through MxMerchant, the reporting will be shown under the MX Merchant tab.
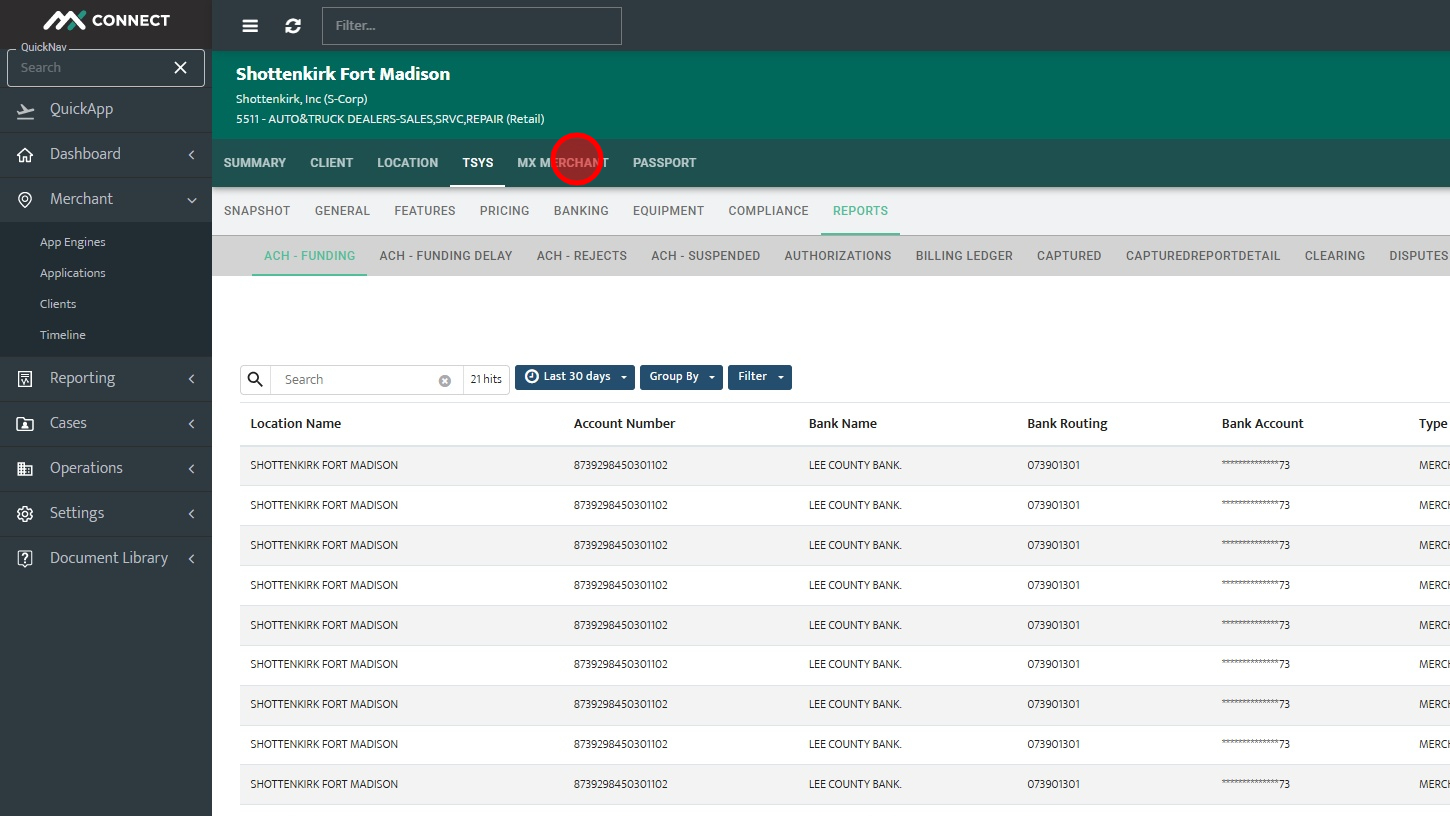
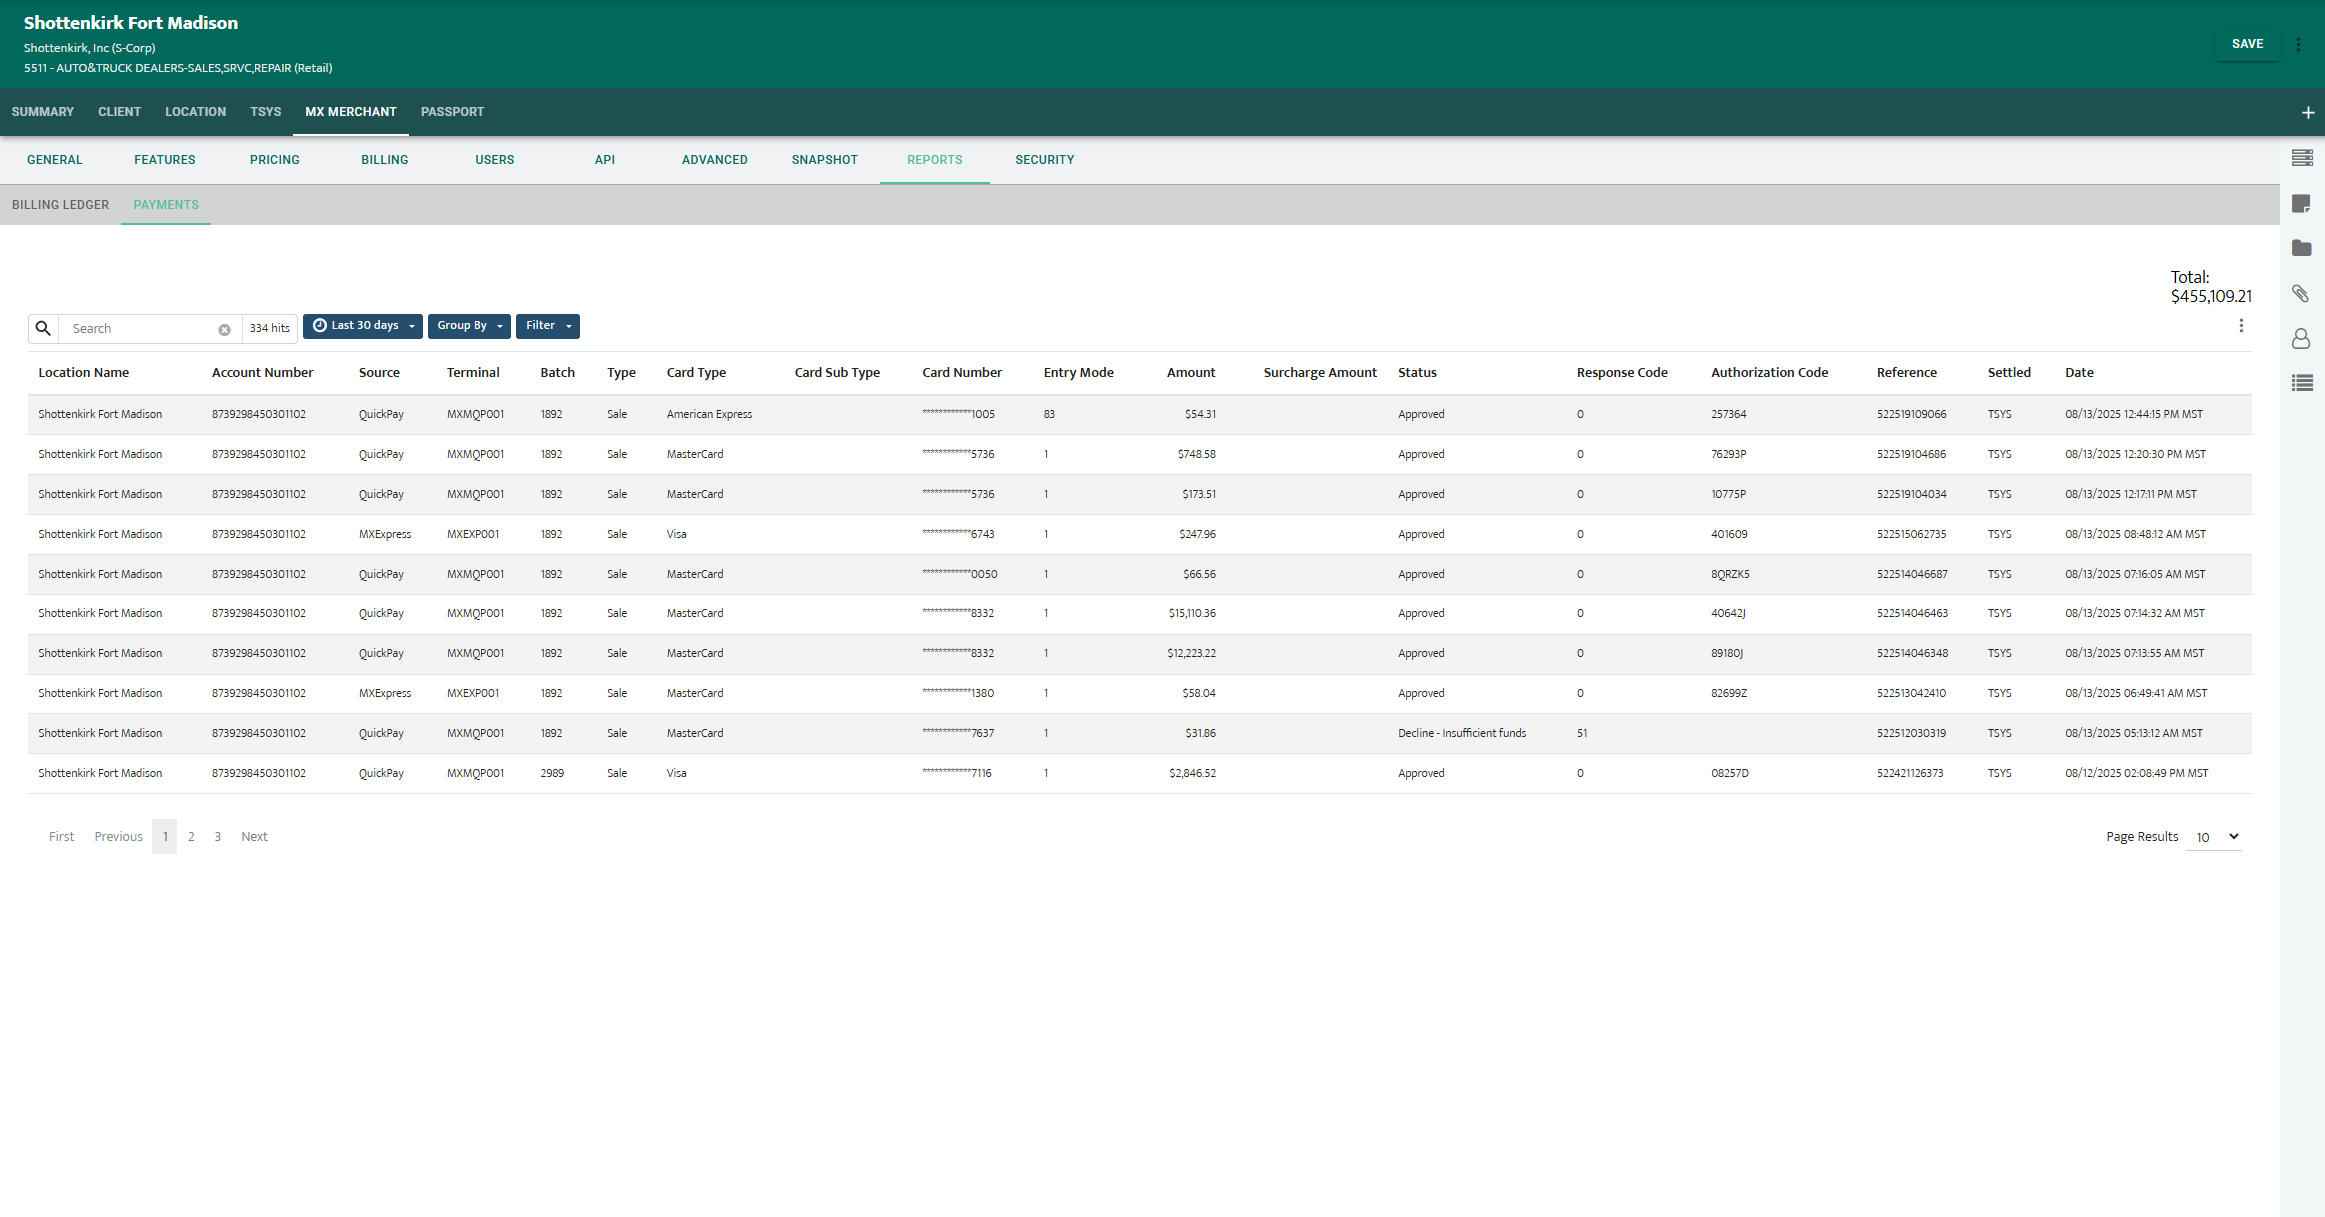
Step 11: Click "REPORTS" to see MxMerchant reporting.
Step 12: Click "Payments"
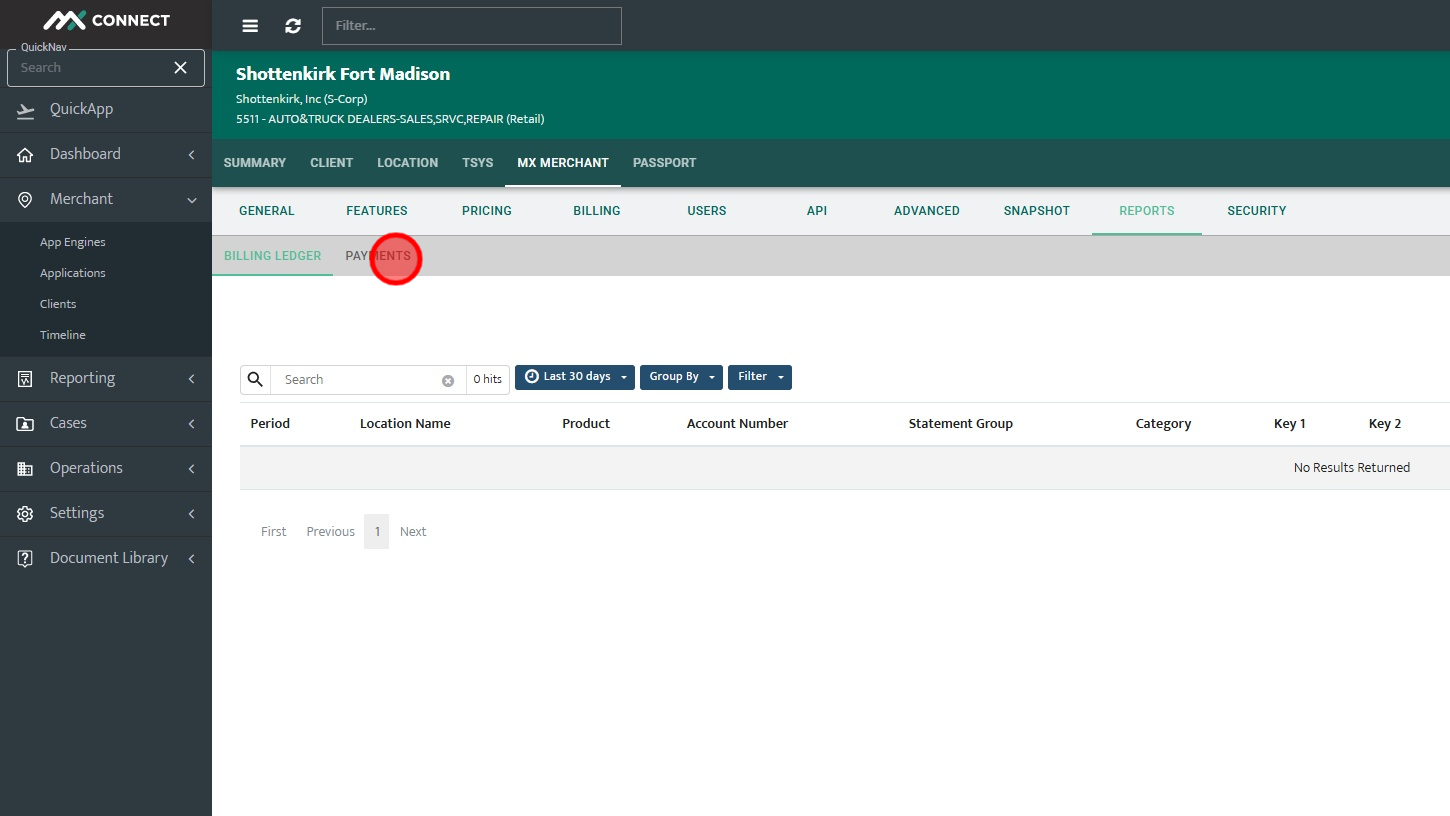
Step 13: This will show payments made through the MxMerchant virtual terminal.