
Step 1 |
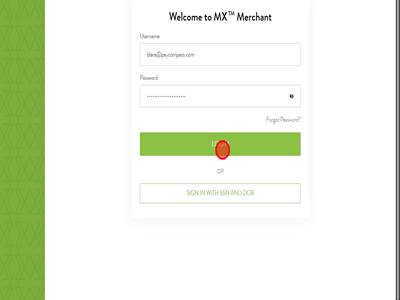
Step 2First you will need to ensure you have been added to the Merchant's MxMerchant, if you have not please reach out and we can add you. Once you have been added. Login to MxMerchant.
|
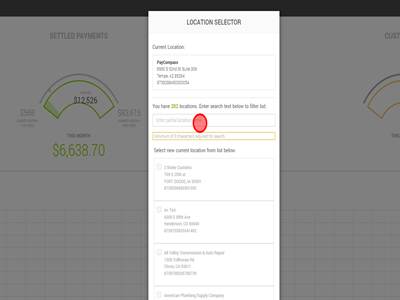
Step 3Search for the merchant you need to view reporting of.
|
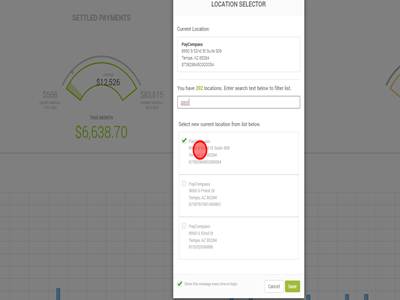
Step 4Select the merchant you need to view reporting for.
|
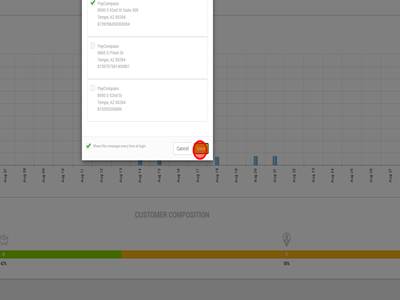
Step 5Click "Save" so that you have view of the selected merchant's MxMerchant.
|
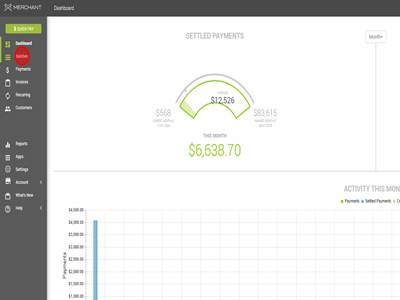
Step 6Click "Batches" this will show Credit Card batches from transactions that are done in MxMerchant ONLY. If the merchant is NOT using MxMerchant gateway to process transactions, skip to step 20.
|
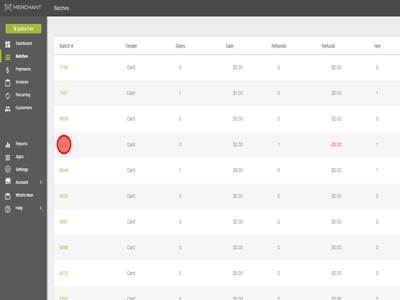
Step 7Once you click "Batches" you will see a list of batches that have been processed in MxMerchant. From here you can see the type of tender, the amount of sale transactions, the total amount of all sales, the amount of refund transactions, the total amount of all refunds, net amount of transactions, net amount of refunds + sales, Source, Open and close date and time, and convenience fee. You are also able to see the Batch number and you can click on it to see the transactions in the batch.
|
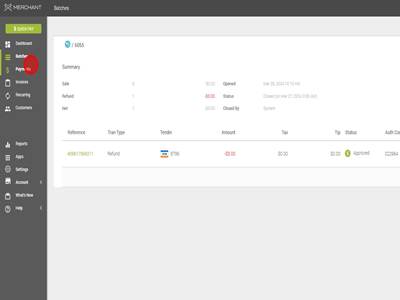
Step 8This is what it looks like when you open a batch in batches. In this batch there is 1 transaction and it was a refund for $3. There is also reporting that shows just the transactions. To see this you will click on "Payments".
|
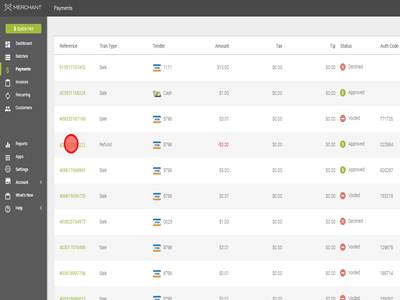
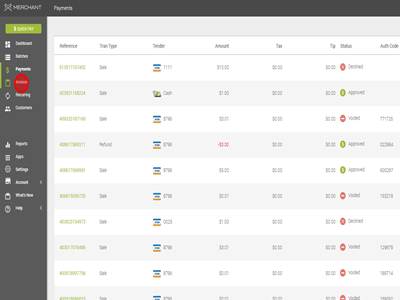
Step 9Clicking "Payments" lets you see a breakdown of all the transactions ran through MxMerchant. You can then click on the reference number of a transaction to view more details on the transaction.
|
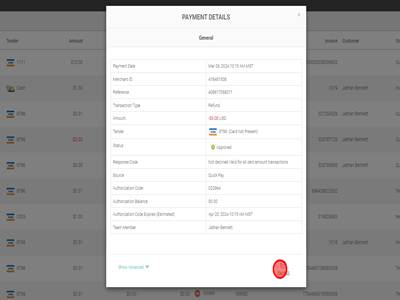
Step 10Clicking the reference number will bring up the "Payment Details' box. From here you can view additional transaction data and view / export the receipt by clicking "Receipt".
|
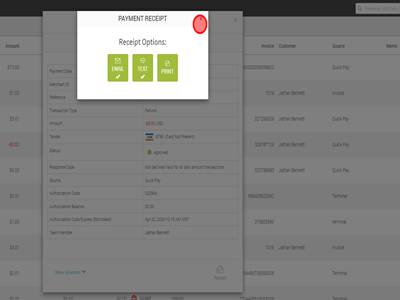
Step 11Clicking "Receipt" allows you to email or text the receipt to someone. It also allows the print option.
|
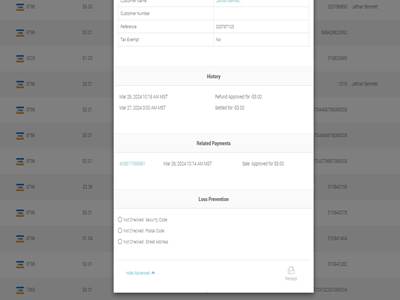
Step 12There is also the "Show Advanced" button which will show advanced transaction information. It will show the History, Related Payments, and Loss Prevention.
|
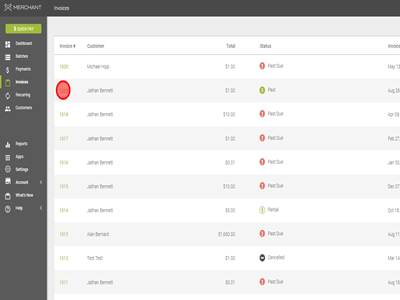
Step 13If the merchant is using Invoicing within MxMerchant you can view Invoices by clicking "Invoices".
|
Step 14This will show all of the invoices the merchant has created. You can view more information by clicking the Invoice #.
|
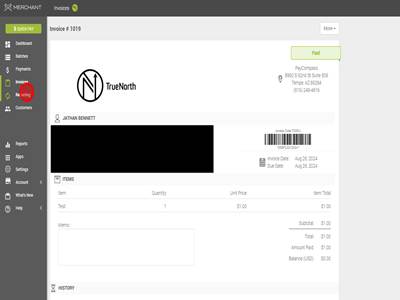
Step 15Clicking the invoice will allow you to see the entire invoice and whether it has been paid or not. You can also setup Recurring billing in MxMerchant by going to the "Recurring" tab.
|
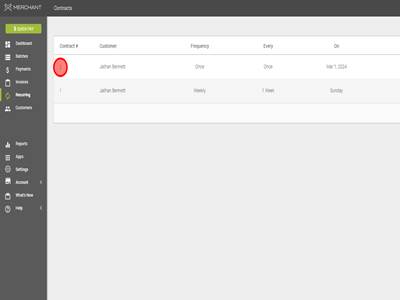
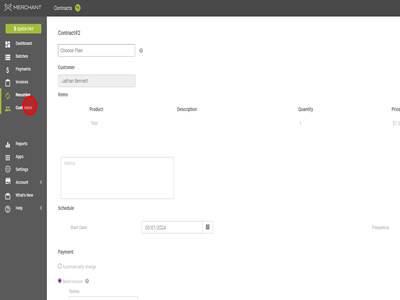
Step 16From the invoices tab we can create new recurring billing in the top right corner or we can view the recurring billing that has already been made. To view recurring billing that has already been created you can click on the contract #.
|
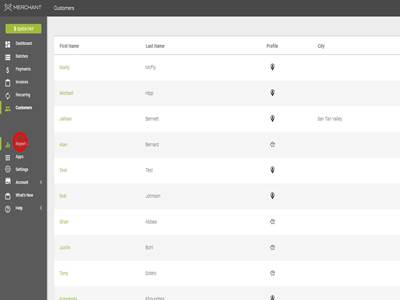
Step 17You can also view customers that have been created by the merchant. To do this you will click "Customers".
|
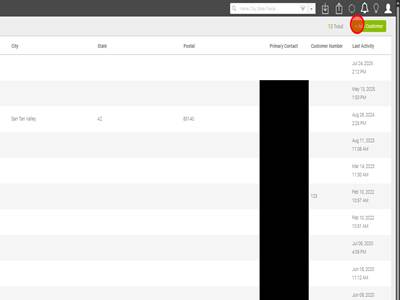
Step 18You can add a customer by clicking "+ Add Customer" button
|
Step 20All of the reporting mentioned before this is for transactions in MxMerchant, transaction reporting for all sources including MxMerchant can also be viewed. To do this Click "Reports"
|
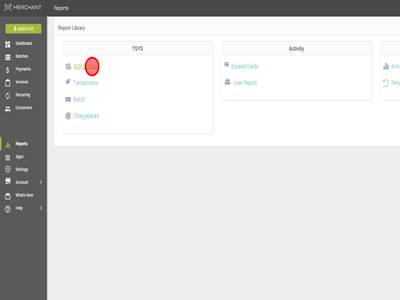
Step 21Click "ACH Funding"
|
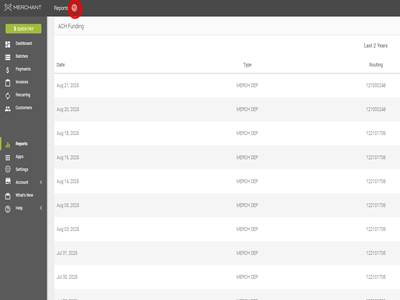
Step 22This will show you the deposits the merchant has received on their account.
|
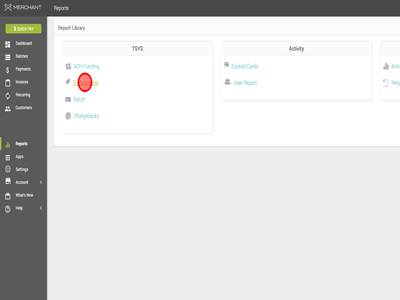
Step 23Click "Transactions"
|
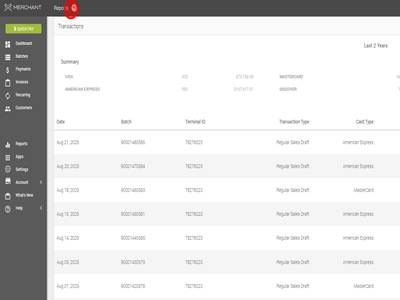
Step 24This will show you transactions from all sources including MxMerchant (IE. a terminal or gateway)
|
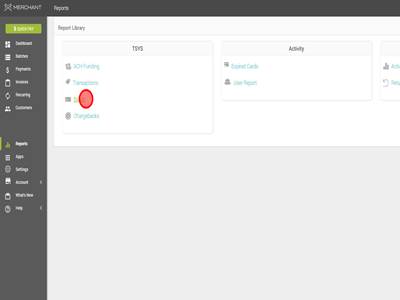
Step 25Go back and Click "Batch"
|
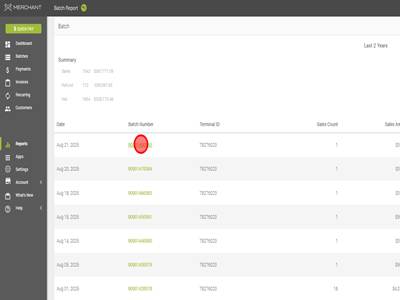
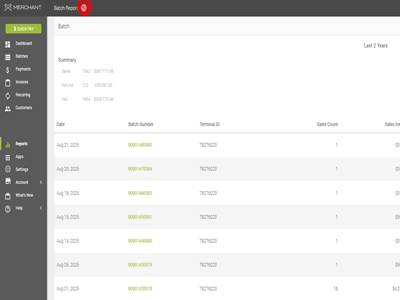
Step 26This will show you batches from all sources. It will also show the Terminal ID which can be used to find where the batch came from. Clicking on a batch number will open the batch and allow you to see the transactions in the batch.
|
Step 28Go back to Reports
|
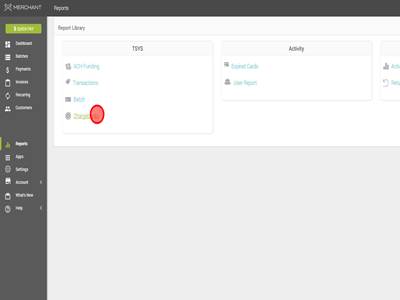
Step 29Click "Chargebacks" link
|
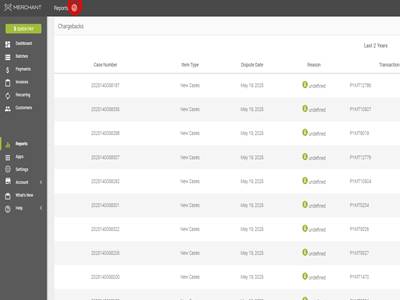
Step 30This will show you the chargebacks on an account. The merchant can use this information to dispute a chargeback.
|
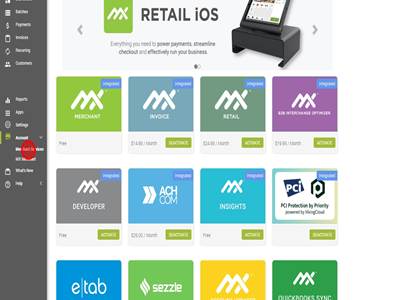
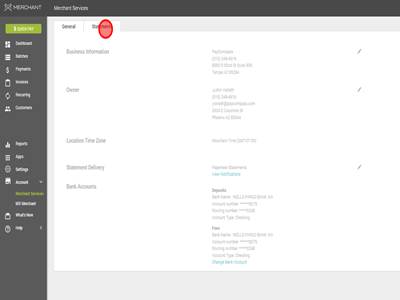
Step 33The merchant can also view statements in the MxMerchant portal. To do this Click "Merchant Services" under the "Account" dropdown menu.
|
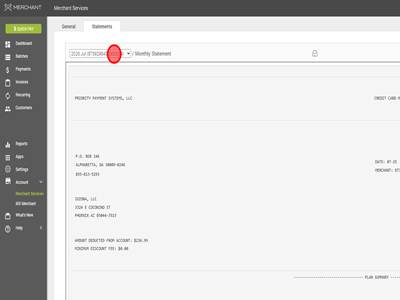
Step 34Click "Statements"
|
Step 35The merchant can use this dropdown menu to select which statement they want to see.
|
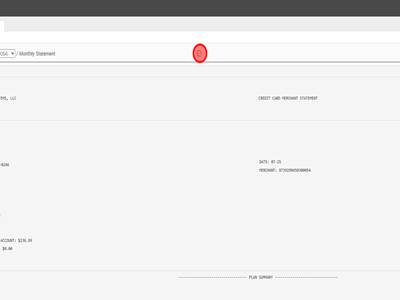
Step 36The merchant can use this button to download or print statements.
|
Viewing Reporting in MX Merchant Print
Modified on: Fri, 24 Jul, 2026 at 4:42 AM
Did you find it helpful? Yes No
Send feedbackSorry we couldn't be helpful. Help us improve this article with your feedback.