
Step 1 |
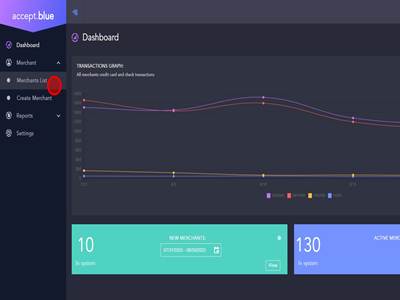
Step 2First you will login to Payvault. Then go to Merchant List.
|
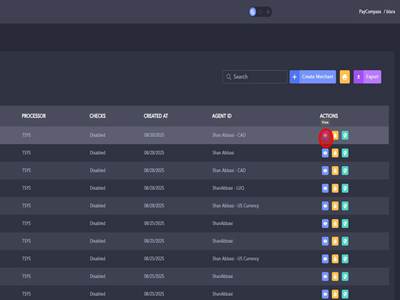
Step 3Click "View" to view the merchant's gateway information.
|
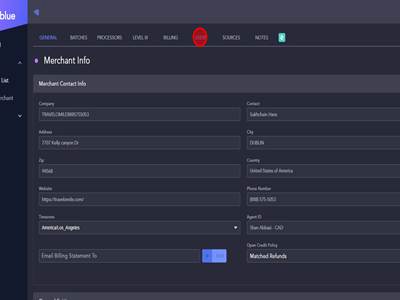
Step 4Click "USERS"
|
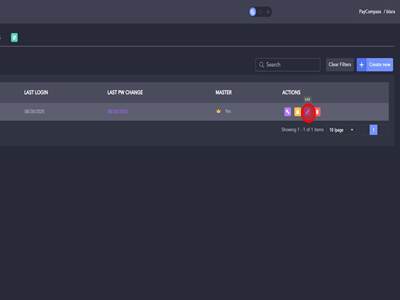
Step 5Click "Edit". We will only want the merchant to have access to the Hosted Payment Page.
|
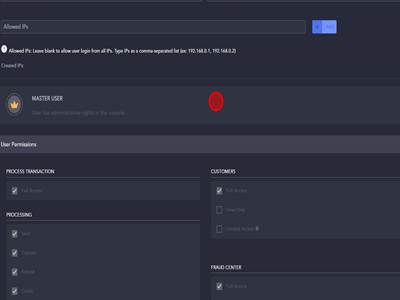
Step 6We will start by making turning off Master User for the merchant.
|
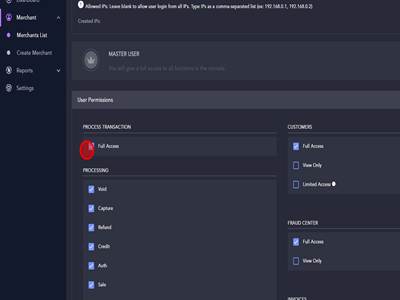
Step 7Once Master User is turned off we will turn off Full Access under Process transaction.
|
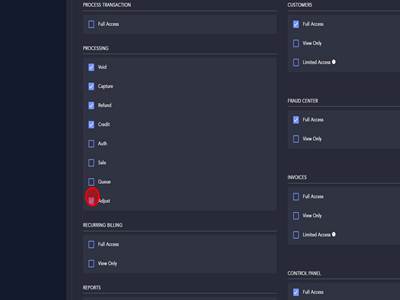
Step 8After that, under the Processing header, everything under Credit will need to be turned off.
|
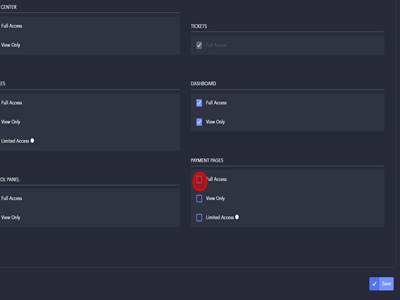
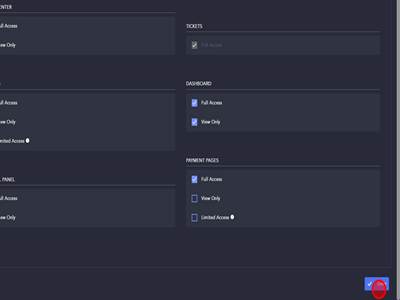
Step 9Then we will need to give the merchant Full Access to the Payment Pages.
|
Step 10Click "Save"
|
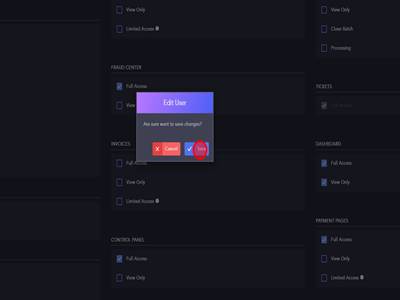
Step 11Click "Save"
|
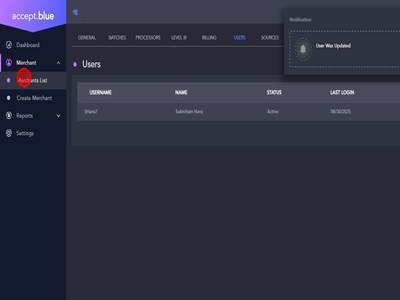
Step 12Now that we have updated the user's permissions you will get a notification saying the user was updated. After this you will click Merchant List again.
|
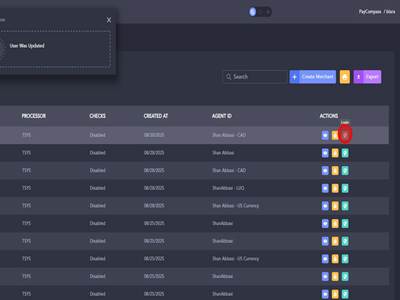
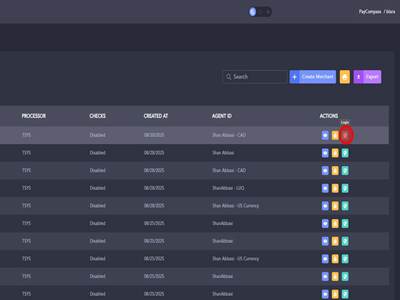
Step 13Click "Login" this will allow us access to the merchant's gateway.
|
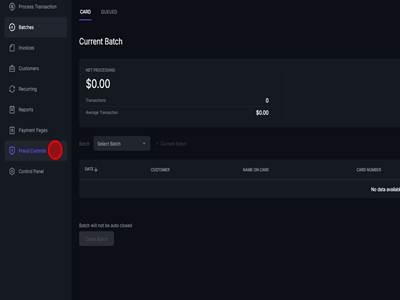
Step 14Once we are logged into the merchant's terminal, we need to configure the Fraud controls. Click "Fraud Controls"
|
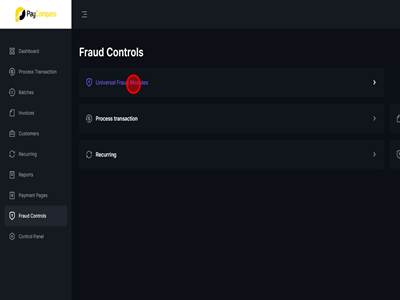
Step 15Click "Universal Fraud Modules"
|
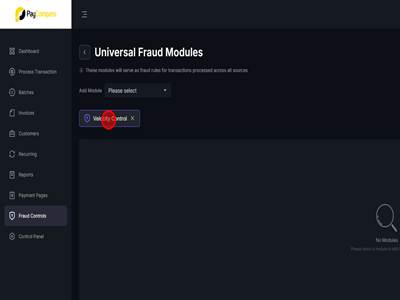
Step 16Click "Velocity Control"
|
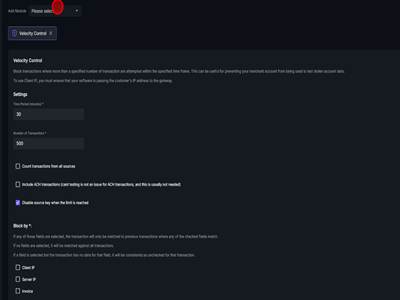
Step 17Click "Velocity Control" text
|
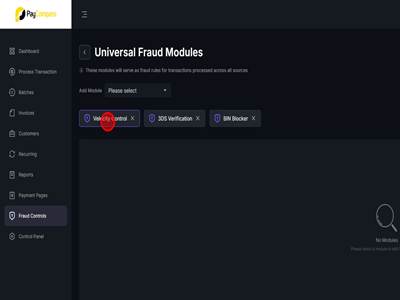
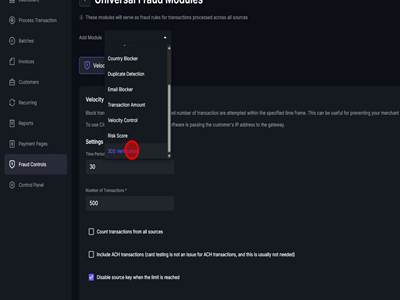
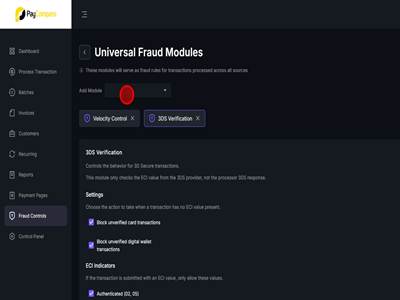
Step 18We typically do not need to change anything on the Velocity Control fraud module. Then we will use the dropdown menu to add 3DS.
|
Step 19Click "3DS Verification"
|
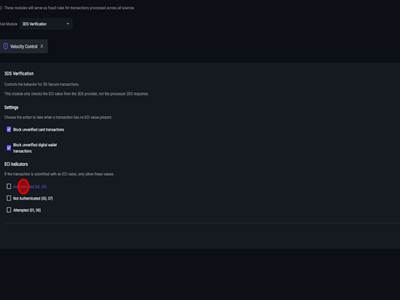
Step 20For 3DS, both checkboxes under Settings need to be checked and you will check "Authenticated (02, 05)" under ECI Indicators
|
Step 21After you have ensured the 3DS settings are correct you will hit Save.
|
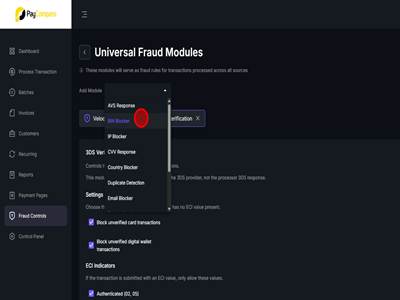
Step 22After saving, we will still need to add the BIN Blocker module.
|
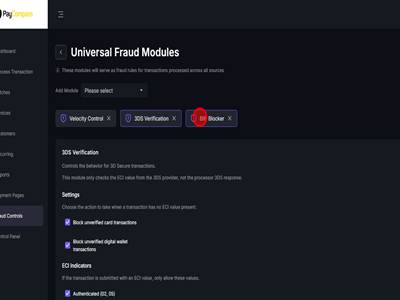
Step 23Click "BIN Blocker"
|
Step 24Click "BIN Blocker"
|
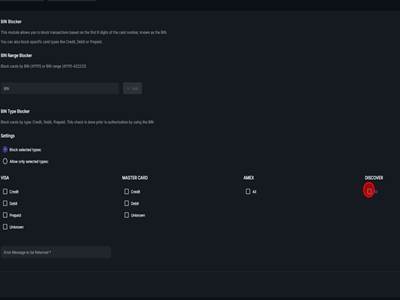
Step 25For BIN Blocker, we will want to "Block Selected Types" and typically we will turn Discover off.
|
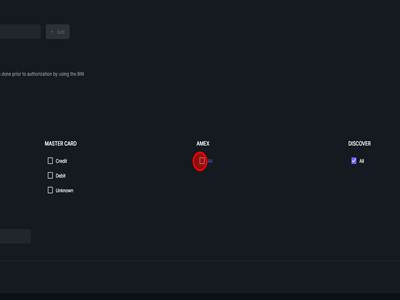
Step 26This is a CAD build so we will also turn AMEX off because only Visa and Mastercard will work for CAD.
|
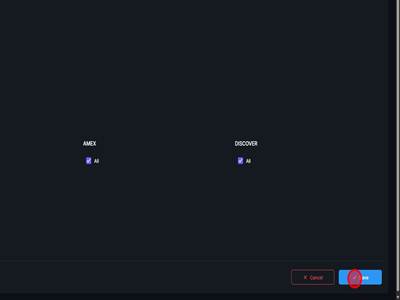
Step 27Click Save after you have ensured the settings are correct.
|
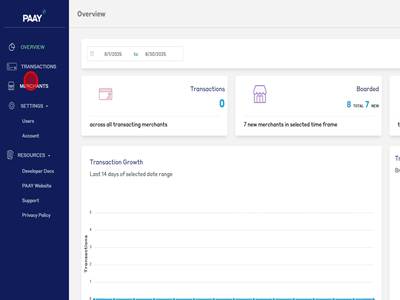
Step 28Now we will need to setup 3DS for the merchant. Login to PAAY and click "MERCHANTS"
|
Step 29In this case the merchant has already been built and configured in PAAY. Since this is completed, all we will need to do is generate API keys.
|
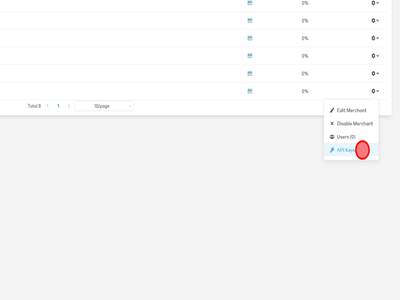
Step 30Click " API Keys"
|
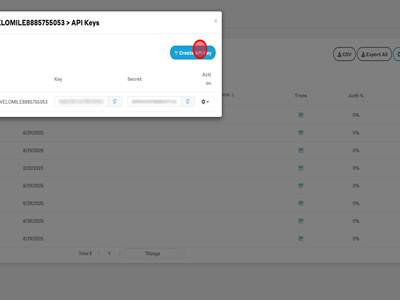
Step 31Click " Create API Key" button
|
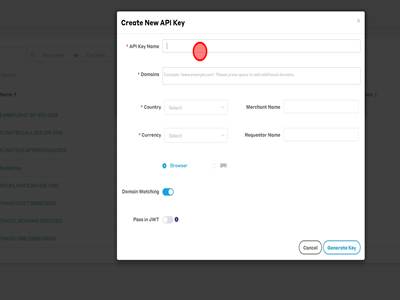
Step 32The API Key Name will typically be Payvault - Currency. In this case Payvault - CAD
|
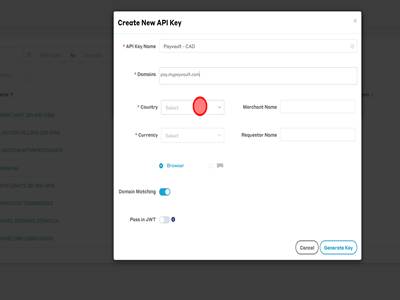
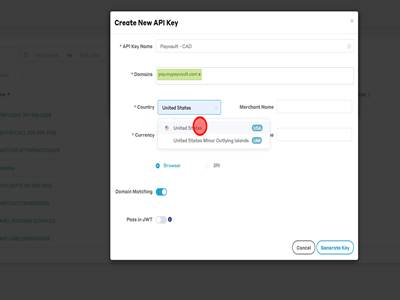
Step 33The domain will be pay.mypayvault.com as this is Payvault's domain.
|
Step 34Click "United States"
|
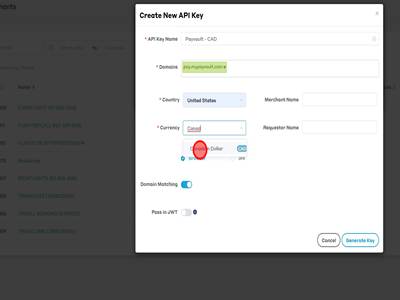
Step 35Choose the currency. In this case we will use the Canadian Dollar.
|
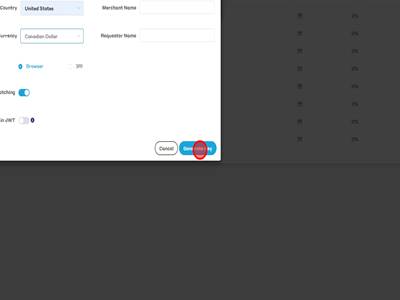
Step 36The rest of the options will not need to be changed. Click "Generate Key"
|
Step 37Now that you have generated the API keys, we will need to log back into the merchant's gateway.
|
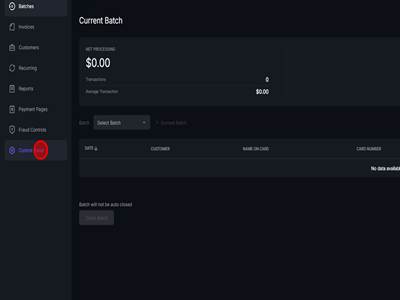
Step 38Click "Control Panel"
|
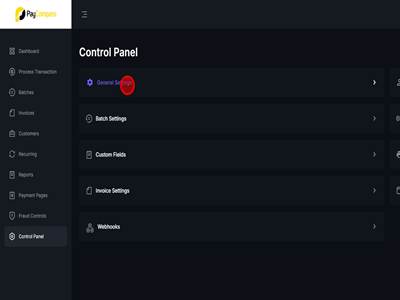
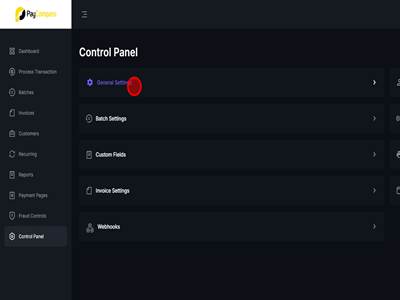
Step 39Click "General Settings"
|
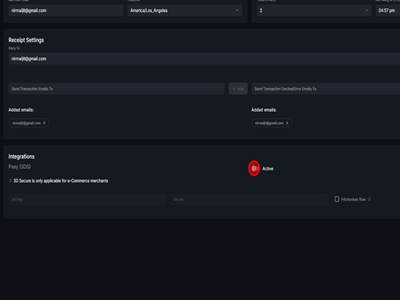
Step 40At the bottom of the screen is the 3DS settings. We can turn 3DS on using this toggle.
|
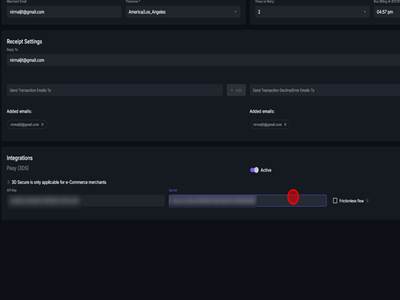
Step 41You will then enter the Public and Secret keys where prompted. The rest of the options do not need to be changed.
|
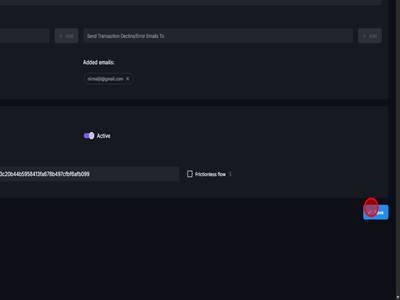
Step 42Click "Save"
|
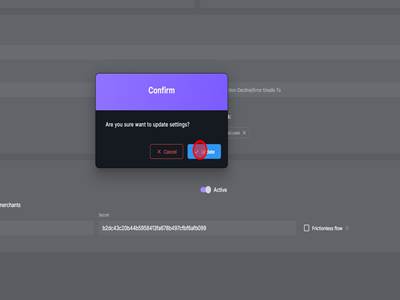
Step 43Click "Update"
|
Step 44After this has been saved, you have now setup the correct user permissions, fraud control modules, and 3DS.
|
Configuring a PayVault for Maintenance. Print
Modified on: Fri, 24 Jul, 2026 at 5:15 AM
Did you find it helpful? Yes No
Send feedbackSorry we couldn't be helpful. Help us improve this article with your feedback.