
Step 1 |
Step 2Login to Payvault. Once logged in click on Merchant.
|
Step 3Then click Create Merchant.
|
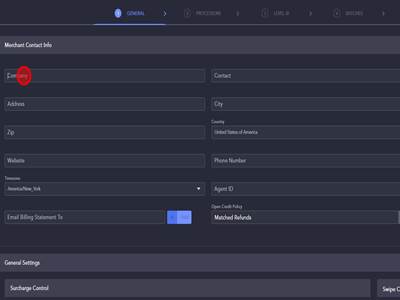
Step 4First you will Input all of the Merchant Contact Info. This can be found on the merchant account.
|
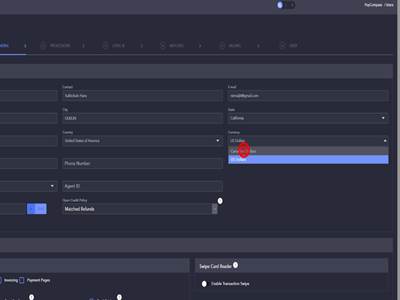
Step 5You will also select the currency. Payvault can only do USD and CAD, this will not change the actual process of building the file. The VARs look the same and have the same information. The correct currency must be selected although.
|
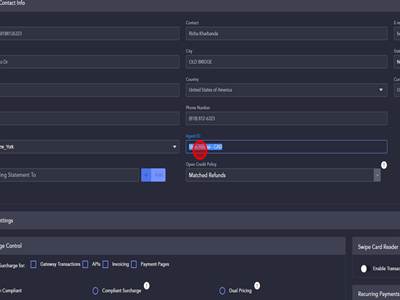
Step 6After all of the merchant information is entered, we will need to enter the Agent ID. This will typically be AgentName - Currency. In this case, ShanAbbasi - CAD.
|
Step 7After this has been completed and you have ensured the merchant information is correct, you can hit Next.
|
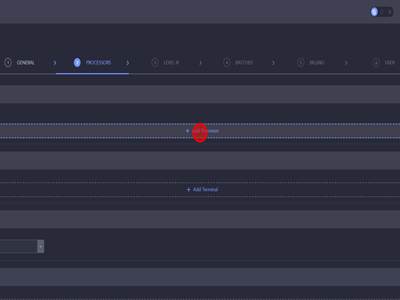
Step 8Now you will be in the "Processors" tab. This is where you will enter your VAR information. Click Add Processor.
|
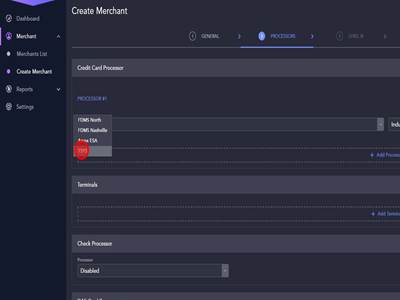
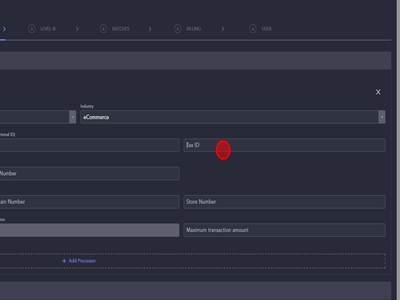
Step 9Then you will need to select the processor. This is where you choose the sponsor bank, in this case we will be choosing TSYS.
|
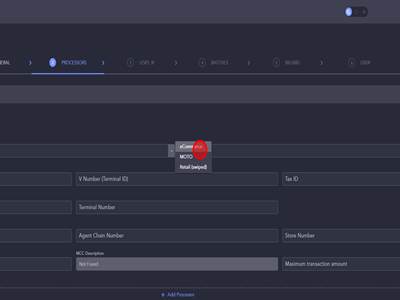
Step 10Then we will need to select the Industry. This can be found on the merchant account, in this case the merchant is Ecommerce so that is what we will select.
|
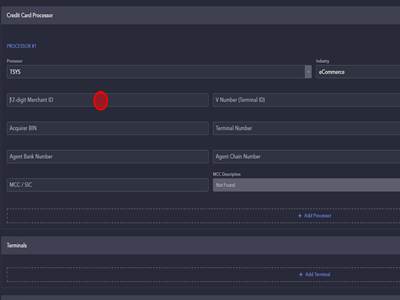
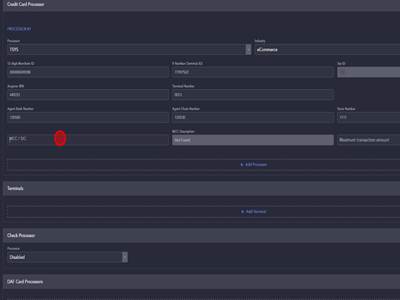
Step 11After you select the Industry, you will enter the rest of the information from the VAR. This is similar to other file builds.
|
Step 12There is one thing different when building a Payvault gateway. We will need to put the last three of the Tax ID on the account. This can be found on the merchant's account.
|
Step 13Double check and make sure the information you inputted matches the VAR exactly.
|
Step 14Once everything is entered correctly, none of the other options need to be changed so you can click Next.
|
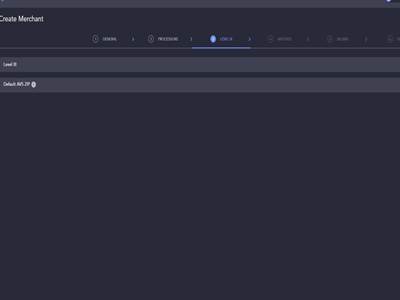
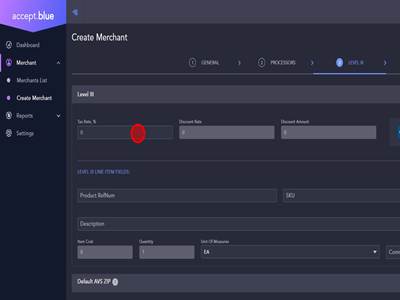
Step 15Most Payvault instances will be using Level 3 so we will turn this on.
|
Step 16Once you turn on Level 3 you will be prompted for the tax rate. For this you will look up the merchant's zip code and the tax rate for that zip code and this is what the tax rate will be.
|
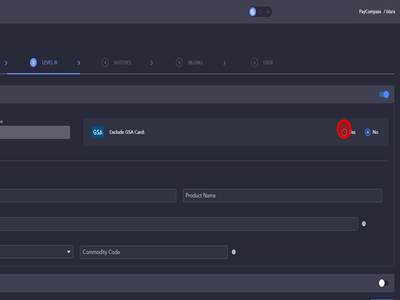
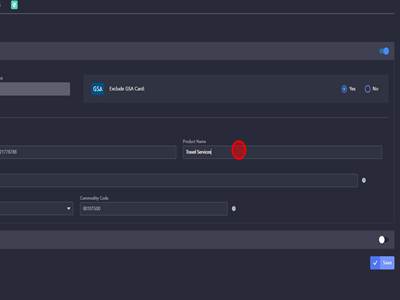
Step 17Click Yes to Exclude GSA Cards.
|
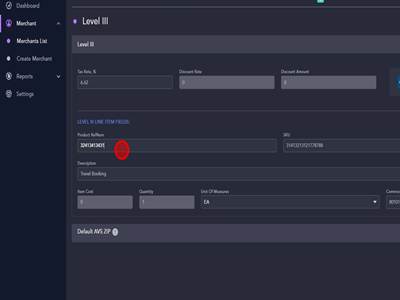
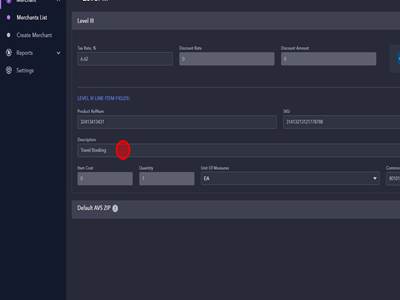
Step 18The Product RefNum will need to be a string of numbers. A good option for this will be the 12 digit MID on the account.
|
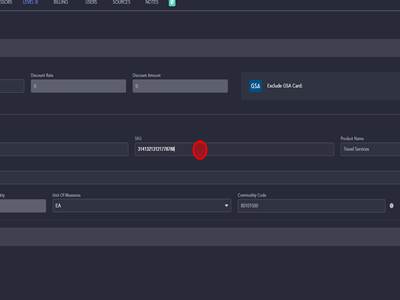
Step 19The SKU will also be a string of numbers. A good option for this is the 16 digit MID of the account.
|
Step 20The Product Name will be what is being sold. In this case this is a travel merchant so they will be selling Travel Services.
|
Step 21The description will be a description of what is purchased. In this case Travel Booking is a good description.
|
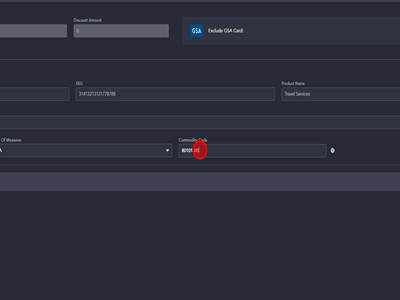
Step 22Then you will need to enter the commodity code. This depends on the type of merchant. Next to this is a white Information button. If you click this a link will appear that will take you to the page with a list of commodity codes. In this case we will use 80101500.
|
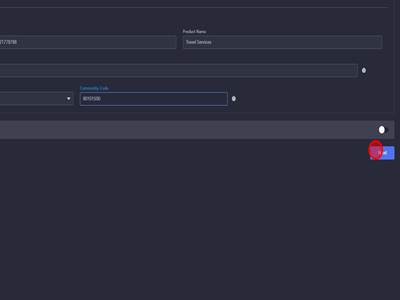
Step 23After you have ensured that the Level 3 information is correct you can click Next.
|
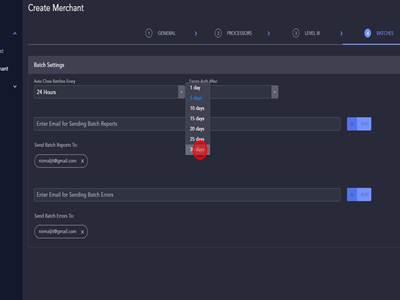
Step 24Typically the only thing we need to change is the Expire Auth After setting. We will want to change this to 30 days so the merchant has 30 days to capture an auth.
|
Step 25After you have updated the Auth expiration, you can click Next.
|
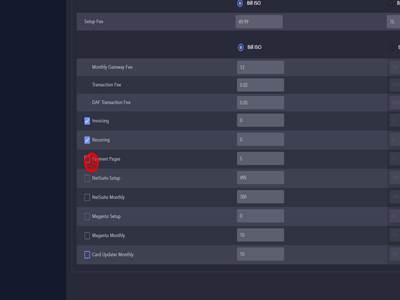
Step 26The next page is the Billing page. We typically do not have to do much here as Payvault will bill us for the gateway and we will bill the agent/merchant. This merchant will be using a payment page though so we will check this to be on.
|
Step 27After setting up the billing you can click Next.
|
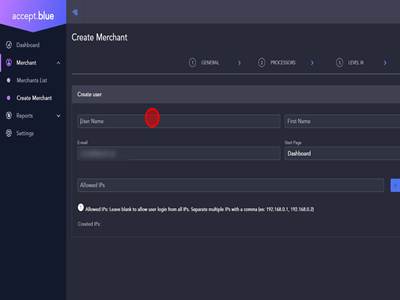
Step 28Then you will be in the Create a User page. You will first create a username. This is typically First initial then last name and then a number. Some merchant's have multiple gateways so the first number you try may not work. An example of this would be John Doe, JDoe2.
|
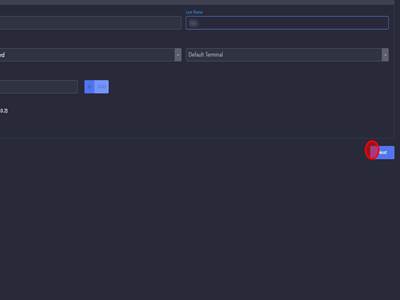
Step 29You will also need to input the merchant's first/last name along with their email. Once this has been completed click Next.
|
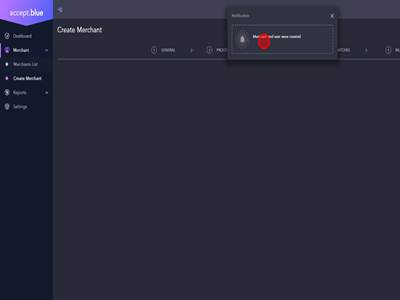
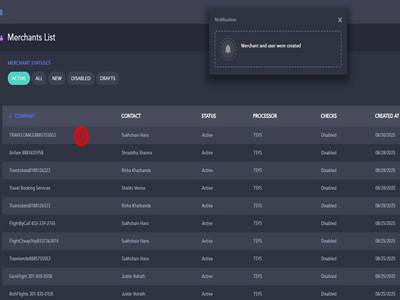
Step 30That was the last step of creating the gateway. You will see a Notification at the top of the screen that says "Merchant and user were created".
|
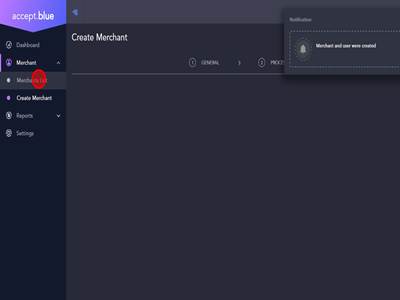
Step 31To confirm you can click "Merchant" then click "Merchants List"
|
Step 32You should now be able to see the gateway you just created at the top of the list.
|
PayVault - How to create a Travel Gateway for Maintenance Print
Modified on: Fri, 24 Jul, 2026 at 5:21 AM


Did you find it helpful? Yes No
Send feedbackSorry we couldn't be helpful. Help us improve this article with your feedback.