
1 | Step 1 |
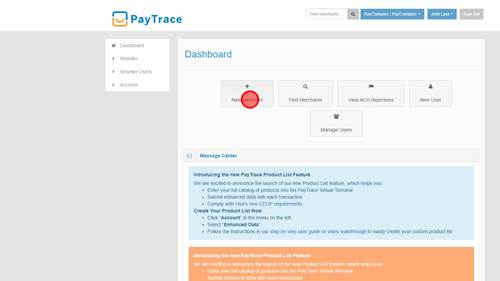
First, Log in to Paytrace, then Click 'New Merchant' | |
2 | Step 2 |
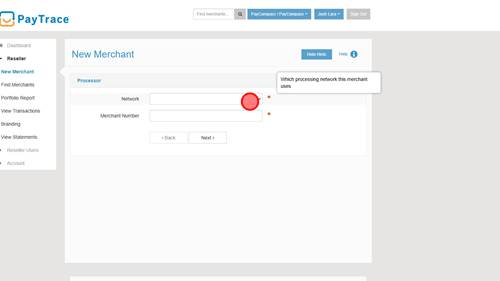
Use the Network drop down menu to select the network the gateway will use. In this case it is a TSYS account so Click 'TSYS / VITAL' | |
3 | Step 3 |
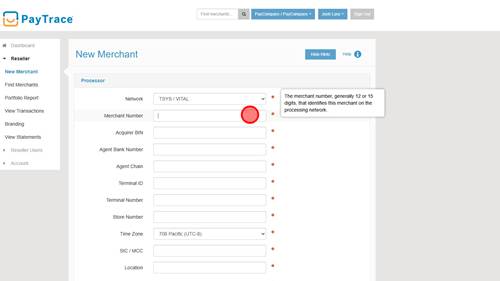
Enter 12 digit Merchant ID from VAR. | |
4 | Step 4 |
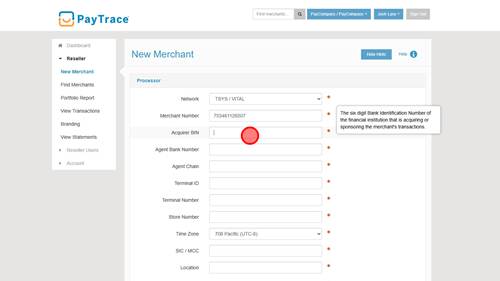
Enter BIN from VAR. | |
5 | Step 5 |
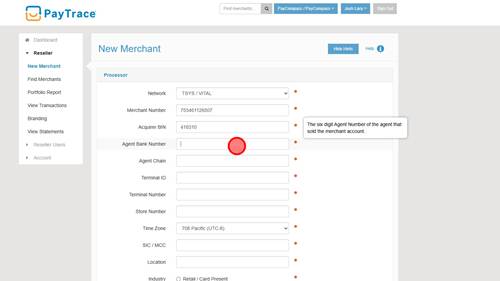
Enter Agent Bank Number from VAR. | |
6 | Step 6 |
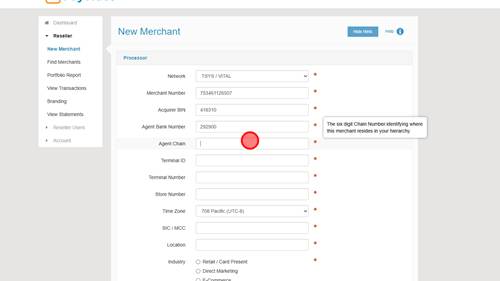
Enter Agent Chain from VAR. | |
7 | Step 7 |
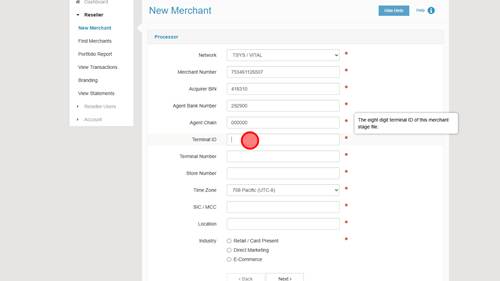
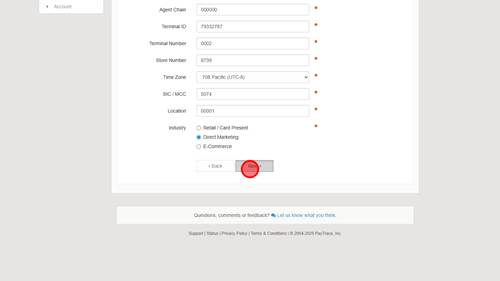
Enter Terminal ID from VAR. Don't forget to change V to 7. | |
8 | Step 8 |
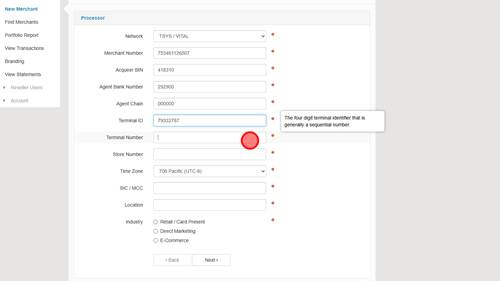
Enter Terminal number from VAR. | |
9 | Step 9 |
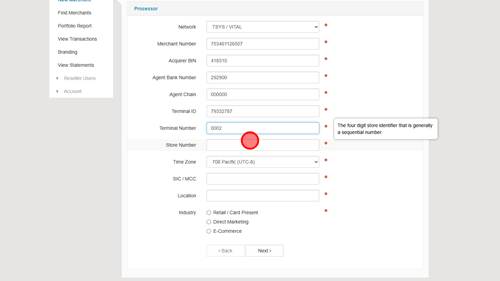
Enter Store Number from VAR | |
10 | Step 10 |
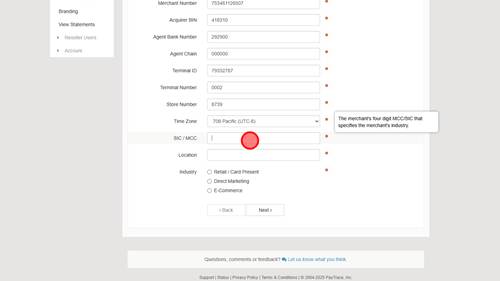
Enter MCC from VAR. | |
11 | Step 11 |
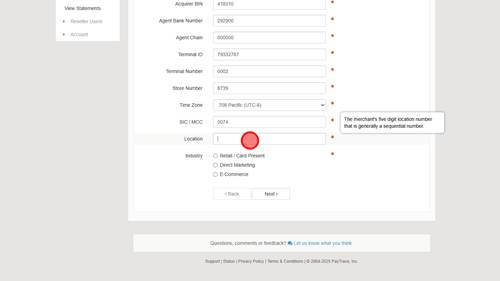
Enter Location Number from VAR. Remove leading 0 to make it 5 digits. | |
12 | Step 12 |
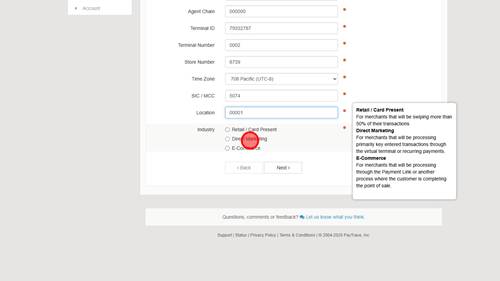
The industry type depends on the Merchant and how they will be processing. In this case, the merchant is MOTO (Mail order / Telephone order) so we will Click 'Direct Marketing'. If you hover over the choices it will show a box that explains what each one means. | |
13 | Step 13 |
Click 'Next ' after confirming the information entered is correct. | |
14 | Step 14 |
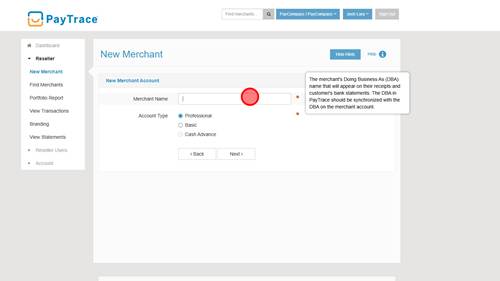
Enter the Merchant's DBA into the Merchant Name field. | |
15 | Step 15 |
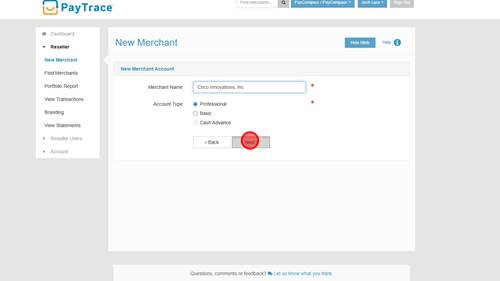
Leave the account type on Professional and then Click 'Next ' button | |
16 | Step 16 |
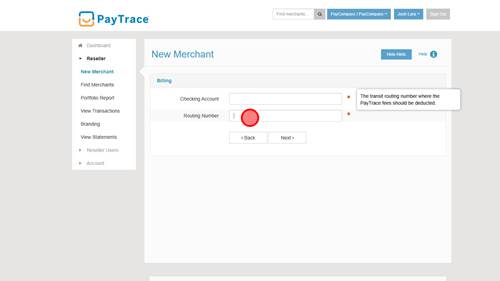
Enter the merchant's Checking Account number and Routing number. Paytrace is billed directly to this account based on pricing that we set for the gateway. After confirming this information, click Next. | |
17 | Step 17 |
Input name of the person in charge of making any change to the account. This is typically the owner. | |
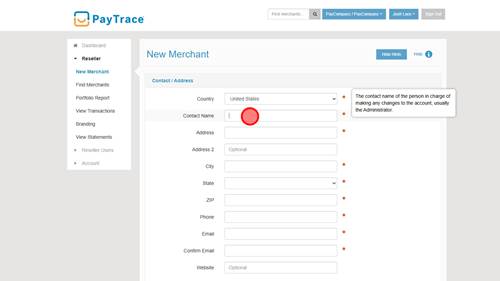
18 | Step 18 |
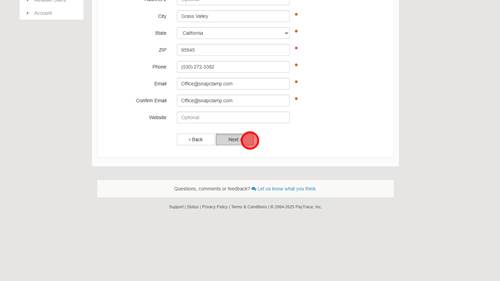
Input the DBA address into the Address field. | |
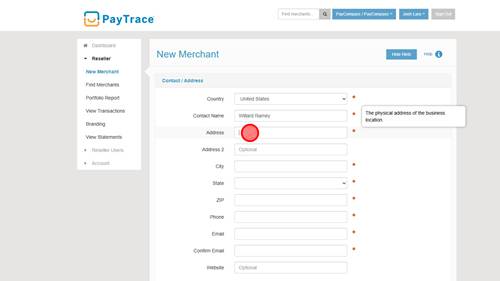
19 | Step 19 |
Enter DBA address city into the City field. | |
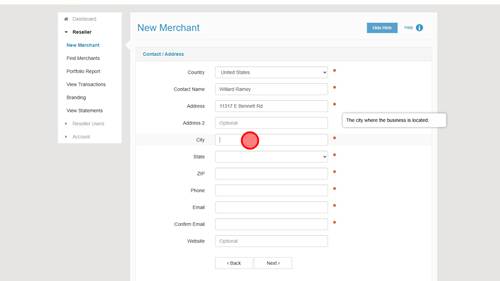
20 | Step 20 |
Use the State dropdown menu to select the State the location is in. | |
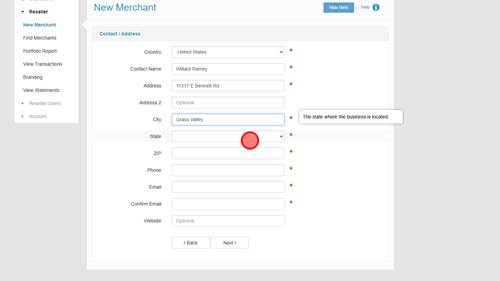
21 | Step 21 |
Enter the DBA address ZIP code into the ZIP field. | |
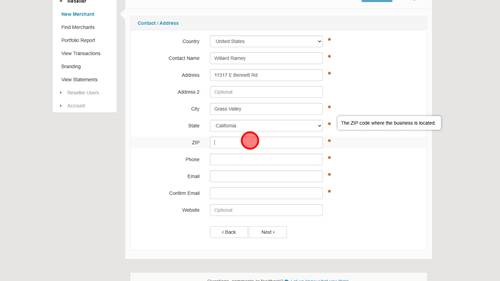
22 | Step 22 |
Enter the location's phone number into the Phone field. | |
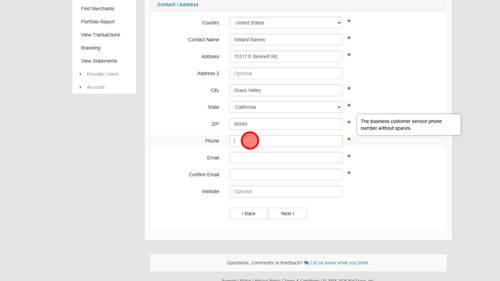
23 | Step 23 |
Enter the owner's email into the Email field. If someone other than owner is managing the account, you will use their email. | |
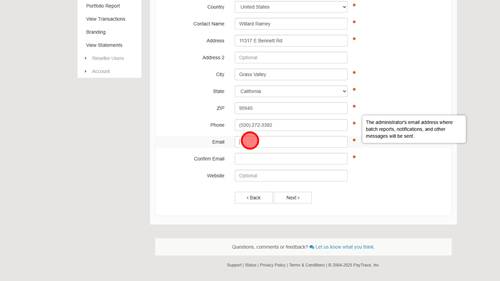
24 | Step 24 |
Confirm Email address. | |
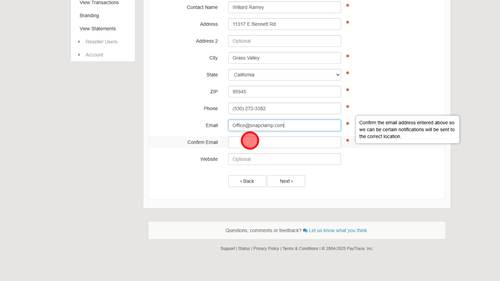
25 | Step 25 |
Click 'Next' after confirming the entered information is correct. | |
26 | Step 26 |
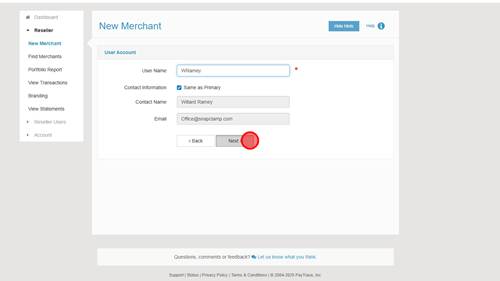
Set the user name for the user account. I will typically set it to the first initial of owner's name then last name. If contact information does not match primary you can uncheck the box to edit name and email. Then Click 'Next ' after confirming the entered information is correct. | |
27 | Step 27 |
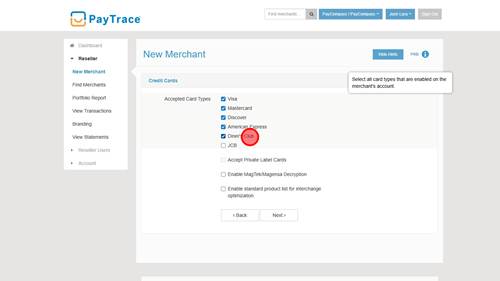
Select the card types the merchant will accept. This will typically be Visa, Mastercard, Discover, and American Express. JCB and Diners Club are not typically used. | |
28 | Step 28 |
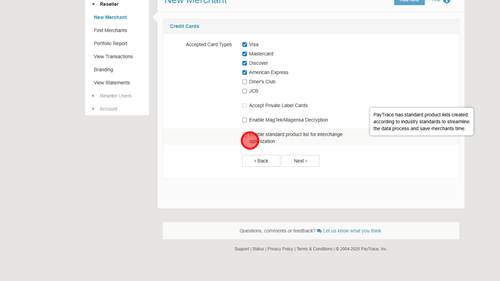
Click 'Enable standard product list for interchange optimization' this saves merchant time by creating a product list to optimize interchange on Level 2/3 transactions. Then click 'Next'. | |
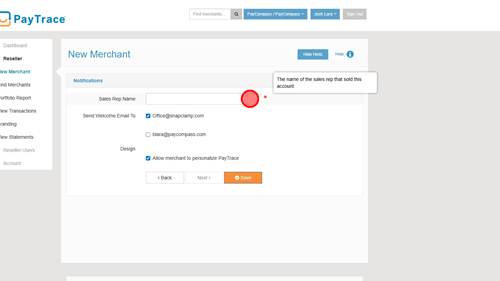
29 | Step 29 |
Enter the name of the Sales Rep for the account. | |
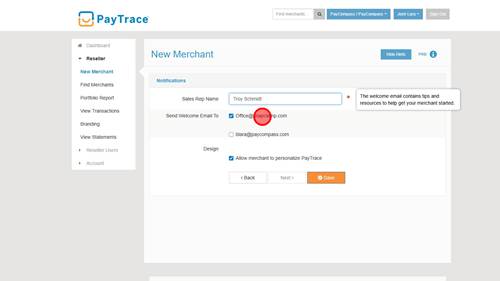
30 | Step 30 |
Ensure the merchant's email will be sent a Welcome email. Typically you will not need to send one to yourself. | |
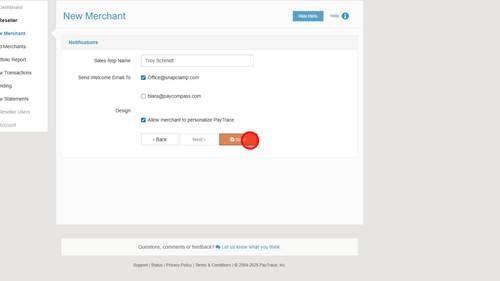
31 | Step 31 |
Leave allow merchant to personalize Paytrace on and then click 'Next' | |
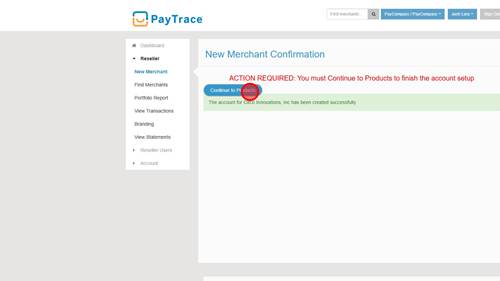
32 | Step 32 |
Click 'Continue to Products' | |
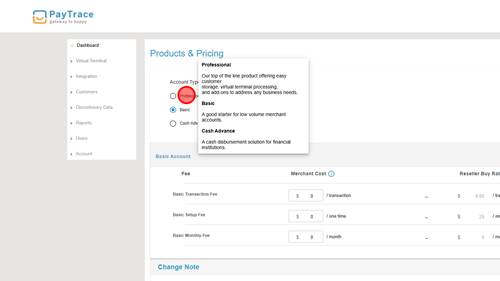
33 | Step 33 |
Make sure Professional Account type is selected. | |
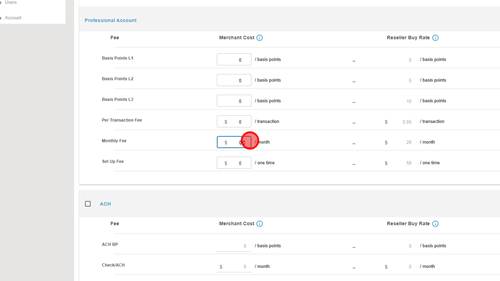
34 | Step 34 |
Enter pricing for monthly fee per the pricing document. Currently the monthly fee is $25 so that is what will be entered. There is also typically a $65 one-time setup fee but that is being billed to the agent so that will be left at 0 and will be billed to the agent by Paycompass directly. | |
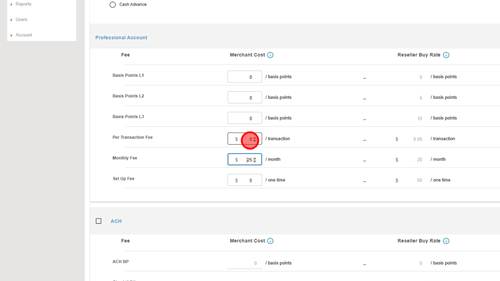
35 | Step 35 |
Enter Per Transaction fee based on pricing document. Currently this is at $0.10. | |
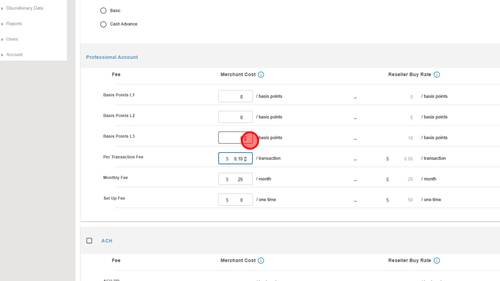
36 | Step 36 |
Enter the Level 3 pricing per the pricing document. Currently it is at 0.10% of settled volume so 10 basis points. | |
37 | Step 37 |
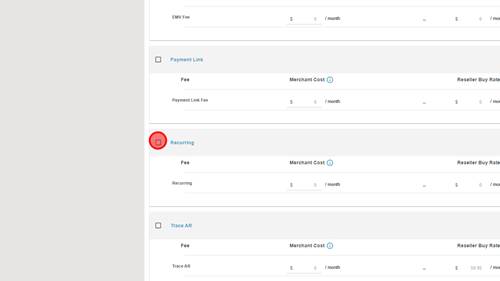
Turn on Recurring however there is no cost for this so leave price at 0. | |
38 | Step 38 |
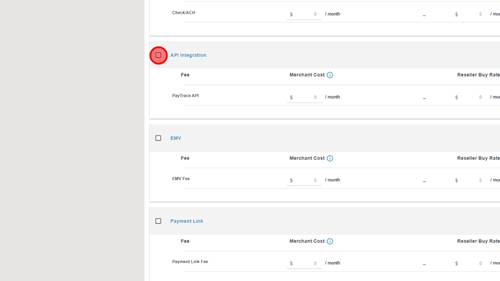
Turn on API Integration however there is no cost for this so leave price at 0. | |
39 | Step 39 |
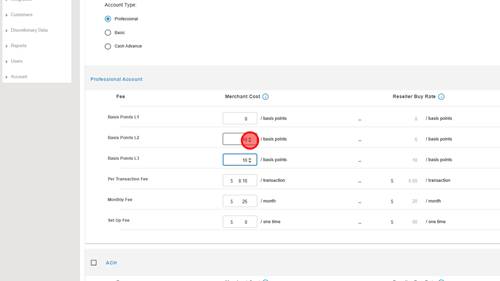
Enter Level 2 transaction pricing. Currently it is at 0.05% of volume so this would be 5 basis points. | |
40 | Step 40 |
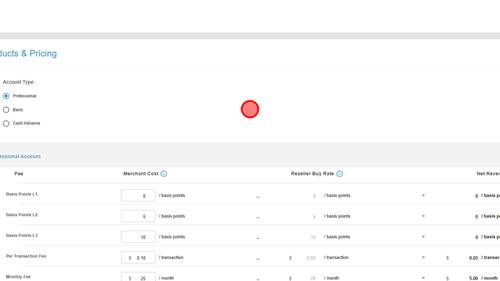
There is also a section for Level 1 transactions however the cost for this is $0 so we will the pricing at $0 for L1 transactions. | |
41 | Step 41 |
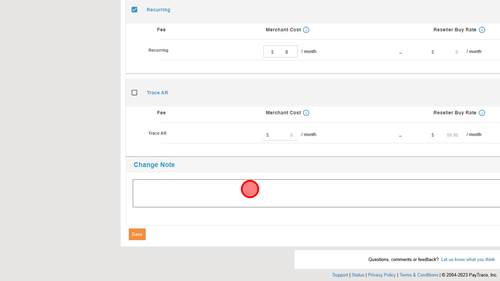
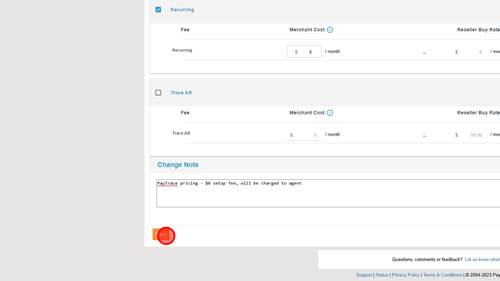
You will have to enter a note to save. Typically I will put something like Paytrace pricing and maybe outline any uncommon pricing points. In this note I put "Paytrace Pricing. $0 setup fee, will be billed to agent. This way the next person viewing will know that this account should not have a setup fee. | |
42 | Step 42 |
Click 'Save' after confirming the pricing matches what is on the pricing document. | |
43 | Step 43 |
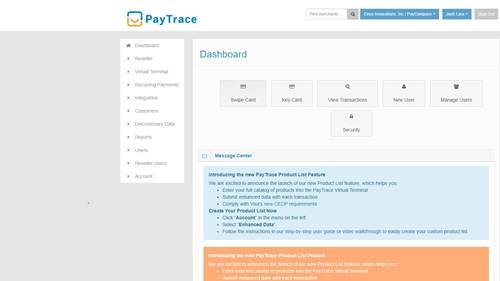
After you have saved, the gateway has been completed and you can let the agent know that the welcome email has been sent to the merchant's email that you entered when creating the user. | |
44 | Navigate back to https://paytrace.com/merchant_dashboard.pay |
Go back to https://paytrace.com/merchant_dashboard.pay | |
45 | Navigate back to https://paytrace.com/merchant_dashboard.pay |
Go back to https://paytrace.com/merchant_dashboard.pay | |