1 | Step 1 |
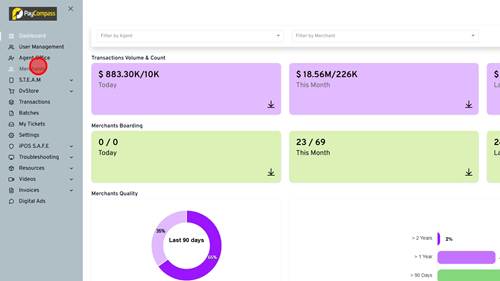
First login to IPOS then Click 'Merchants' | |
2 | Step 2 |
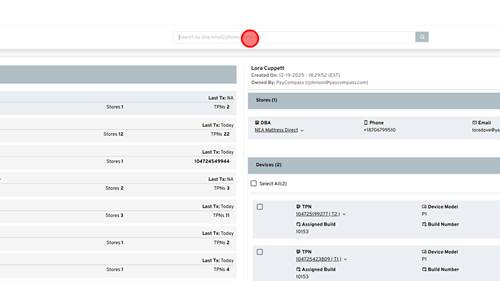
Use the search bar to pull up the merchant you need to add a store to. | |
3 | Step 3 |
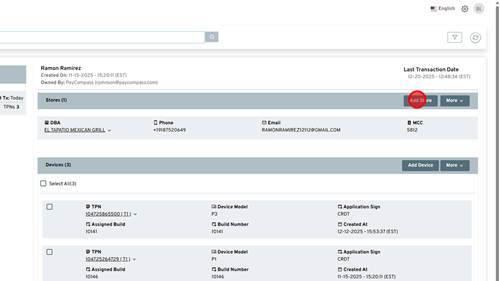
Once you have found the merchant you are looking for, click on their name in the left, then Click 'Add Store' | |
4 | Step 4 |
Enter the merchant's MCC into the MCC field. | |
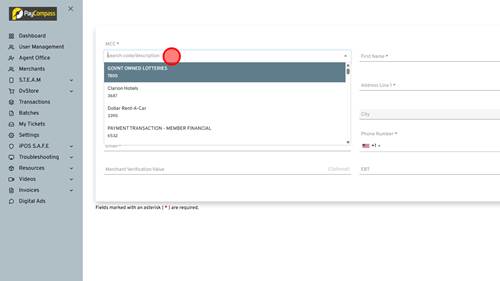
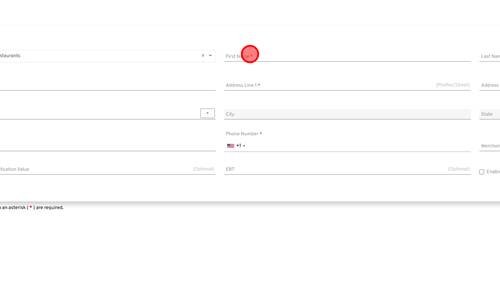
5 | Step 5 |
Enter the merchant's first name into the First Name field. | |
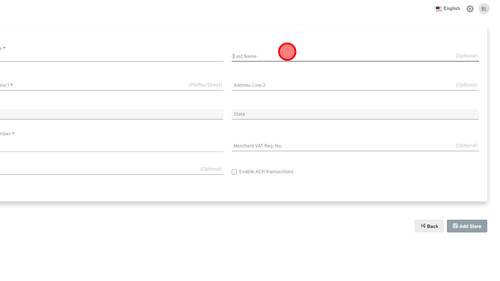
6 | Step 6 |
Enter the merchant's last name into the Last Name field. | |
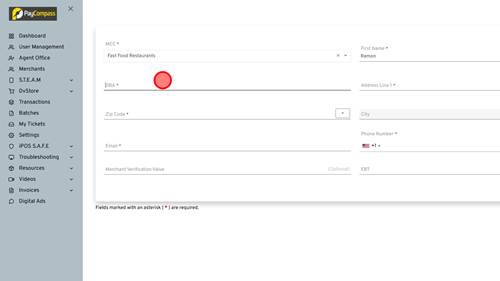
7 | Step 7 |
Enter the DBA name into the DBA field. | |
8 | Step 8 |
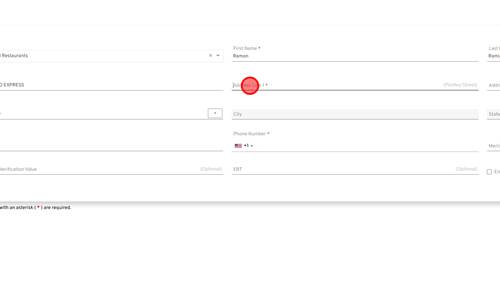
Enter the DBA address into the Address Line 1 field. | |
9 | Step 9 |
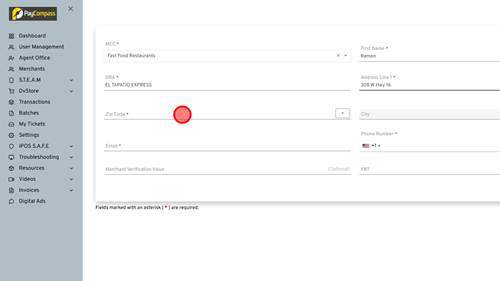
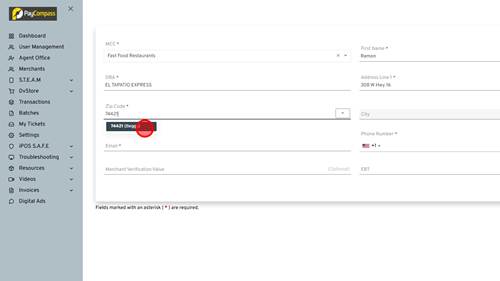
Enter the ZIP code into the ZIP code field. This will drop down a menu that allows you to select the city and it prefills city and state. | |
10 | Step 10 |
Click '74421 (Beggs)' button | |
11 | Step 11 |
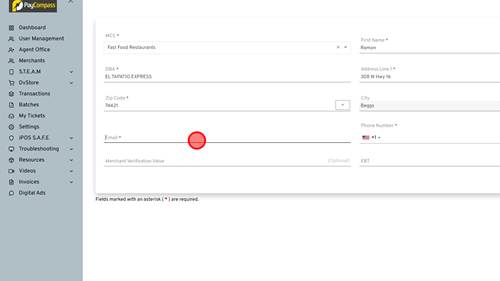
Enter the merchant's email into the Email field. | |
12 | Step 12 |
Enter the merchant's phone number into the Phone Number field. | |
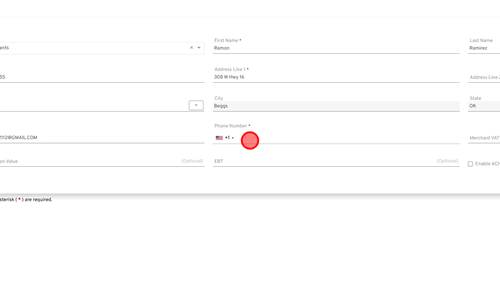
13 | Step 13 |
Click ' Add Store' after ensuring the information entered is correct. | |
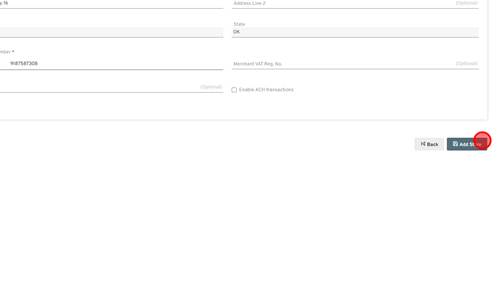
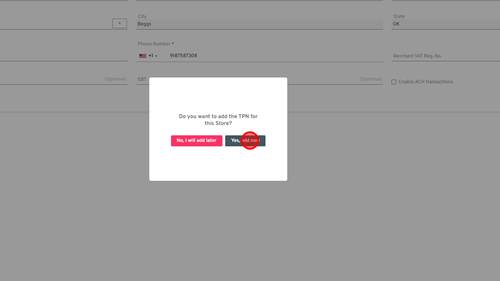
14 | Step 14 |
Click 'Yes, add now' to add a TPN for a terminal to the store that was just created. | |
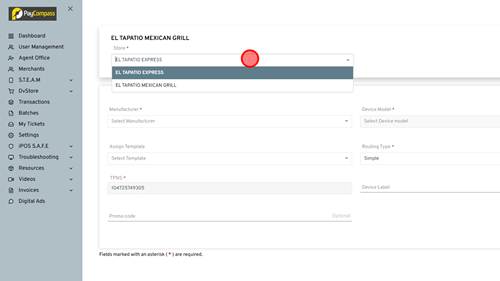
15 | Step 15 |
Ensure the store matches the new store that you just created. | |
16 | Step 16 |
Select the manufacturer of the device. | |
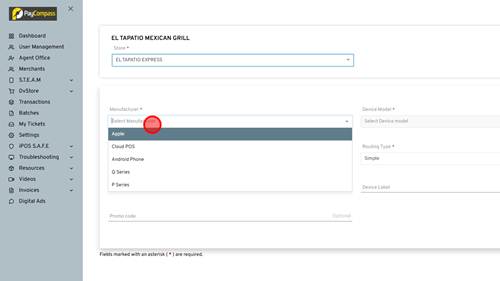
17 | Step 17 |
Select Device model of the device that will be used. | |
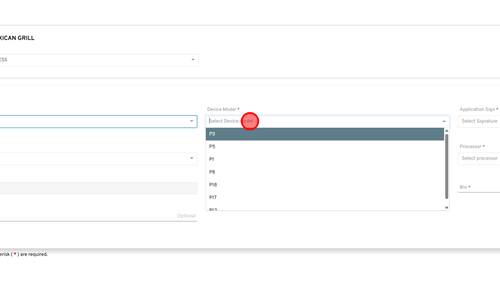
18 | Step 18 |
The Application Sign will be Credit Debit. | |
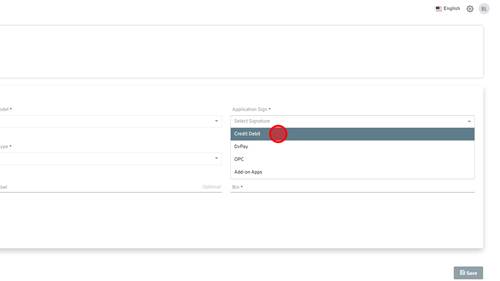
19 | Step 19 |
Select processor that this merchant will be using. | |
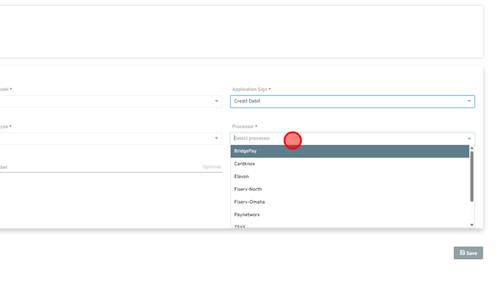
20 | Step 20 |
The device label is typically the terminal number. So the first terminal will be T1 second will be T2 and so forth. | |
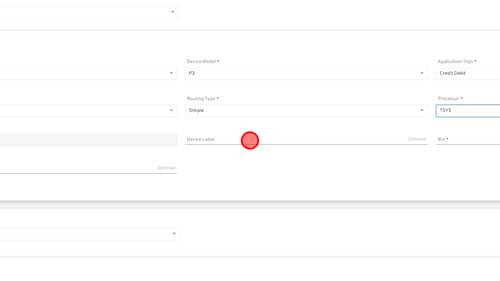
21 | Step 21 |
Input BIN from VAR. | |
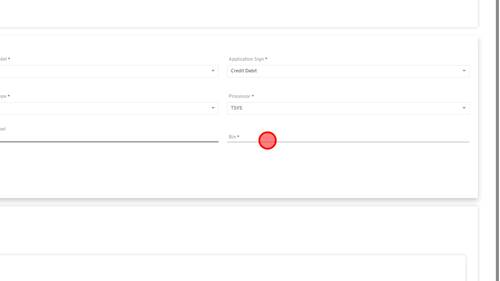
22 | Step 22 |
Input 12 digit MID into MID field. | |
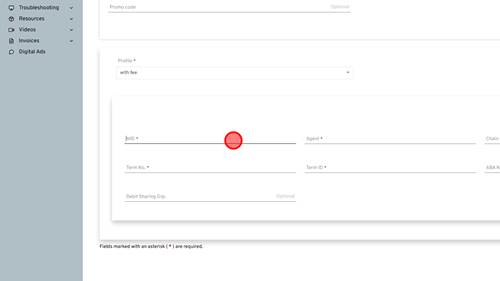
23 | Step 23 |
Enter Agent number into Agent field from VAR. | |
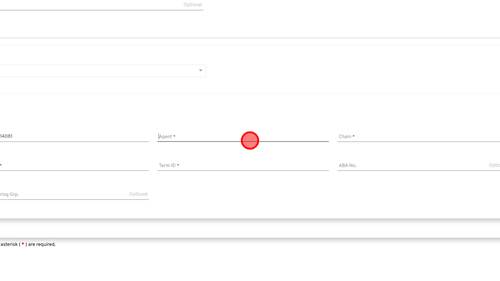
24 | Step 24 |
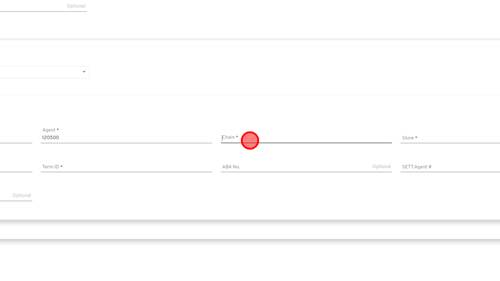
Enter Chain Number rom VAR into the Chain field. | |
25 | Step 25 |
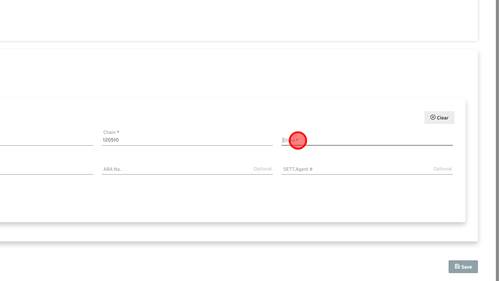
Enter the Store Number from the VAR into the Store field. | |
26 | Step 26 |
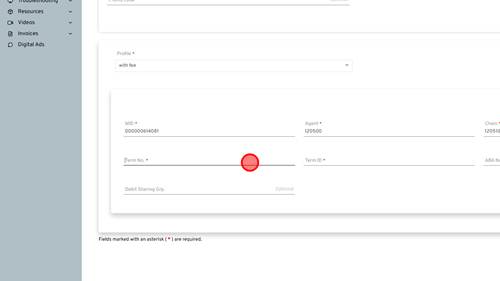
Enter the Term Number from the VAR into the Term No. field. | |
27 | Step 27 |
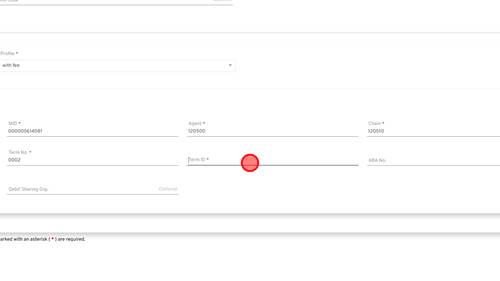
Enter the V# from the VAR into the Term ID field. Remember to swap the leading V with a 7. | |
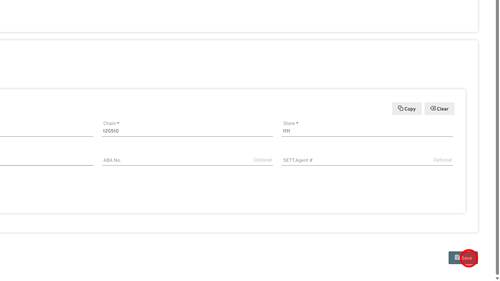
28 | Step 28 |
Click ' Save' after confirming VAR information matches the account. | |
29 | Step 29 |
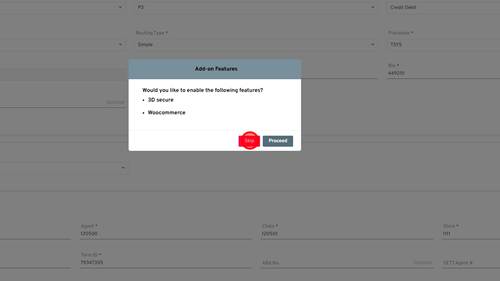
Click 'Skip' unless one of these features need to be added. Now the store and TPN have been created for the new store. | |