Step 1 |
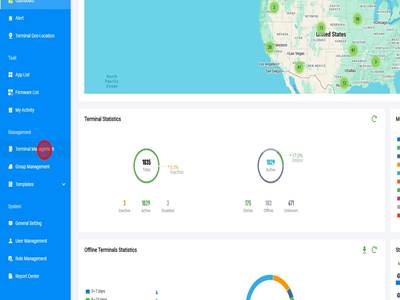
Step 2Get logged into the pax store. Once logged in you will click "Terminal Management"
|
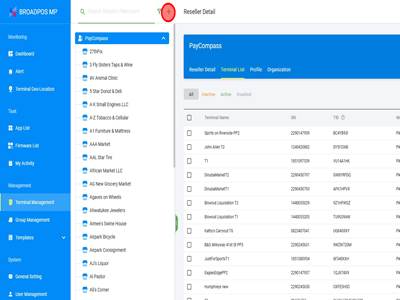
Step 3Click the + icon to add a merchant.
|
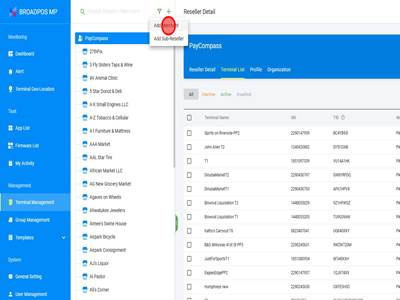
Step 4Click "Add Merchant"
|
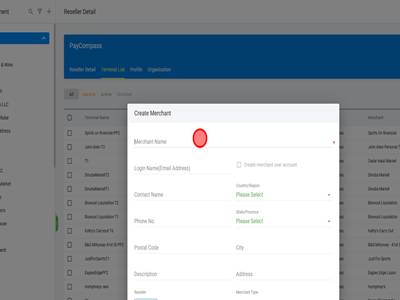
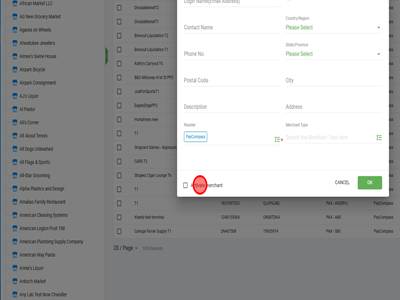
Step 5The only necessary field that needs to be filled out when creating a merchant is the "Merchant Name" field. Copy this from the sponsor bank's information.
|
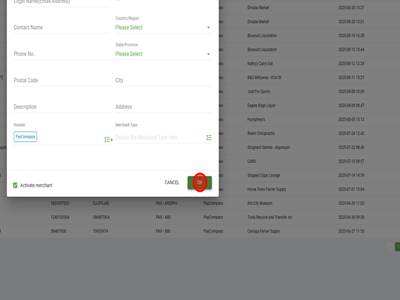
Step 6Click "Activate merchant". The merchant can also be activated after this but this will just create the merchant and activate the merchant in one step.
|
Step 7Click "OK" button
|
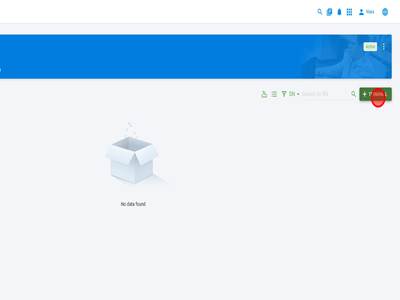
Step 8Once the merchant is created and activated. Click "TERMINAL" to add a terminal instance to the merchant.
|
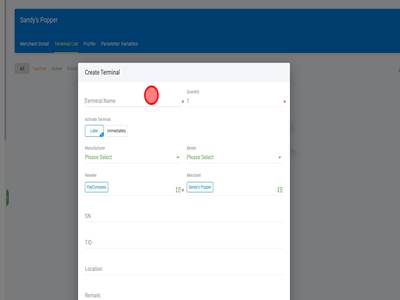
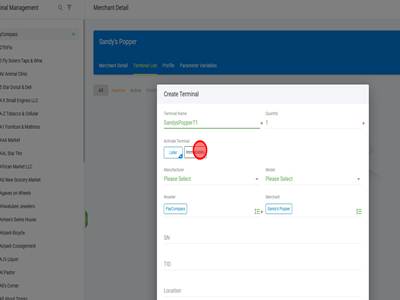
Step 9The first field we will need to enter is the terminal name. This is typically MerchantNameT1, with MerchantName being the DBA name and the T1 being the terminal number. In this case, it will be SandysPopperT1.
|
Step 10Click "Immediately" to activate the terminal immediately after it is created. Like the merchant, it can be activated afterwards however this makes it activate in one step.
|
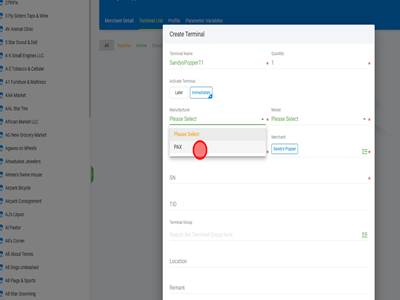
Step 11Then you will select the Manufacturer, this will always be PAX.
|
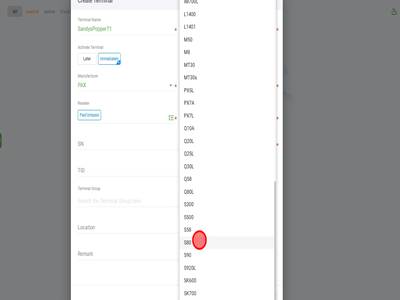
Step 12Then you will select the terminal model. This varies depending on the terminal you are creating. In this instance, we will be creating an S80.
|
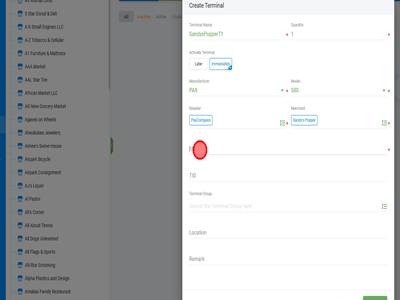
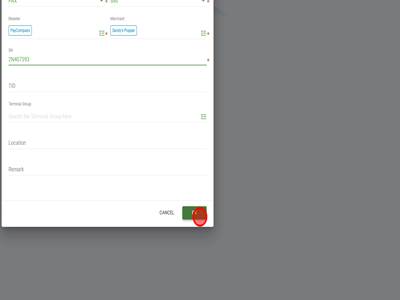
Step 13For PAX devices, we will also need to enter the Serial Number. You will enter it here.
|
Step 14The rest of the information does not need to be filled out. From here you can click "OK" to finish creating the terminal.
|
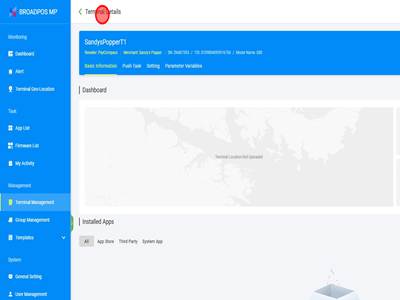
Step 15Now that we have created the terminal we can view the Terminal Details by clicking on the terminal under the merchant. PAX also opens this view after a terminal is created.
|
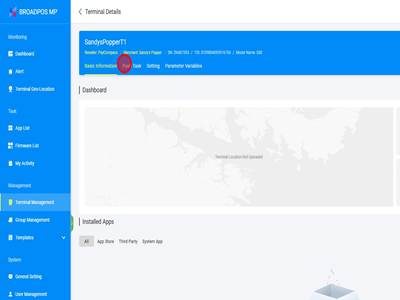
Step 16Once the terminal is created, we will need to push the app that has the processing file to the terminal so it can download. To do this click "Push Task".
|
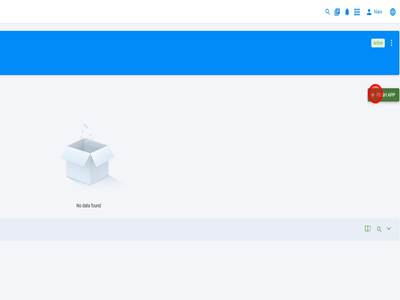
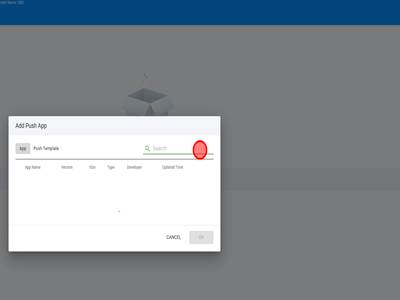
Step 17Then click "PUSH APP"
|
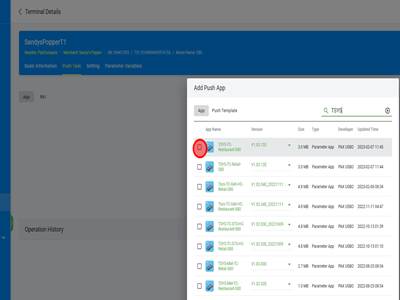
Step 18PAX has many apps we can push to a terminal. We will use the search bar to select the correct app.
|
Step 19In this case, we need a TSYS restaurant file. I searched up TSYS and it pulls all of the apps with TSYS in the name. For the S80 terminals, we use the TSYS TC apps so we will select the TSYS TC Restaurant S80 app to download. Click the checkbox to select, you can also change the version you download where it says version. Typically we will use the newest version unless otherwise specified.
|
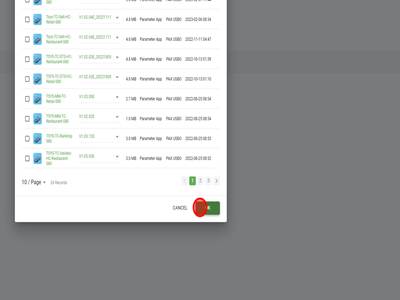
Step 20Click "OK". This will start a push task with this app.
|
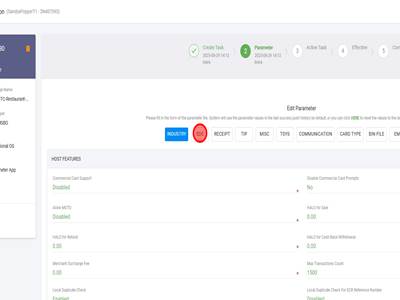
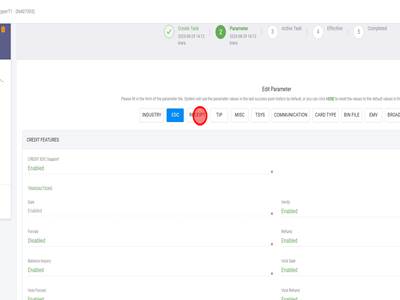
Step 21Typically the "Industry" tab will remain unchanged. Click "EDC" to open the "EDC" tab.
|
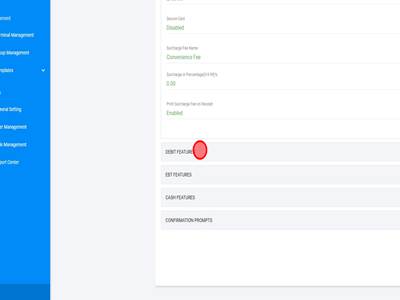
Step 22The credit features will remain unchanged typically. Scroll down and click "DEBIT FEATURES" button.
|
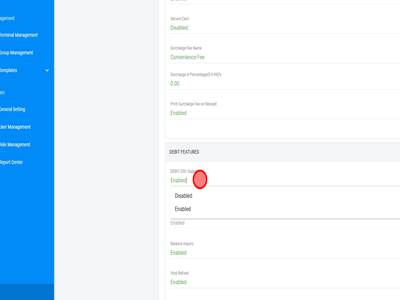
Step 23Unless the merchant is using PIN Debit, this will need to be disabled.
|
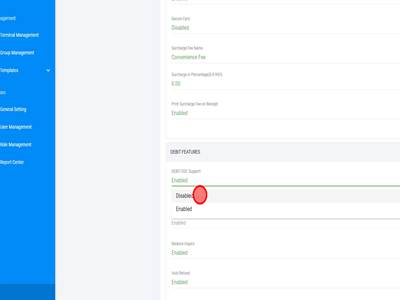
Step 24.Click "Disabled"
|
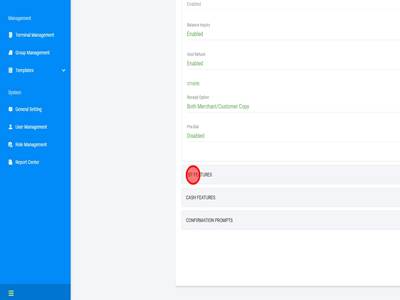
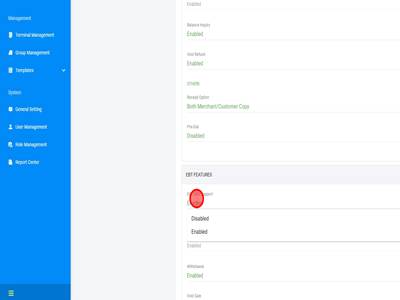
Step 25Now scroll down and click "EBT FEATURES" button.
|
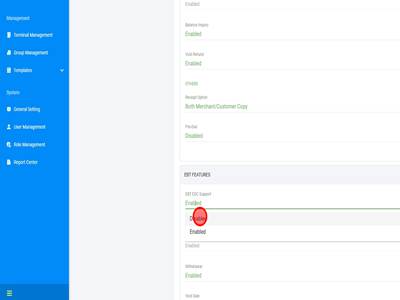
Step 26Unless EBT is being utilized, this will also need to be disabled.
|
Step 27Click "Disabled"
|
Step 28The rest of the options under EDC will typically not be change. Click "RECEIPT" to go to the receipt settings.
|
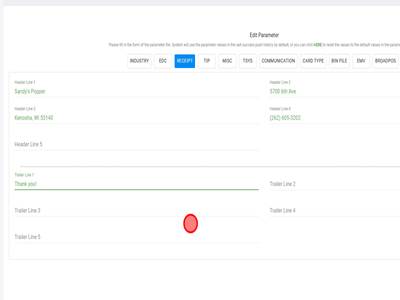
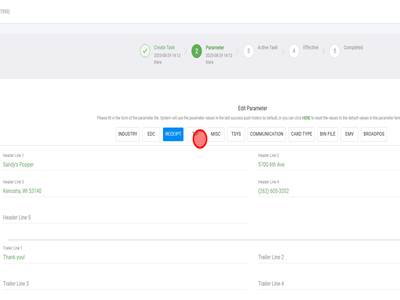
Step 29This will follow our typical receipt setup. Header line 1 will be DBA name. line 2 will be street address, line 3 will be city, state, and zip, line 4 will be the locations phone number. Trailer line 1 will be Thank you!.
|
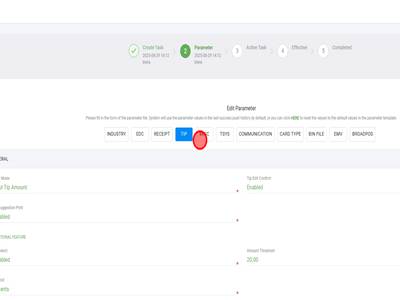
Step 30After the receipt has been configured you will not need to change anything else under "Receipt". Now click the "Tip" tab.
|
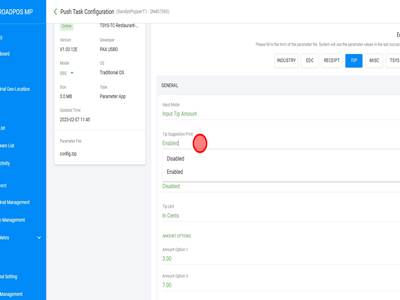
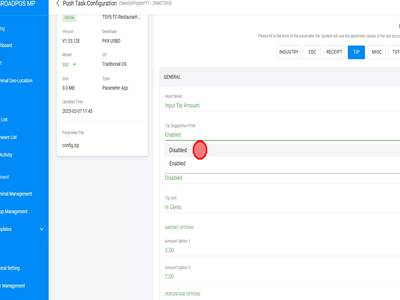
Step 31Tips can be enabled or disabled from here and the necessary settings can be configured. This merchant wants to have tips on the receipt but no suggestions. For this we will disable "Tip Suggestion Print"
|
Step 32Click "Disabled"
|
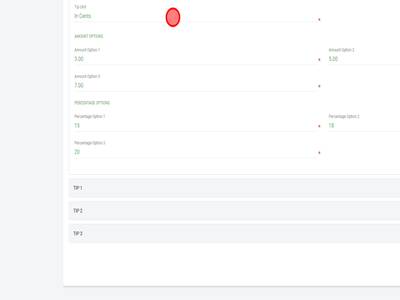
Step 33Nothing else will need to be done for this merchant as Tips are already enabled. There are some important things here that we can take a look at though. The tip options (Suggestions) can be changed and the tip unit. Typically nothing else will need to be changed for tips.
|
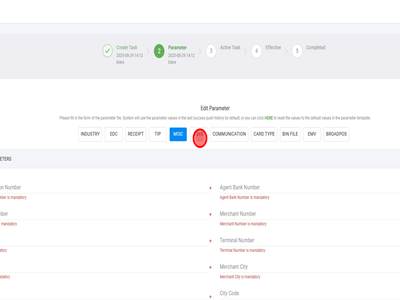
Step 34now that we have finished configuring Tips. We can click "MISC".
|
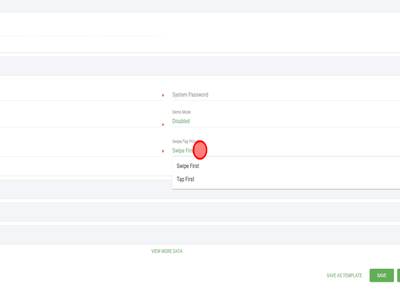
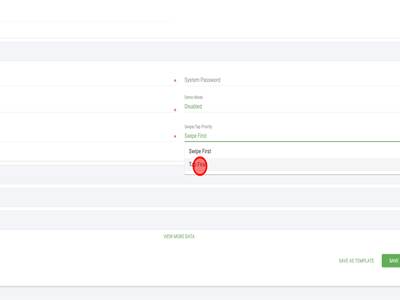
Step 35Typically under MISC the only thing we will need to change is the Swipe/Tap priority. This needs to be changed to Tap first.
|
Step 36Click "Tap First"
|
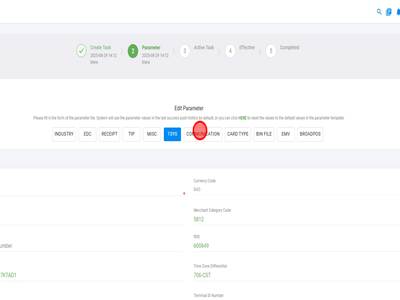
Step 37After changing the Swipe/Tap priority. Click "TSYS" .
|
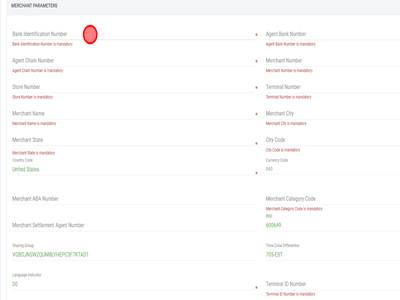
Step 38The TSYS tab is where we will enter the VAR information. You will get this information from the VAR for the merchant. Ensure the information you are putting here is the correct merchant and correct VAR.
|
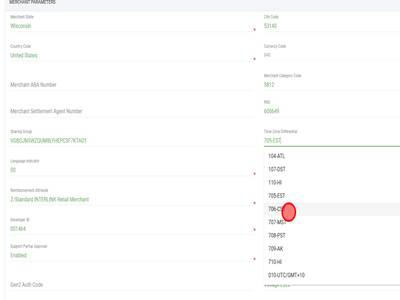
Step 39One thing that differentiates PAX from other terminals is that we will need to put the time zone in where the TSYS information is, this merchant is on Central so we will click "706-CST"
|
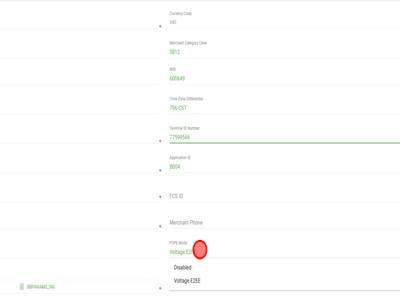
Step 40Once you have input the VAR information. There is another field here we need to change. This will be the P2PE Mode. This will typically need to be disable. Click Voltage E2EE
|
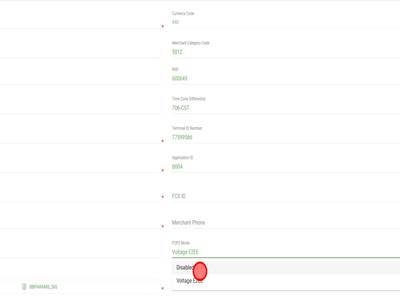
Step 41Click "Disabled"
|
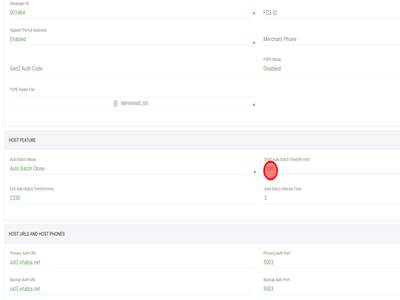
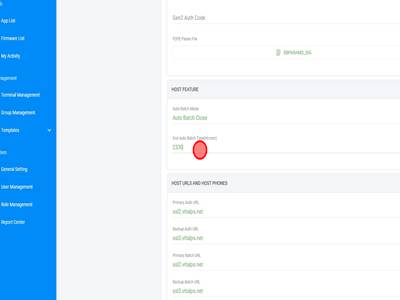
Step 42The auto batch is also set up in the TSYS tab. This merchant wants an auto batch at 11:30 so 2330 in 24 HR format. For Pax, we will need to setup a thirty minute window for the batch to start. We will set the Start time as the time requested to batch so in this case 2330.
|
Step 43Then we will change the End Time to 30 minutes after so in this case it is 0000.
|
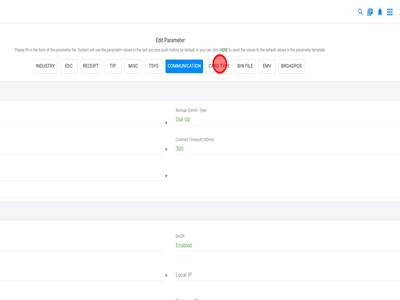
Step 44Click "COMMUNICATION"
|
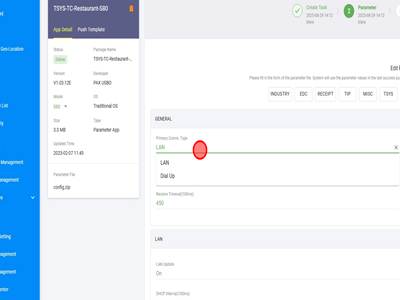
Step 45In communication. we can change the communication type. The S80 is an older terminal so it only has LAN and Dial Up capabilities. If you are building a newer terminal, this is where you can change communication types.
|
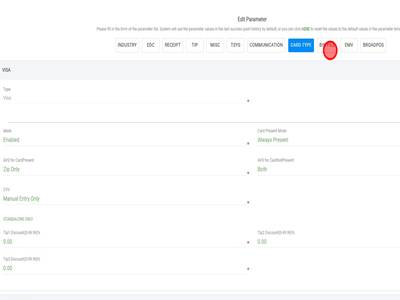
Step 46Click "CARD TYPE"
|
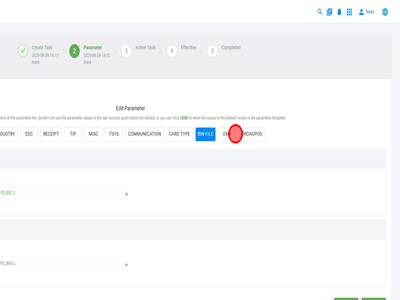
Step 47We will not typically need to change anything in "Card Type". Click "BIN FILE"
|
Step 48We will not typically need to change anything in "Bin File" either. Click "EMV" button
|
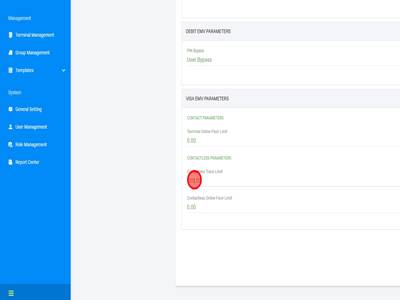
Step 49The initial contactless limit is at $100. Initially we will leave this alone however agents ask for it to be changed often so it is a good thing to remember.
|
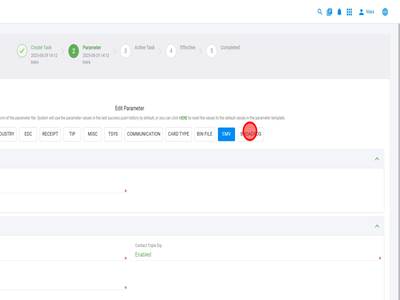
Step 50Click "BROADPOS"
|
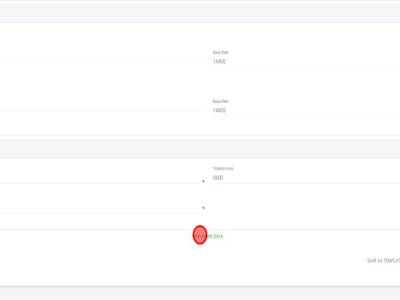
Step 51Click "VIEW MORE DATA"
|
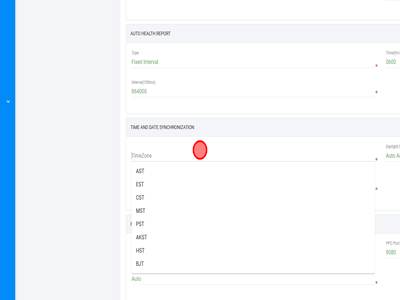
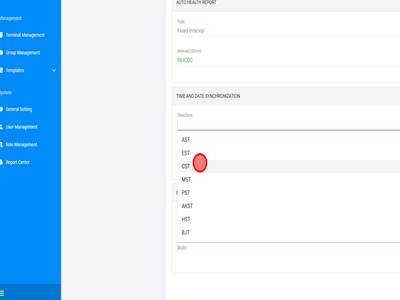
Step 52This is a field that only needs to be setup for S80 devices. We need to select the timezone for the device. For this merchant we will select CST.
|
Step 53Click "CST"
|
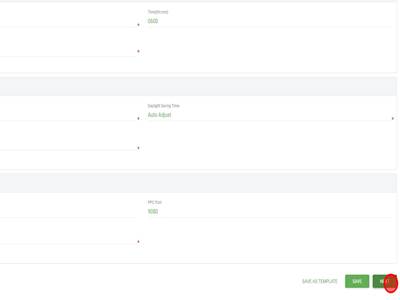
Step 54That will be all the settings that need to be changed on an S80. After you have ensured everything is correct click "NEXT"
|
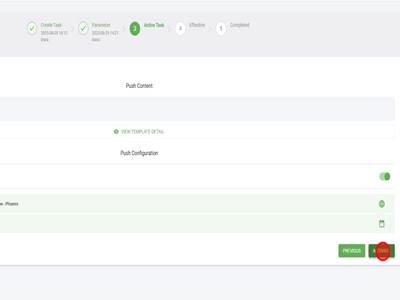
Step 55Click "ACTIVATE". For this terminal, we will activate immediately, however you can set a time for the app to be activated by toggling Push Immediately off and selecting a date and time.
|
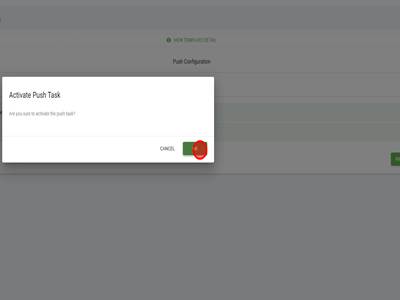
Step 56Click "OK" to activate the push task.
|