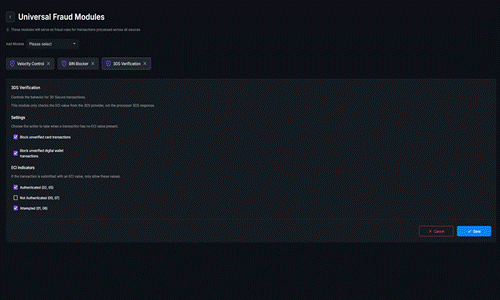
1 | Step 1 |
First login to Paay then Click 'MERCHANTS'. | |
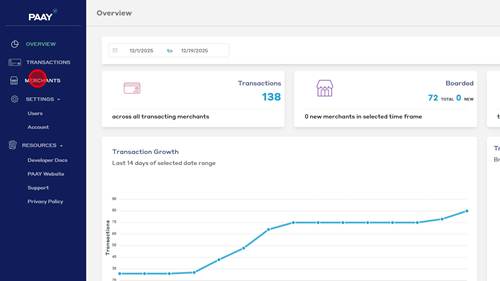
2 | Step 2 |
Click ' Add Merchant' button | |
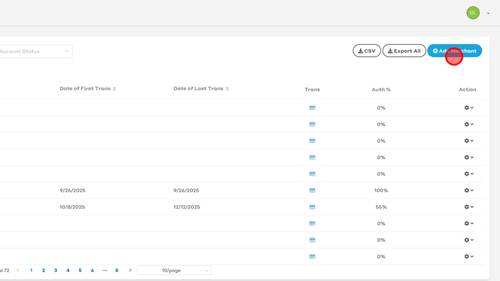
3 | Step 3 |
Input merchant's DBA name into the Account Name field. | |
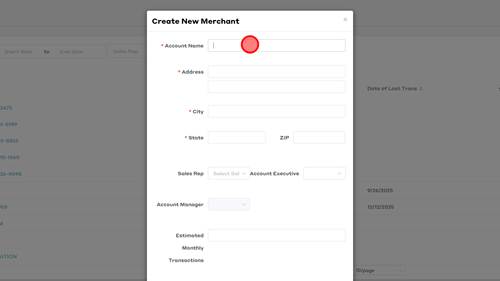
4 | Step 4 |
Enter the merchant's DBA address into the Address field. | |
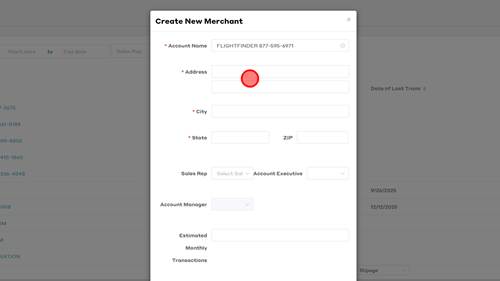
5 | Step 5 |
Enter the merchant's city into the City field. | |
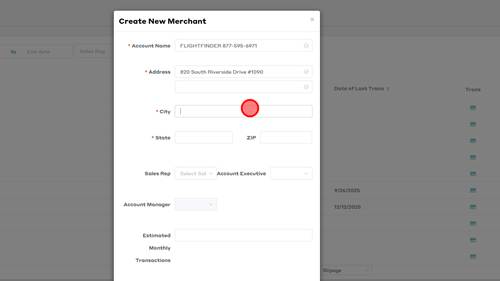
6 | Step 6 |
Enter the merchant's State into the State field. | |
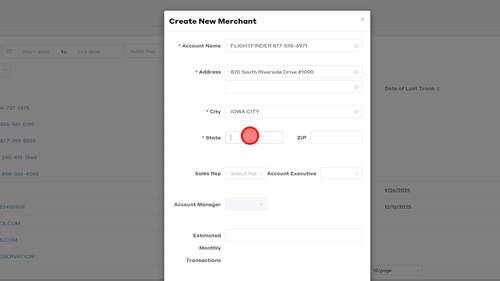
7 | Step 7 |
Enter the merchant's ZIP Code into the ZIP field. | |
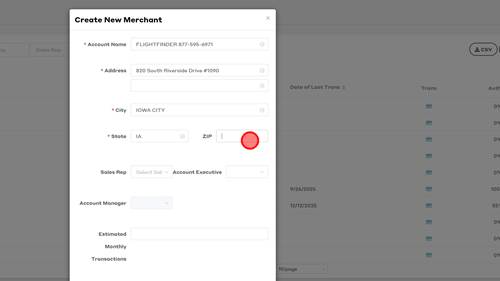
8 | Step 8 |
Enter the merchant's MCC into the MCC field. | |
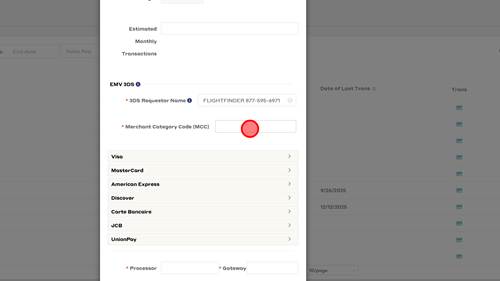
9 | Step 9 |
Click 'Visa' | |
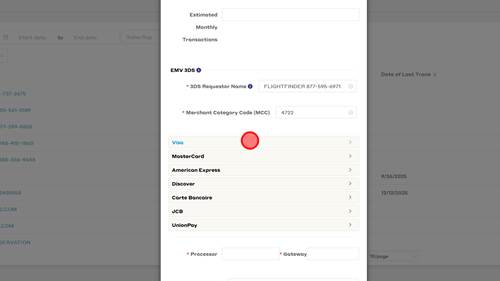
10 | Step 10 |
Enter the merchant's 16 digit MID into the MID field | |
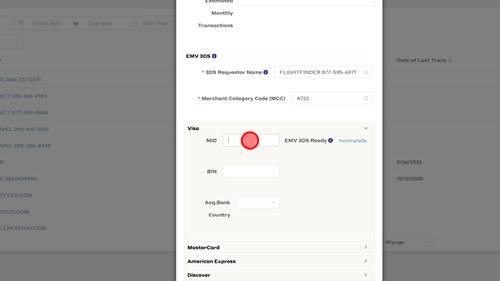
11 | Step 11 |
Enter the Visa BIN into the BIN field. For evolve this will always be 449251 | |
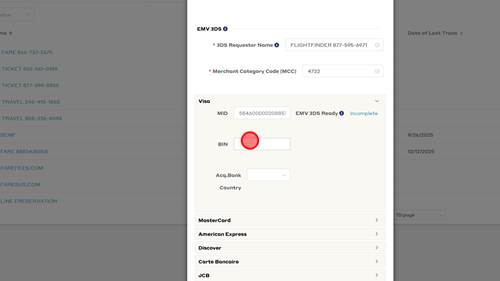
12 | Step 12 |
Select the Acq Bank country. This will typically by the USA. | |
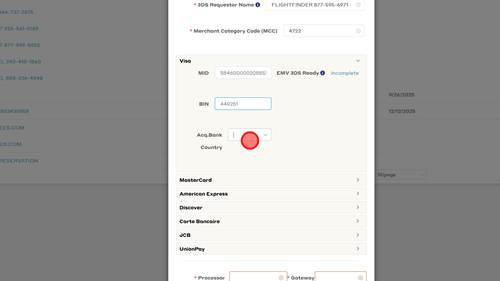
13 | Step 13 |
Click 'United States' | |
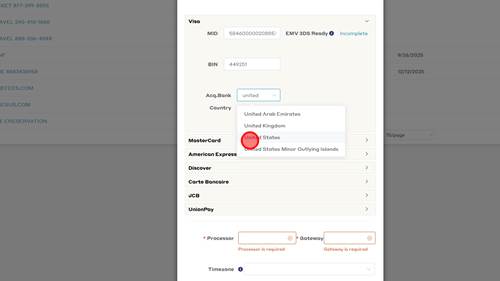
14 | Step 14 |
Click 'MasterCard' | |
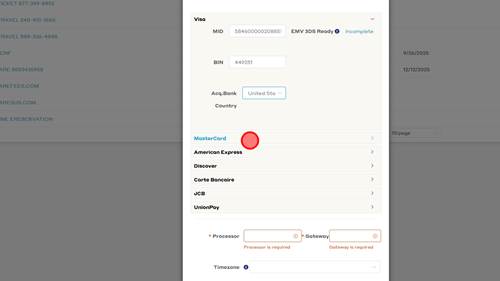
15 | Step 15 |
Enter the merchant's 16 digit MID into the MID field | |
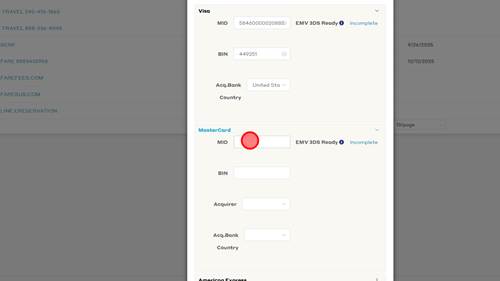
16 | Step 16 |
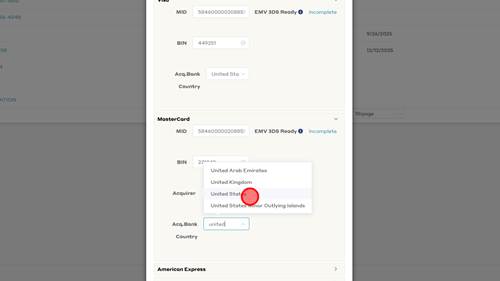
Enter the Mastercard BIN into the BIN field. For Evolve, this will always be 271042. | |
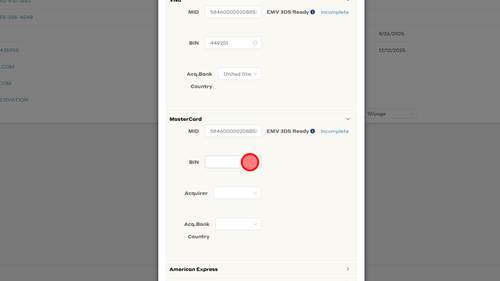
17 | Step 17 |
Choose acquirer from the dropdown field. | |
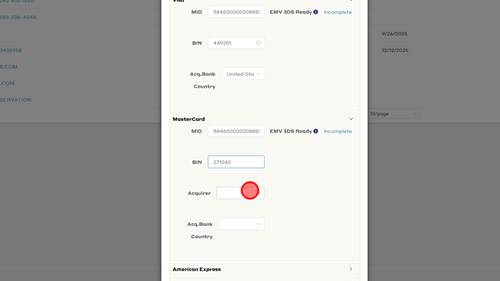
18 | Step 18 |
Click 'evolve'. Typically this will always be the option as we only have Evolve merchants in Paay. | |
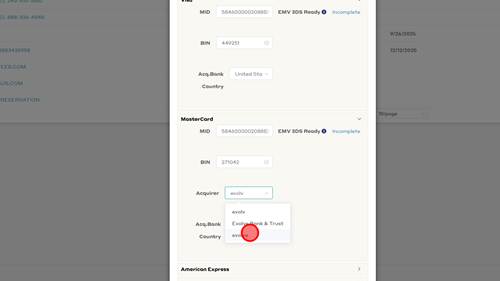
19 | Step 19 |
Select the Acq Bank country. This will typically by the USA. | |
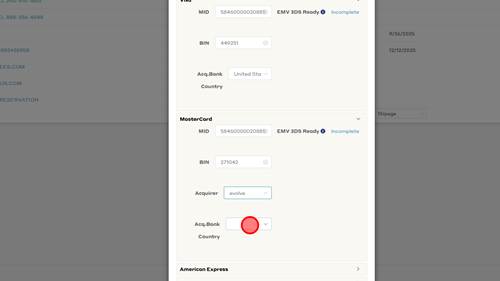
20 | Step 20 |
Click 'United States' | |
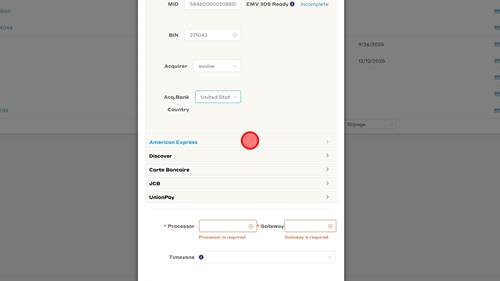
21 | Step 21 |
Click 'American Express' | |
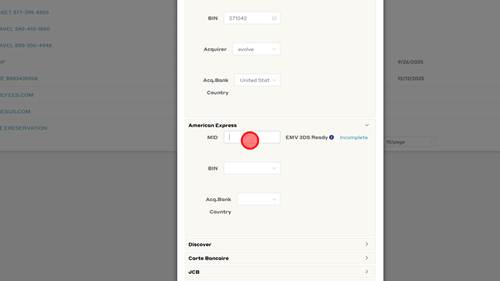
22 | Step 22 |
American Express is different than the others. The MID for American Express is going to be the AMEX SE number found on the merchant's VAR. This is account specific so it will not be the same for every merchant. It is typically found at the bottom of the VAR. | |
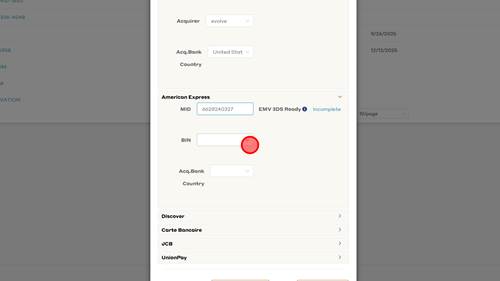
23 | Step 23 |
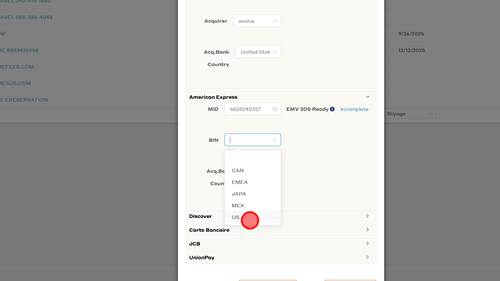
The BIN is also different for AMEX. You will just use the dropdown menu to choose US. | |
24 | Step 24 |
Click 'US' | |
25 | Step 25 |
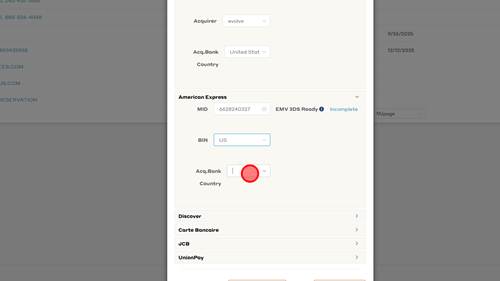
Select the Acq Bank country. This will typically by the USA. | |
26 | Step 26 |
Click 'United States' text | |
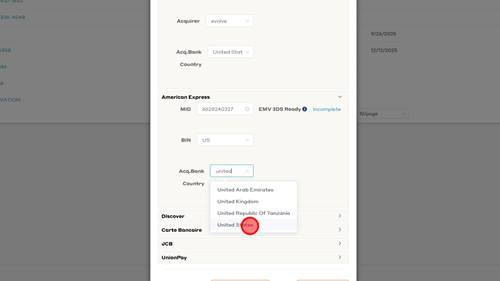
27 | Step 27 |
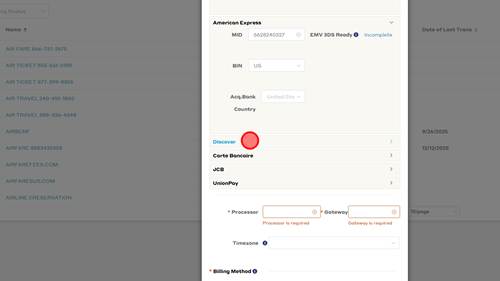
Discover typically does not get setup as the merchant's using 3DS are high risk accounts and they are not typically setup to process Discover. However the process would be the same as the others. The BIN for Discover on Evolve is 651060. | |
28 | Step 28 |
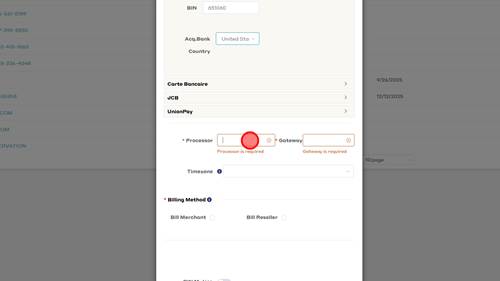
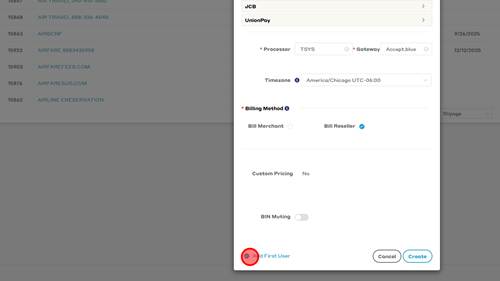
After filling out the Card Networks information, you will input the processor. This will be TSYS for Evolve accounts. | |
29 | Step 29 |
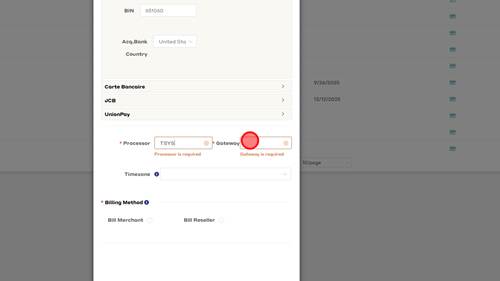
Then we will input the gateway. As of right now Paay only integrates with Payvault so you will enter Accept.blue. | |
30 | Step 30 |
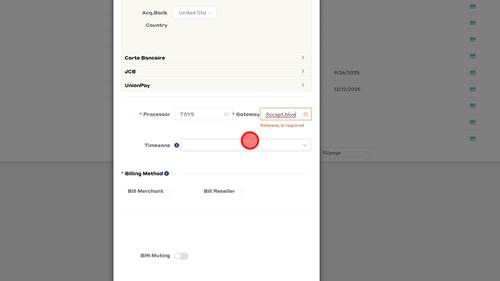
Select the timezone the merchant is in. | |
31 | Step 31 |
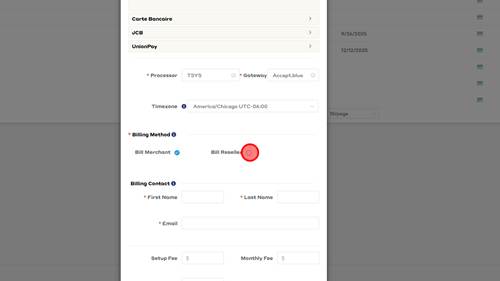
We will choose to Bill Reseller so we can handle billing the merchant in house. | |
32 | Step 32 |
Click 'Add First User'. This will stop Paay from generating a user using the merchant information. We want this turned off so the merchant does not mistakenly mess with 3DS settings. | |
33 | Step 33 |
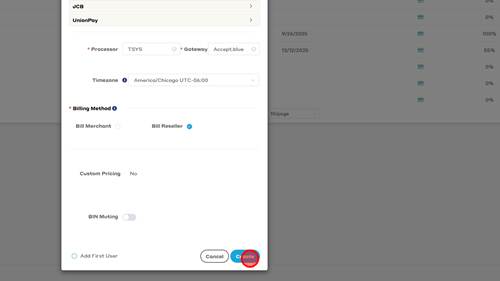
Click 'Create' to create the merchant in Paay. | |
34 | Step 34 |
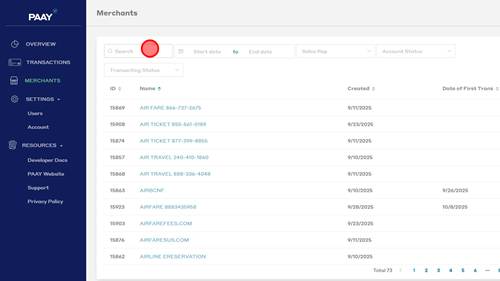
Now that you have created the merchant in Paay, you will search up the name of the merchant so we can generate API keys to integrate with Paay. | |
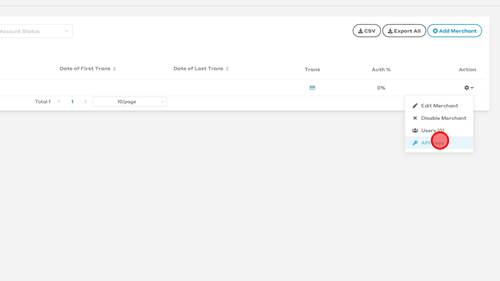
35 | Step 35 |
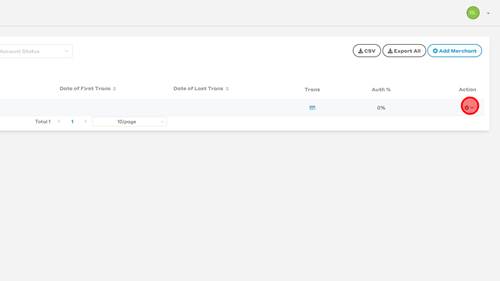
Once you have pulled up the merchant, you will click the gear icon on the far right side of their account. | |
36 | Step 36 |
Click ' API Keys' | |
37 | Step 37 |
Click ' Create API Key' button | |
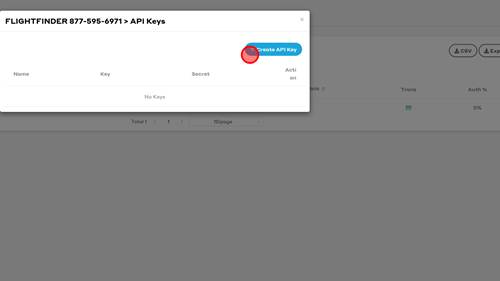
38 | Step 38 |
Enter in the name of the key. Our typical naming convention is Payvault - currency so in this case Payvault - USD. | |
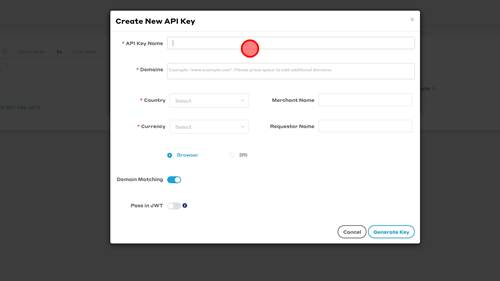
39 | Step 39 |
Enter the domain of the place where the API keys will be used. For Payvault this will be pay.mypayvault.com. | |
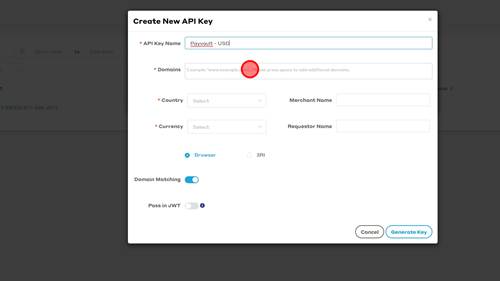
40 | Step 40 |
Select the country where the merchant is. This will typically be USA. | |
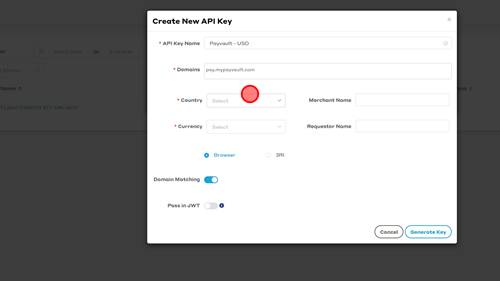
41 | Step 41 |
Click 'United States' | |
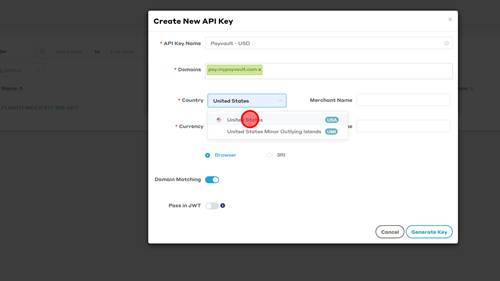
42 | Step 42 |
Use the dropdown menu to select the currency the API keys will be generated for. | |
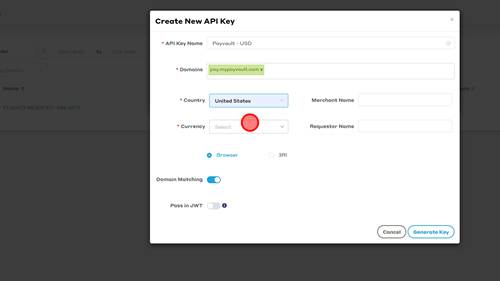
43 | Step 43 |
Click 'US Dollar' | |
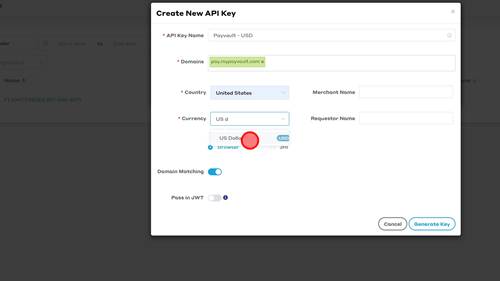
44 | Step 44 |
The rest of the fields will be left defaulted. Now you can click generate keys to generate the API keys. | |
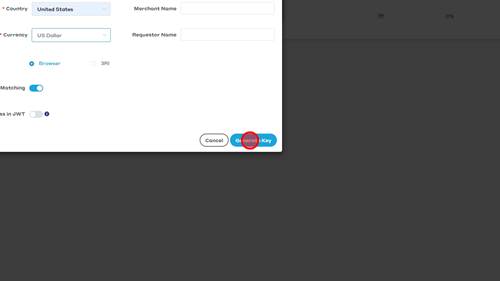
45 | Step 45 |
Now you will login to Payvault. Once logged in go to Merchant. | |
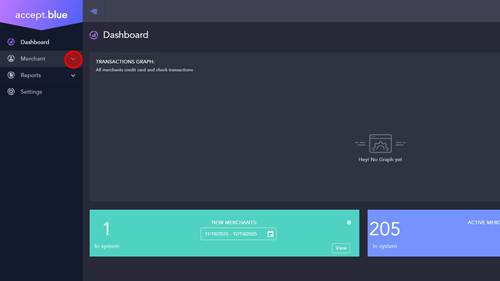
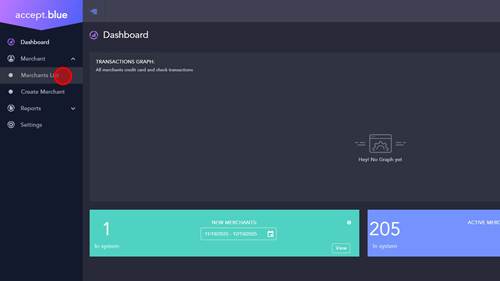
46 | Step 46 |
Click Merchant List. | |
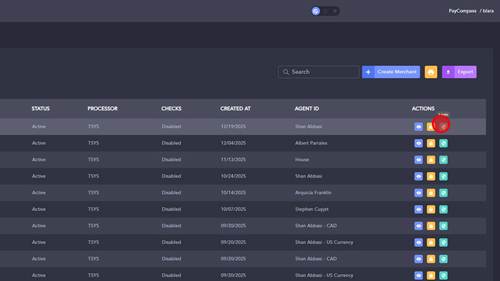
47 | Step 47 |
Find the merchant that you are adding 3DS to and login to their Payvault gateway. | |
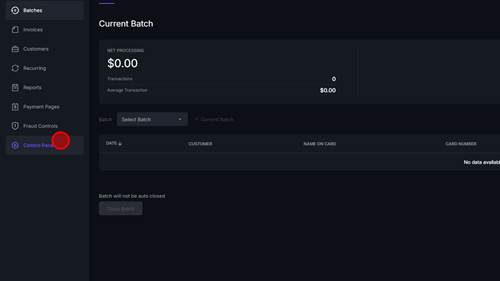
48 | Step 48 |
Once you are in the merchant's gateway. Go to Control Panel. | |
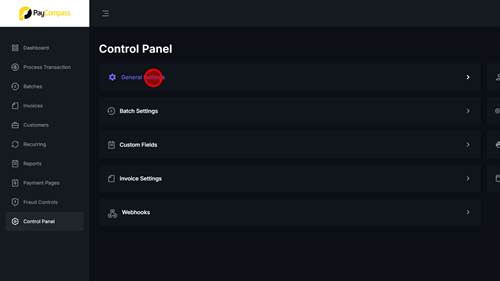
49 | Step 49 |
Click 'General Settings' | |
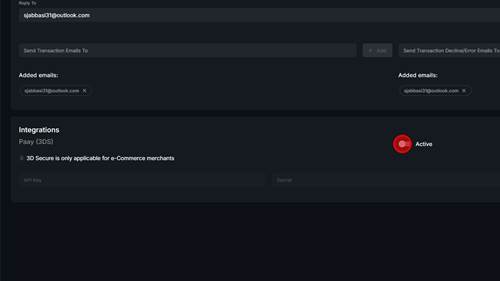
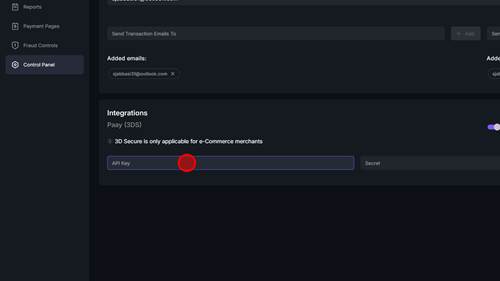
50 | Step 50 |
At the bottom of General settings is an Integrations Box for Paay. You will use the toggle to Activate this integration. | |
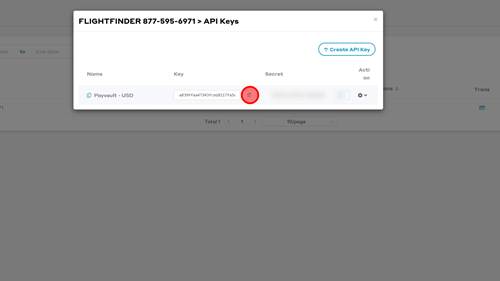
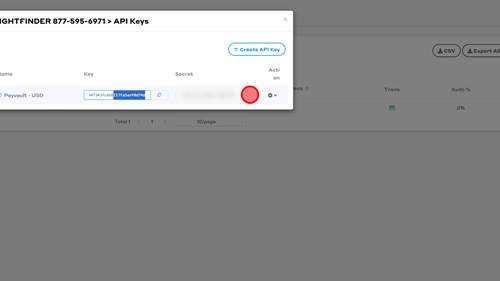
51 | Step 51 |
Now you will copy the Public key of the API keys generated earlier. | |
52 | Step 52 |
Paste the public key into the API Key field. | |
53 | Step 53 |
Once the public key is entered, copy the secret key. | |
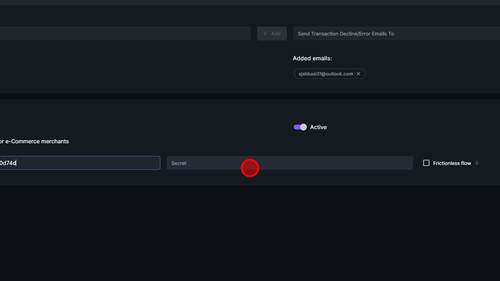
54 | Step 54 |
Paste the secret key into the Secret field. | |
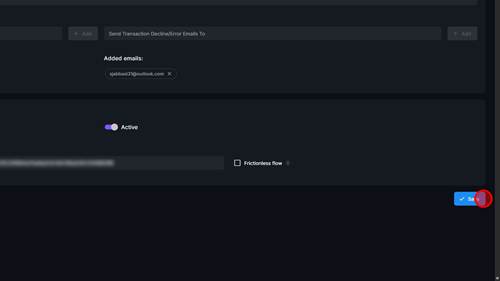
55 | Step 55 |
Ensure the information matches the keys generated in Paay and then hit Save. | |
56 | Step 56 |
Click 'Update'
| |
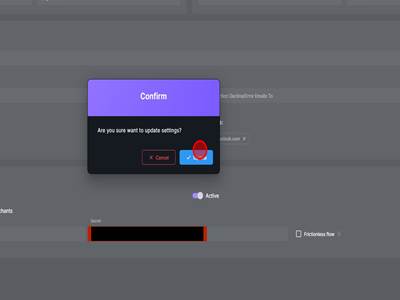
57 | Step 57 |
There are also 3DS settings within fraud controls that we need to ensure are setup properly. Click 'Fraud Controls'
| |
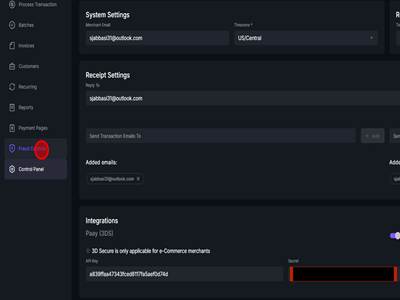
58 | Step 58 |
Click 'Universal Fraud Modules' | |
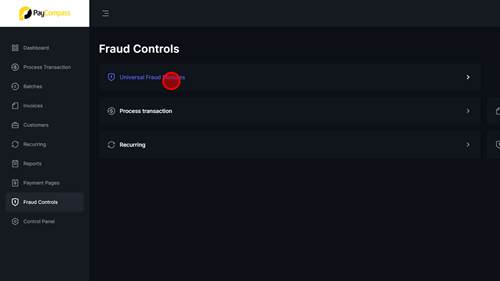
59 | Step 59 |
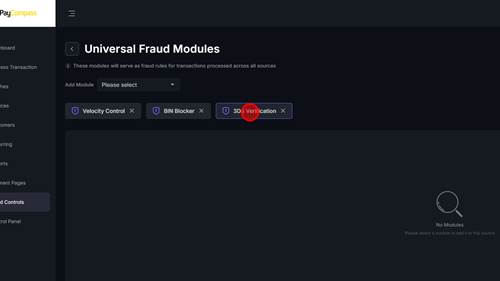
Click '3DS Verification'. If you do not see this, use the Add Module dropdown and add the 3DS verification module. | |
60 | Step 60 |
The 3DS verification module should be setup using the same parameters as this picture . After this has been completed, you have successfully setup the 3DS integration with Paay.
| |